Installation guide NethServer
Samba 4 AD server role
V 0.1 - initial version
V 0.2 - automated NSDC container cert renewal
V 0.21- added note about installing nano instead of vi
This manual explains how to boot the NethServer installation ISO and install NethServer with the Samba4 AD role. No special attention will be given to disk-layout or backup strategies. A vitual environment is assumed. If you will install NethServer on bare metal, you will need to rethink partitioning and backup strategies. A few common pitfalls will be discussed where applicable and feedback is welcome. After following this document, you should have an Active Directory compatible domain which can replace a native Microsoft AD for most pratical purposes.
Getting started
Prerequirements
- Download the latest .ISO from
http://www.nethserver.org/getting-started-with-nethserver/ - Prepare a virtual machine with the (absolute) minimum following specs:
Number of cores: 1
Memory: 4Gb
Diskspace: 8Gb
1 NIC
(optional) Internet access
mount the downloaded .ISO as CD and make sure the VM is set to boot from it
Basic installation
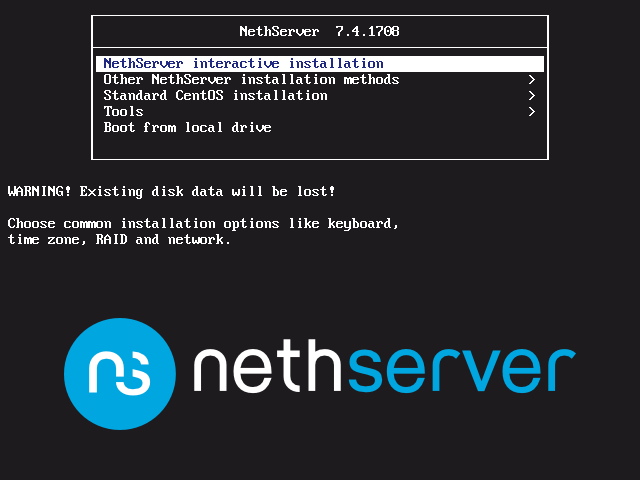
After power-on you should be greeted by the following screen, from where you can start the interactive installation. The other installation methods will not be discussed in this document.
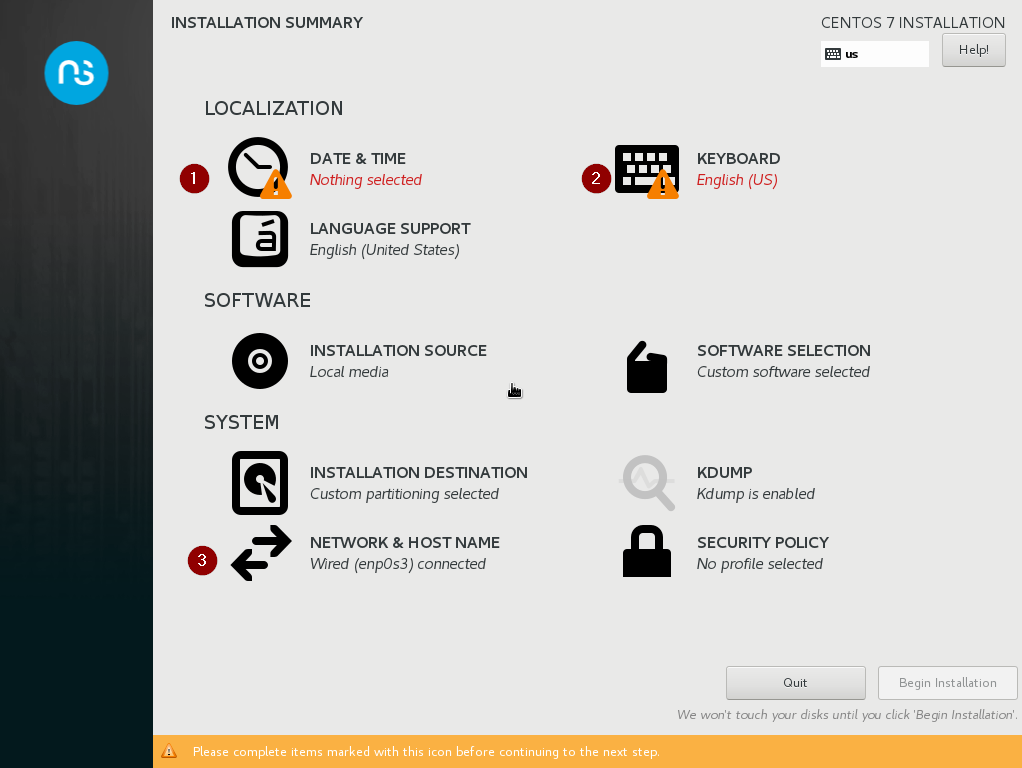
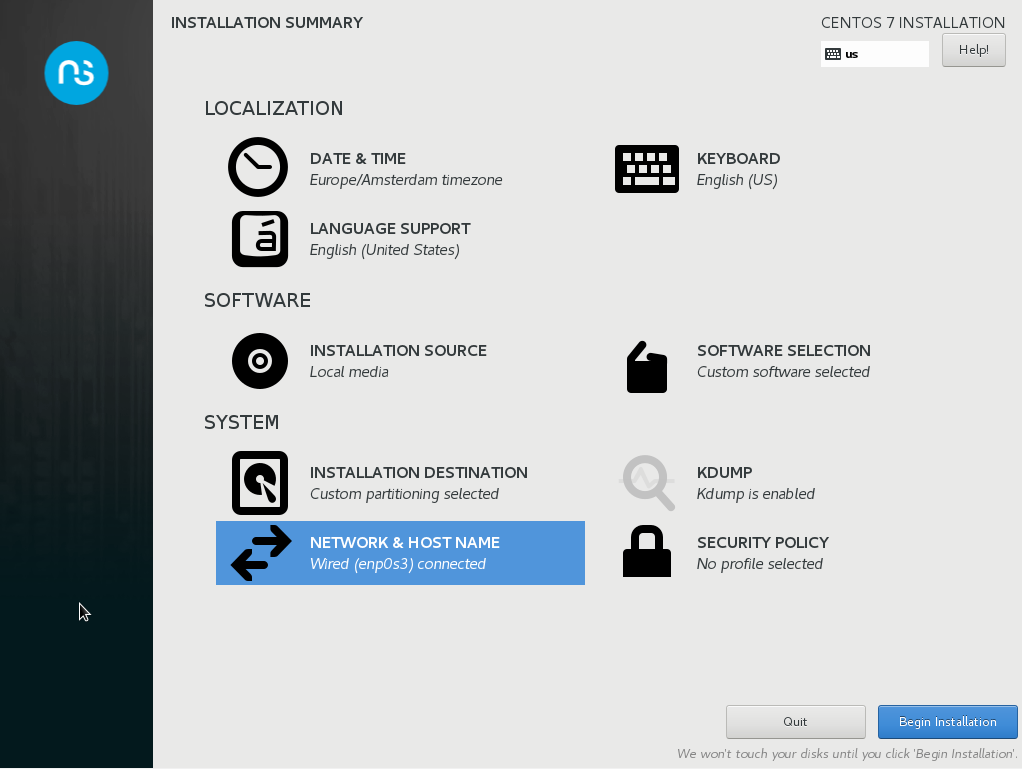
After pressing enter and waiting a bit, you will get to the installation summary page, where a couple of defaults will be automatically selected for you. Things you will have to set are date & time and keyboard layout, but we will also make sure our networking settings will be ok, as well as the domain we will use later for our AD.
Below is a screenshot of the Installation Summary page, and we will work through the items listed there in the order provided by the red numbers.
Note: I had mixed results when using just any order to set these values, so my advice is to adhere to the order listed.
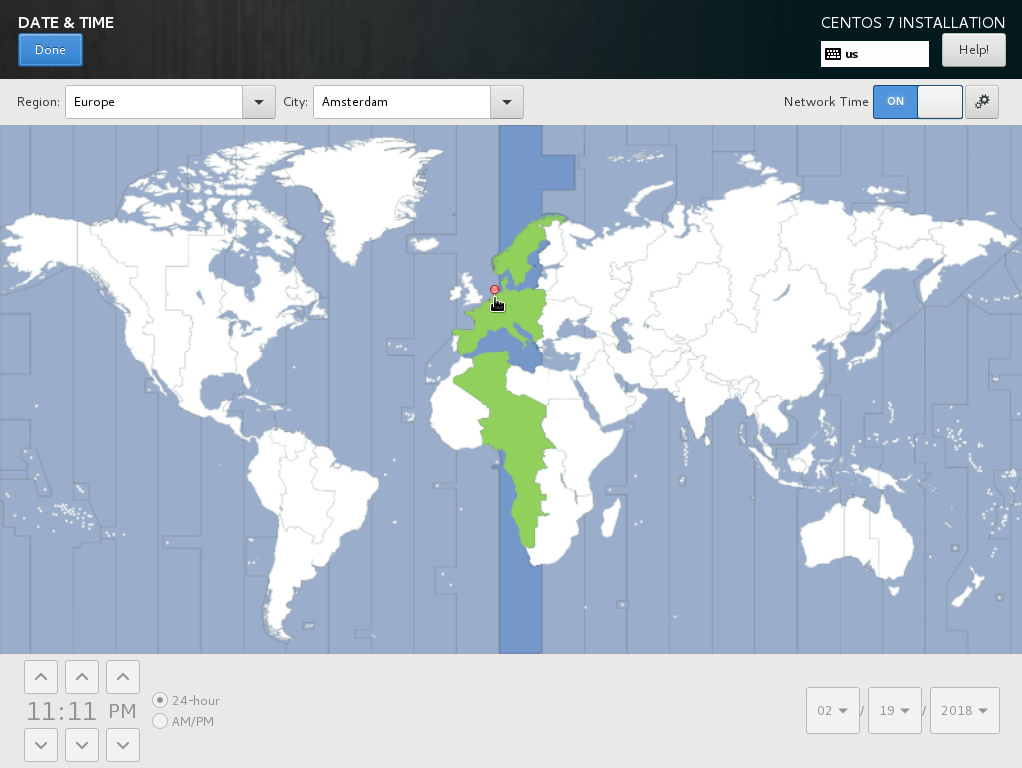
Set the correct date and time or, as per this example, use NTP for that, as is the default. You do need to set the Region and City. Click Done in the upper left corner once ready and continue to the Keyboard layout. Set it to whatever you prefer and again, click Done.
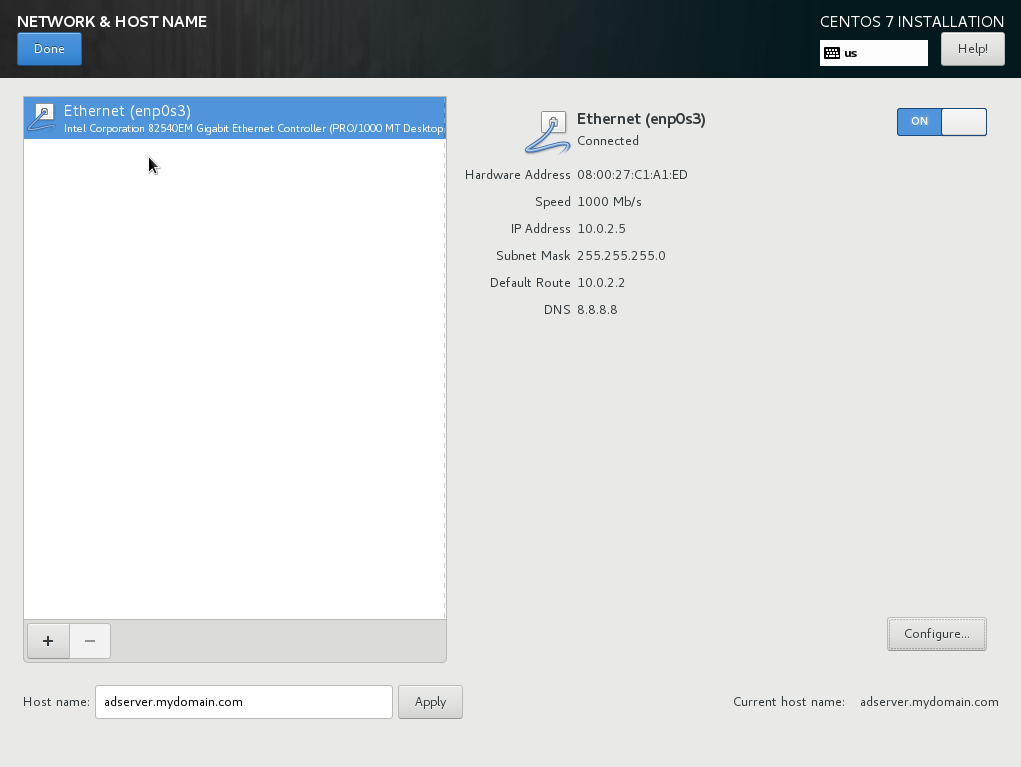
We can now continue to the networking settings and the hostname.

We will assume the following settings for network and domain:
Domain: mydomain.com
Servername: adserver
IP address: 10.0.2.5/24
Gateway: 10.0.2.2
DNS: 8.8.8.8

First enter the FQDN of the server as shown below, and apply it. Next configure the IP settings. We will only be configuring IPv4 and use google’s DNS server for now. To this end, set IPv4 settings to Manual, enter the IP settings and click Save. See below illustrations, and finally, click Done.

Now we can continue with the installtion. Please note that this setup is ONLY adviced in a cirtual environment, where it doesnt matter on which drive stuff resides. Depending on your needs, you could mount another virtual drive on /var/lib/nethserver to make sure all things important get saved on that drive which could then easily be moved between servers when needed. This could be handy when you want the data stored independant of the server OS. I see no real benefit for that in a virtual environment and thus skipped this otherwise best-practice recommendation. Click Begin installation in the lower right corner, and wait.
Once we clicked the Begin installation option, the next screen will show the progress, as well as provide an option to change the root password (and add users). We will only set the root password here, and then wait for the installation to finish. The server should reboot automatically and from then you can configure the server with the webinterface on https://10.0.2.5:980
You will need to accept the self-signed certificate to access the servermanager.
My screenshots will show https://192.168.50.34:980 as serveraddress, this is due to a NAT-config for the creation of this document.
Configuring the AD account provider
After the reboot, and entering the provided link in your browser, you should get a certificate warning. After accepting the exception, you should be greeted by the login screen as shown below. Enter your just configured root account, and login.

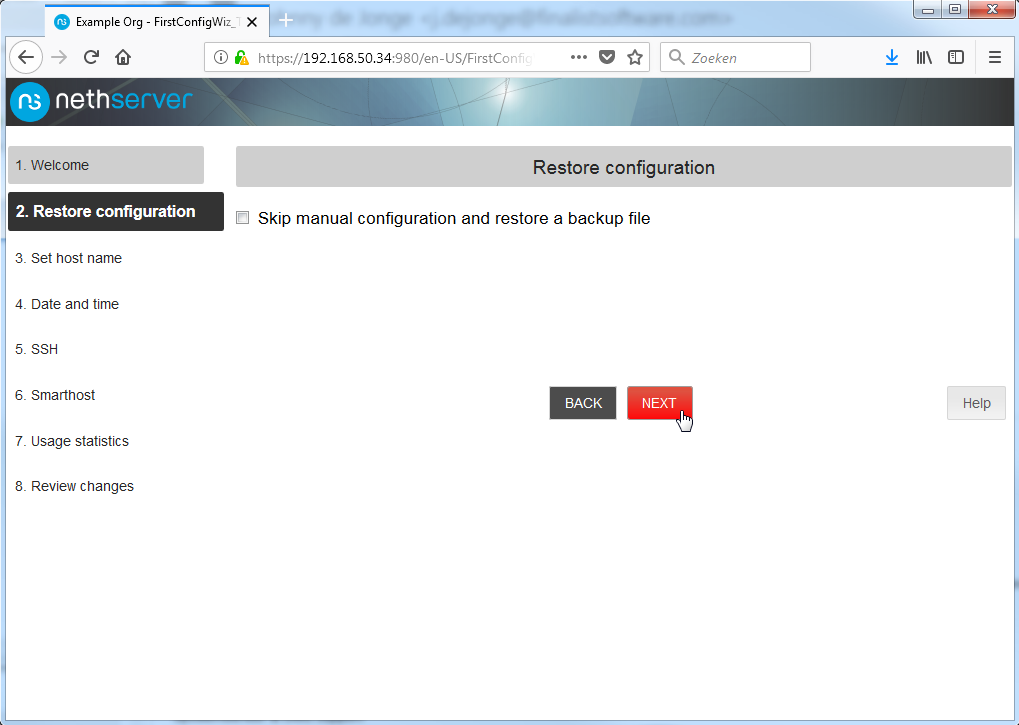
You will then be greeted by the final setup, which is mainly a next next next continue at this point. I will provide screenshots of every step below, but really, you can accept the defaults here.

Starting screen, nothing to do here. Click Next.
If you are migrating a server, this is interesting, for now, click Next.

Nothing to do here but check it is indeed as we specified earlier. Click Next.
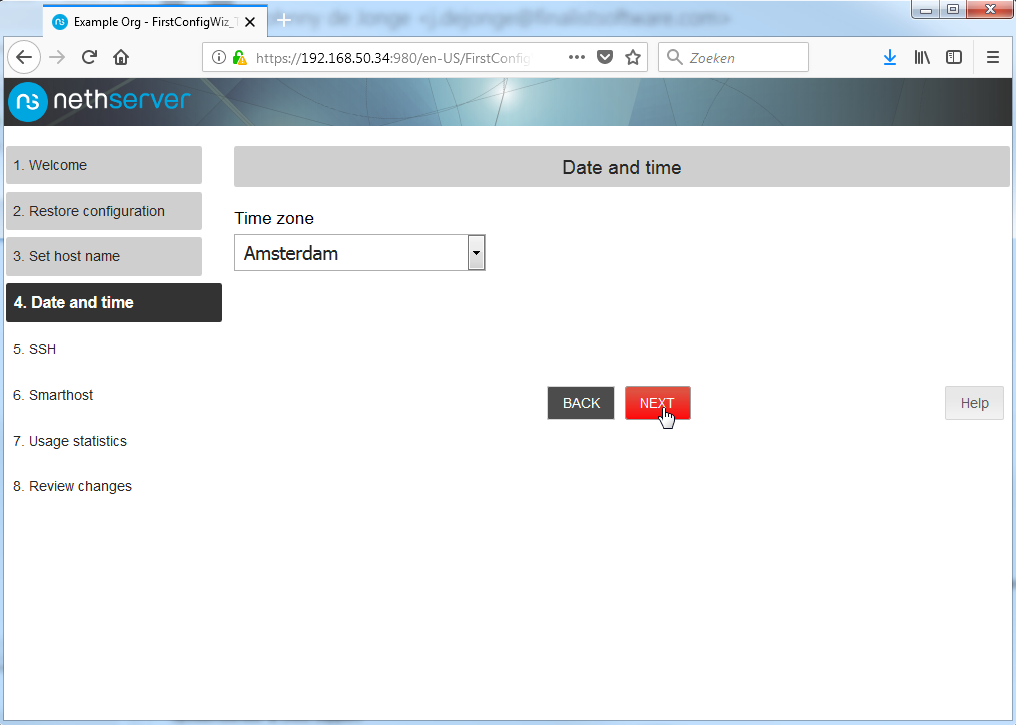
As above.
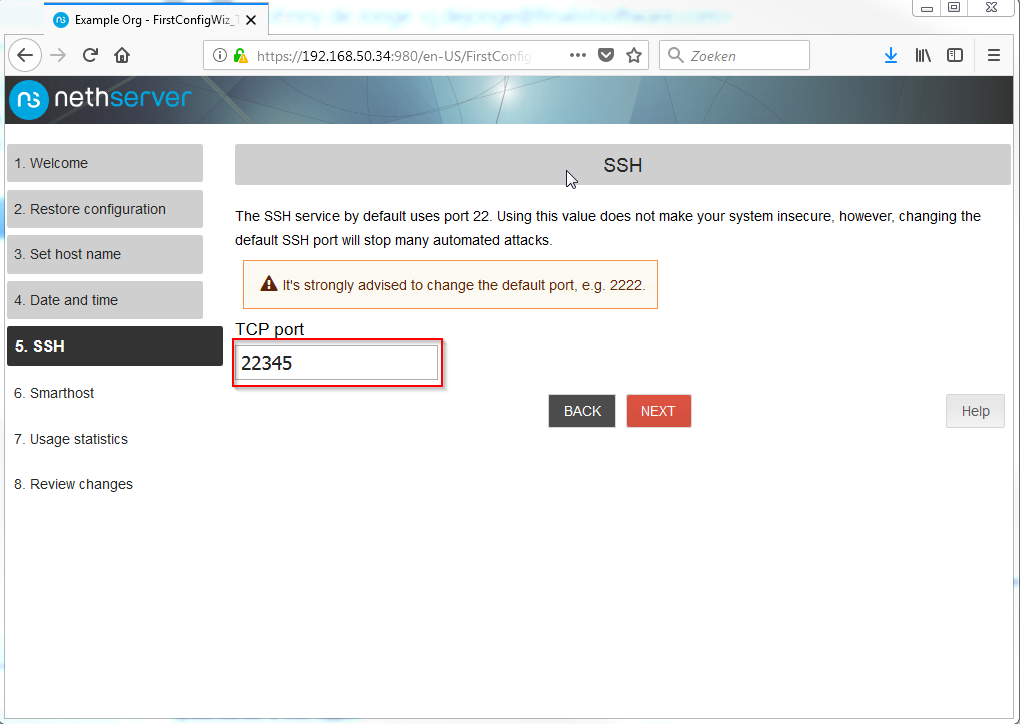
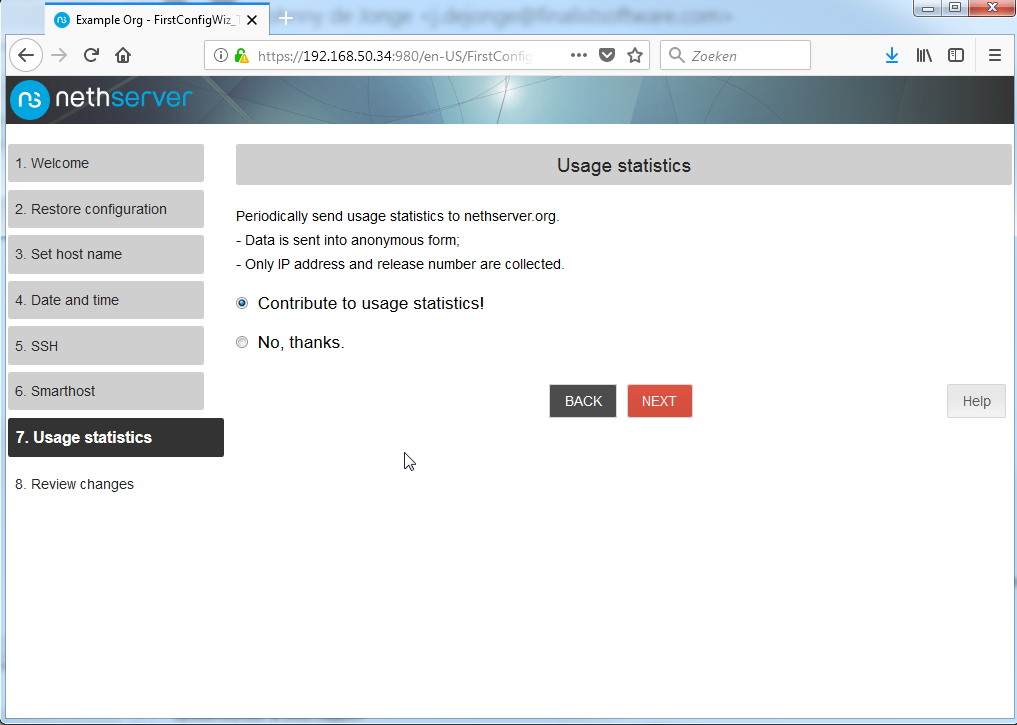
Alter the default port for added security and click Next.

Leave the box unchecked and click Next.
Choose what to do here, and … next
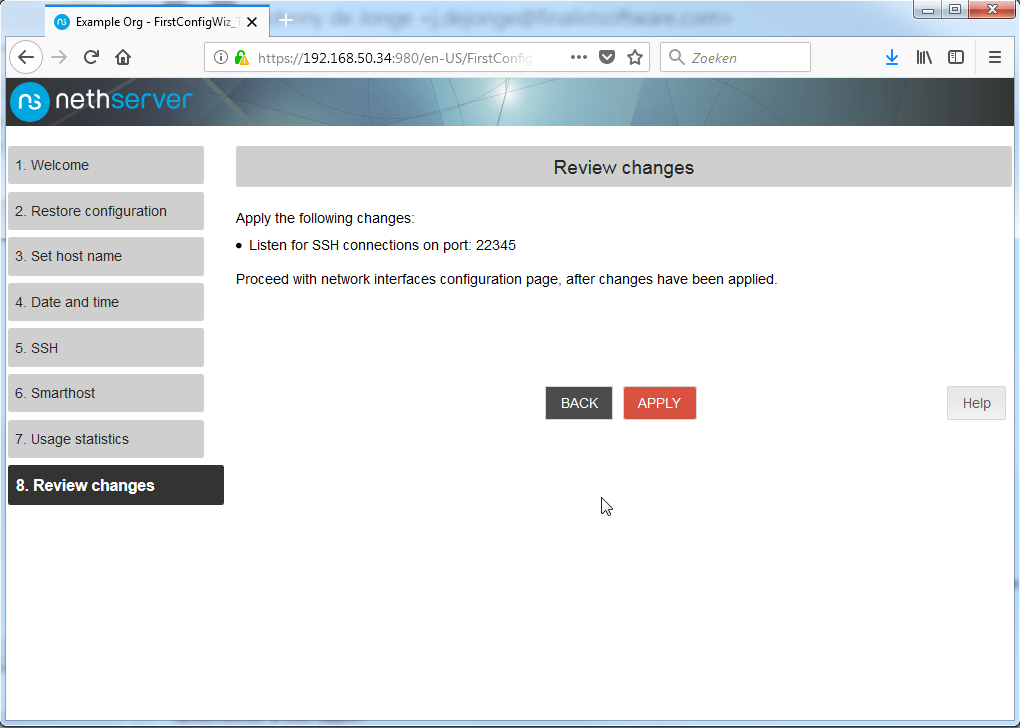
Apply the settings and we’re done.
After a little bit you will be presented with the servermanager:
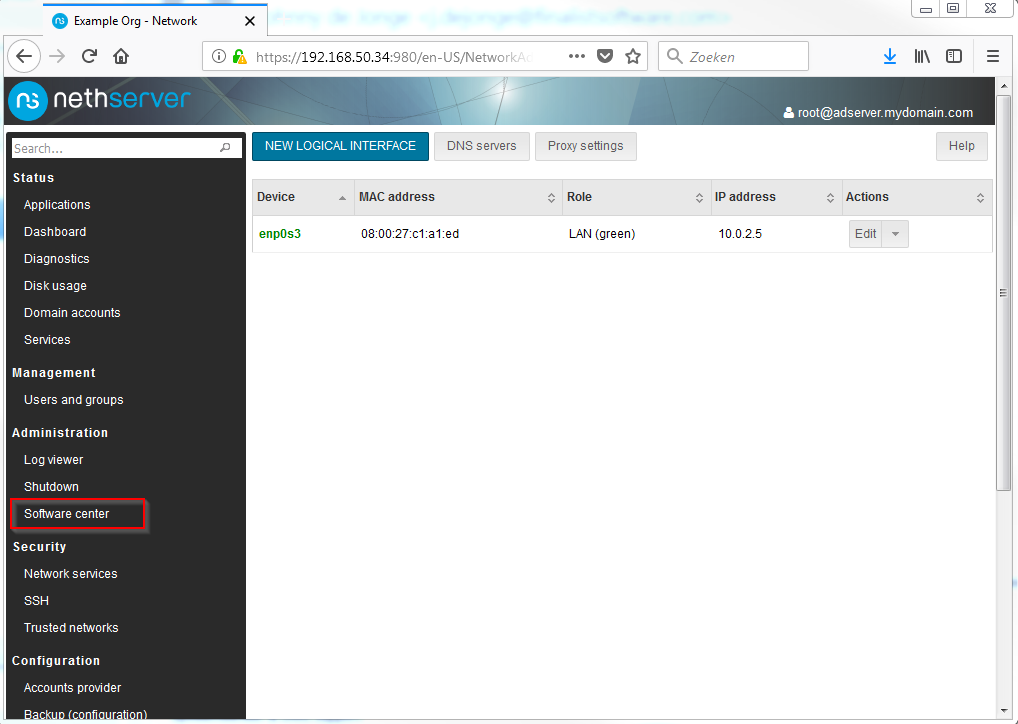
Most configuration tasks are worked into pages that can be accessed from the servermanager, depending on the packages installed. In order to make sure that we will not be building on bugs, or reinventing the wheel, we will first update the installation to the latest and greatest version.

Click the ‘Updates’ tab and click Download and Install, and wait a bit.
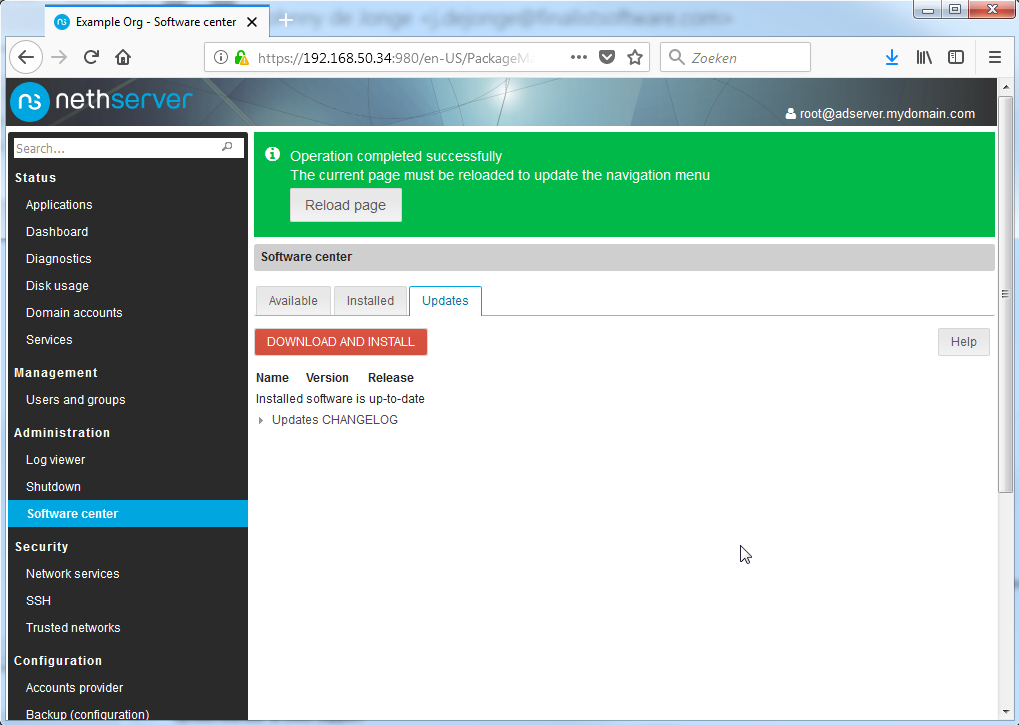
Reload the page, and finally reboot the server from the Shutdown menu.
Once the server has rebooted, we can continue with installing the AD role.
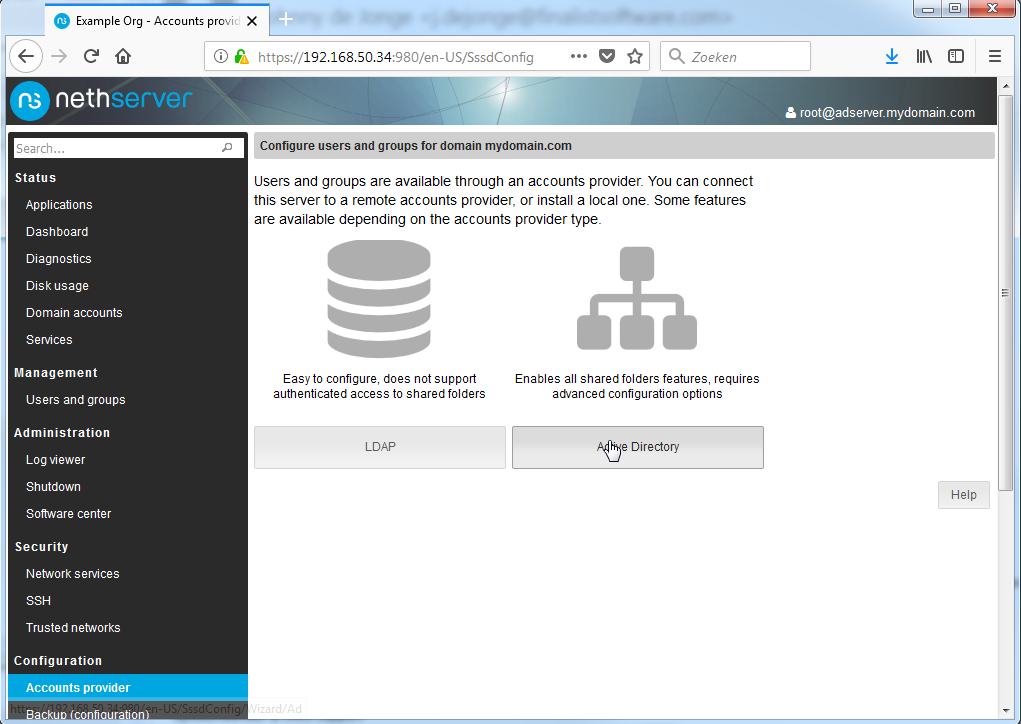
Open the account provider menu and click the Active Directory option.
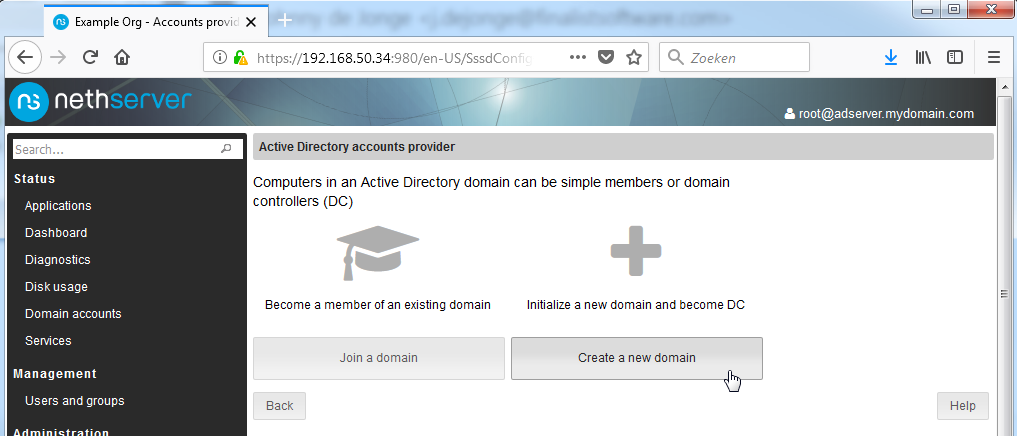
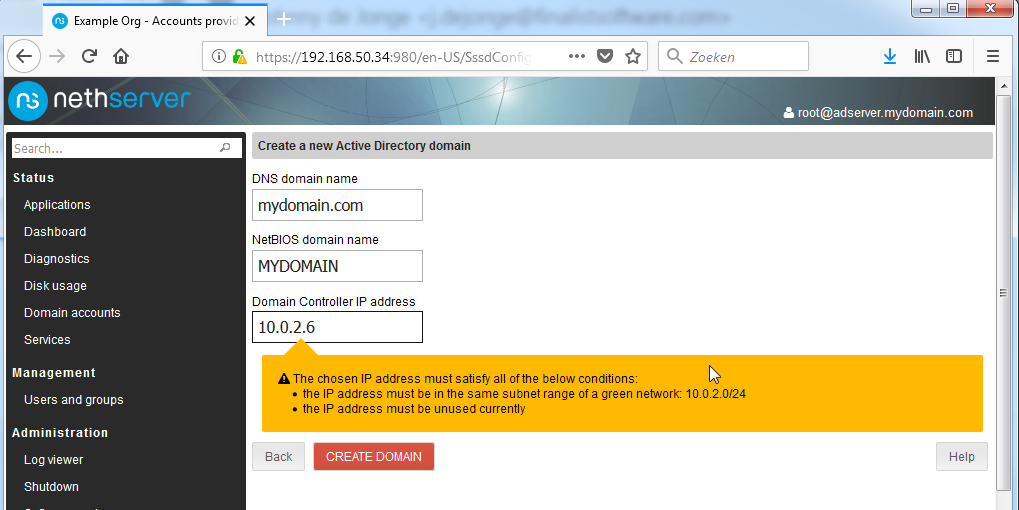
Select the option to create a new domain and fill out the required fields as listed below:
DNS Domain name: mydomain.com (NOTE: I ommit the subdomain AD here)
NetBIOS domain name: mydomain
Domain Controller IP: 10.0.2.6
It should look like this. Click Create Domain, wait a bit and you should be looking at this:
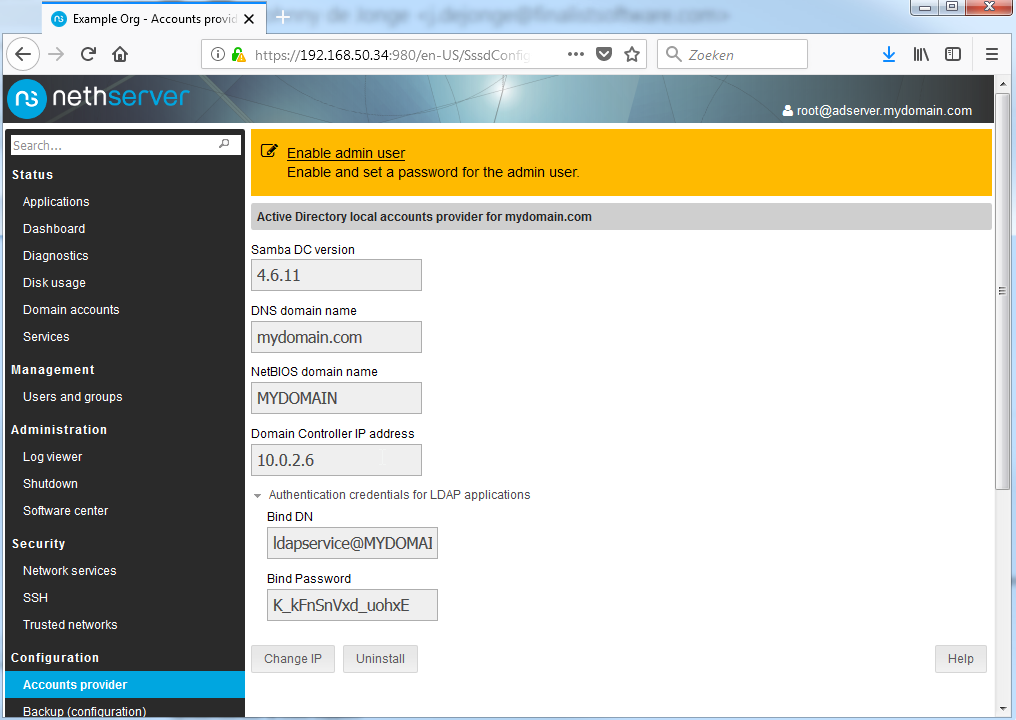
Note: I have had multiple times that the previous step resulted in an error about sssd.conf … just re-press Create Domain in that case, it should pass.
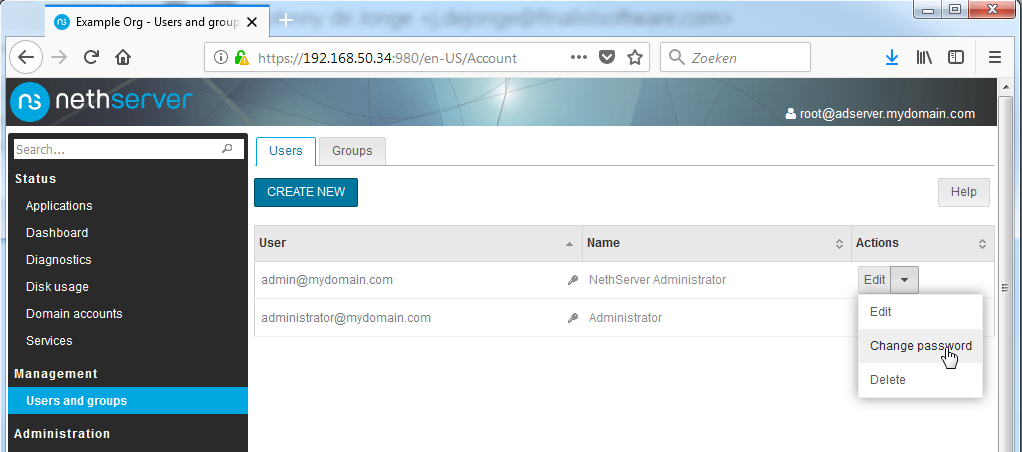
The final step is setting passwords on the local admin and domain admin users, which can be done by going to the Users and Groups page. Please note that users will be created in the AD. Most AD fields will NOT be populated. You WILL need MSADUC to properly configure users and fields.
For now, click the Enable admin user link on top of the page, and edit the password of both listed users.
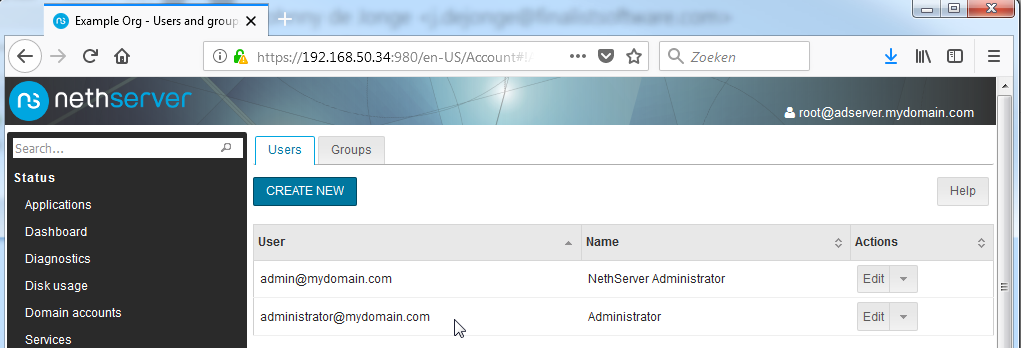
Note the key icons being gone afterwards:
We now have a working Active Directory and can connect to it with the usual tools on the IP 10.0.2.6
The DNS server we will be distributing to the clients NEEDS to be the AD container on 10.0.2.6. This also means that the DNS page of the NethServer server manager, WILL NOT BE USED!
This page will feed the local DNS server on 10.0.2.5, and this will create issues for AD users.
The next step will make sure that java and other more strict apps can connect to the AD and use it:
Connect with SSH to your server, and enter the following commands, as root:
If you prefer using nano, install it using:
yum install nano
Commands for vi (always present, my recommendation is to learn it’s basic commands)
pressing ‘i’ will enter insert mode
pressing esc will exit insert mode
pressing ‘:’ will enter command mode
entering ‘wq’ in command mode will save and quit
entering ‘q!’ in command mode will quit, discarding changes
touch /etc/e-smith/events/certificate-update/nsdc-cert
vi /etc/e-smith/events/certificate-update/nsdc-cert
Copy (that is, type) this in:
#!/bin/bash
cp -f /etc/pki/tls/private/localhost.key /var/lib/machines/nsdc/var/lib/samba/private/tls/key.pem
cp -f /etc/pki/tls/certs/localhost.crt /var/lib/machines/nsdc/var/lib/samba/private/tls/cert.pem
chmod 600 /var/lib/machines/nsdc/var/lib/samba/private/tls/key.pem
chmod 644 /var/lib/machines/nsdc/var/lib/samba/private/tls/cert.pem
Save the file and enter the last command:
chmod ug+x /etc/e-smith/events/certificate-update/nsdc-cert
As a final step we will configure a LetsEncrypt certificate on the Nethserver host.
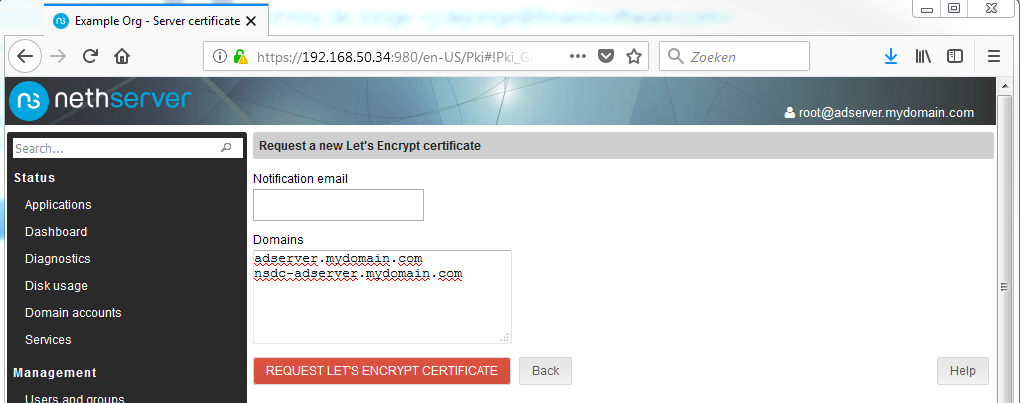
There is a prerequirement for this to work, and that is that Let’s Encrypt requires DNS verification to reach the host. Your PUBLIC DNS needs to be aware of ‘mydomain.com’ and when it tries to connect to adserver.mydomain.com or nsdc-adserver.mydomain.com those names need to resolve to an IP you own, and port 80 needs to be forwarded to the machine you are trying to give a certificate.
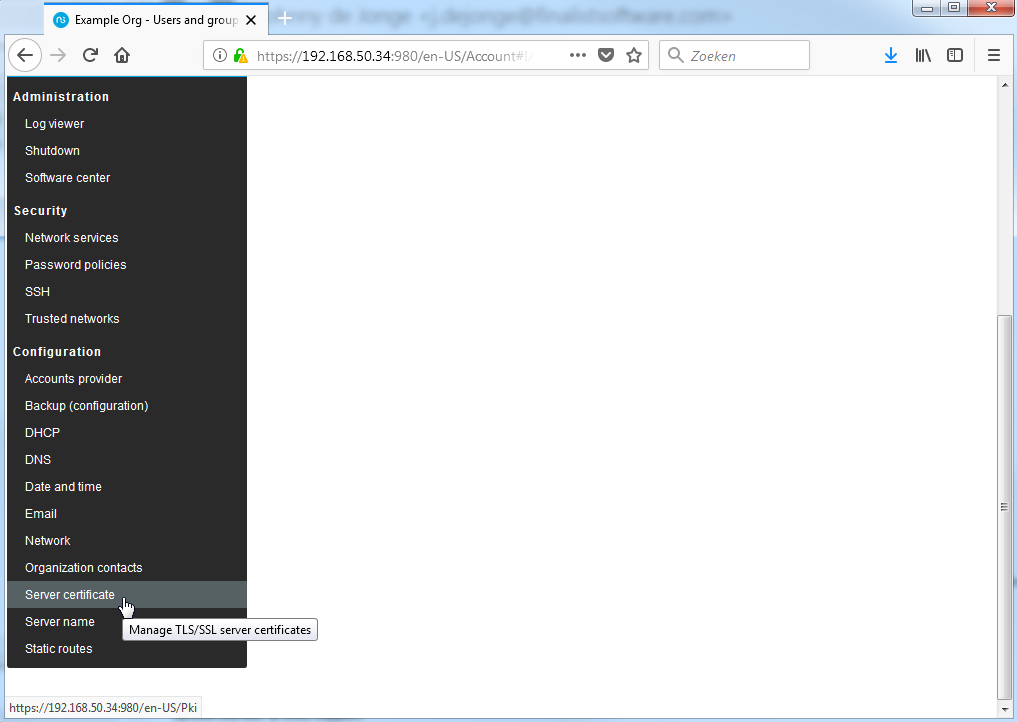
When this is done, go to the Server Certificate page, and request a Let’s Encrypt certificate.

There is an error on the next page in the labels used. It talks about domains, it should mention FQDN’s. The FQDN of our NethServer host is adserver.mydomain.com but the AD container has a different name. Since we are going to use this certificate for the AD container as well, we will add it’s FQDN to the ‘Domains’ list as shown below:
There is no way for me to complete this step on mydomain.com, as I do not own it, so the rest of this step will be skipped.
Reboot the server, and you should no longer get security exceptions on the servermanager or when connecting with Java apps to the AD.
From this point on, there is not much to do on the NethServer servermanager, and you should add a Windows workstation to the newly created domain, and install Microsoft AD tools on it to further configure your server as per normal.
This will not be part of the scope of this document, it is presumed you know what you are doing on the AD side of things. Things to configure: reverse DNS, internal DNS records for the services that should be available on the LAN, populate the AD.
This is the first of several how-to’s that together form a pretty basic setup with an AD server, an FTPES and Samba fileserver, a Webserver, and a SOGo mailserver.
Feel free to add to this guide as needed, and please notify me so I can edit this post.


