Module instructions/download: https://wiki.nethserver.org/doku.php?id=onlyoffice
This howto came out of the discussion from Collaborative Document Editing?, thanks to @danb35, @fausp, @stephdl and everyone I forgot to mention.
EDIT 11.4.2018
- Package released to fix future upstream documentserver update problems.
EDIT 1.4.2018
- Due to upstream update problems we shouldn’t use the repo anymore. Now direct package download is done.
EDIT 16.3.2018
- Module available.
EDIT 6.3.2018
- With Nextcloud 13 it seems like you need a valid certificate, it doesn’t work with a self-signed cert. Adding
'onlyoffice' => array ( 'verify_peer_off' => TRUE)to/usr/share/nextcloud/config/config.phpsolves the problem, see this post - thanks to @flatspin
EDIT 11.1.2018
- Use nodejs from epel instead of installing from source - thanks to @pagaille
EDIT 2.1.2018:
- Add to hosts without proxy section if using proxy - thanks to @flatspin
We start with installing packages and preparing postgres:
# install packages
yum -y install nethserver-nextcloud nethserver-postgresql nethserver-redis rabbitmq-server nano

# customize postgres pg_hba.conf
mkdir -p /etc/e-smith/templates-custom/var/lib/pgsql/data/pg_hba.conf
echo -e "host all all 127.0.0.1/32 trust\nhost all all ::1/128 trust" > /etc/e-smith/templates-custom/var/lib/pgsql/data/pg_hba.conf/15onlyoffice
signal-event nethserver-postgresql-update

# create postgres db and user
sudo -u postgres psql -c "CREATE DATABASE onlyoffice;"
sudo -u postgres psql -c "CREATE USER onlyoffice WITH password 'onlyoffice';"
sudo -u postgres psql -c "GRANT ALL privileges ON DATABASE onlyoffice TO onlyoffice;"

# start and enable redis and rabbitmq
systemctl enable redis --now
systemctl enable rabbitmq-server --now

# install fonts and documentserver
yum -y install https://downloads.sourceforge.net/project/mscorefonts2/rpms/msttcore-fonts-installer-2.6-1.noarch.rpm
yum -y install https://github.com/ONLYOFFICE/DocumentServer/releases/download/ONLYOFFICE-DocumentServer-5.0.7/onlyoffice-documentserver.x86_64.rpm

# stop httpd and start and enable supervisord and nginx
systemctl stop httpd
systemctl enable supervisord --now
systemctl enable nginx --now

# change documentserver http port from 80 to 8081 to have no conflict
export DS_PORT=8081
documentserver-configure.sh
Now we have to go through the documentserver-configure script. Accept the defaults here. Set the password for Postgres user to “onlyoffice” and the password for RabbitMQ user to “guest”.
[root@testserver ~]# documentserver-configure.sh
Configuring PostgreSQL access...
Host: localhost
Database name: onlyoffice
User: onlyoffice
Password: onlyoffice
Trying to establish PostgreSQL connection... OK
Installing PostgreSQL database... OK
Configuring redis access...
Host: localhost
Trying to establish redis connection... OK
Configuring RabbitMQ access...
Host: localhost:5672
User: guest
Password: guest
Now let’s configure nginx:
systemctl stop nginx

# comment out serverblock - this is necessary to prevent nginx from trying to listen on port 80, which will conflict with Apache
sed -i '38,57 s/^ /# /' /etc/nginx/nginx.conf

# create nginx conf for documentserver out of a template
/bin/cp -rf /etc/nginx/conf.d/onlyoffice-documentserver-ssl.conf.template /etc/nginx/conf.d/onlyoffice-documentserver.conf

# change port from 443 to 8082
sed -i '28,29 s/443/8082/' /etc/nginx/conf.d/onlyoffice-documentserver.conf

# add ssl cert config - change if using letsencrypt or own certs
sed -i 's!{{SSL_CERTIFICATE_PATH}}!/etc/pki/tls/certs/localhost.crt!' /etc/nginx/conf.d/onlyoffice-documentserver.conf

# add ssl key config - change if using letsencrypt or own certs
sed -i 's!{{SSL_KEY_PATH}}!/etc/pki/tls/private/localhost.key!' /etc/nginx/conf.d/onlyoffice-documentserver.conf

# add firewall service
config set fw_onlyoffice service status enabled TCPPort 8082 access green
signal-event firewall-adjust

# start services
systemctl start nginx
systemctl start httpd
-
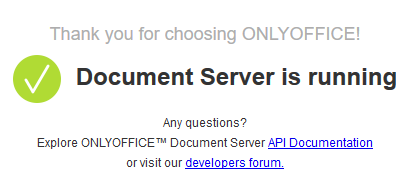
Check if the document server is reachable by browsing to https://neth_fqdn_or_ip:8082. Using certs and respective FQDN is recommended to avoid problems. If you are using self signed certs or IPs you have to allow the documentserver page in your browser else you’ll get an error opening an office document.
-
Log in to Nextcloud as the Nextcloud admin user (by default, that’s username admin, password Nethesis,1234).
-
If you use a second NethServer instance as fw/gateway/proxy with own certs, you have to add the nextcloud-instance to the “hosts without proxy section” on the gateway to make the following steps work. Otherwise you’ll get an error, that nextcloud couldn’t communicate with the download-server.
-
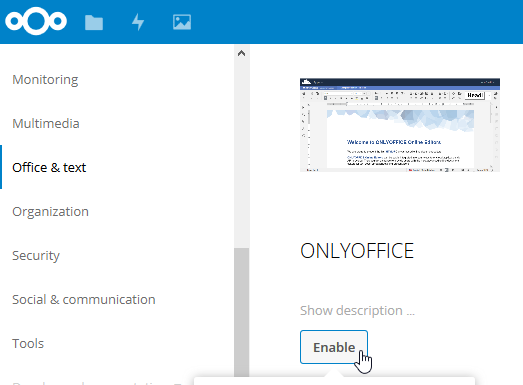
Go to the Apps page. Under Office & text, enable the Onlyoffice app.
-
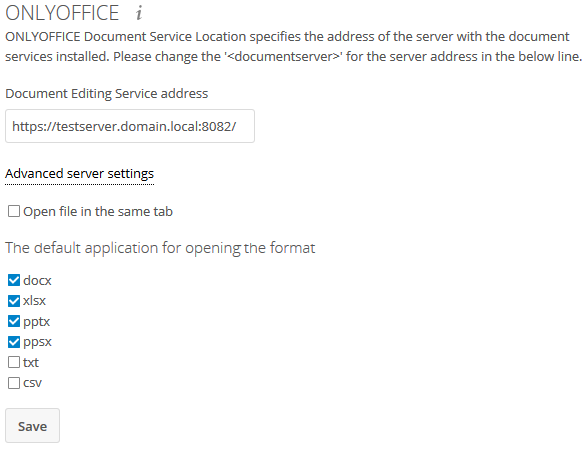
Then go to the Admin page. Under the ONLYOFFICE heading, in the field for “Document Editing Service address”, fill in https://neth_fqdn_or_ip:8082.
Leave the other settings at default, or change to your preference. Click Save.
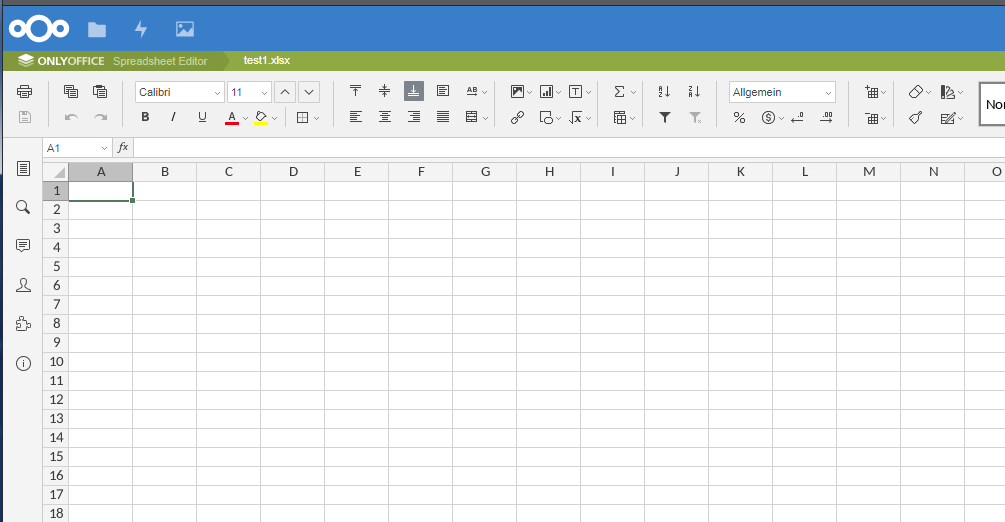
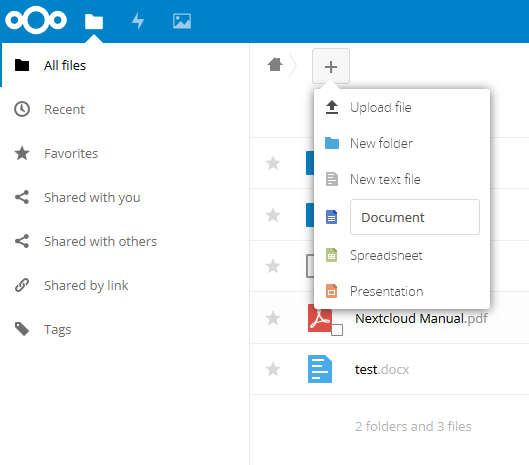
Now you may add a document…
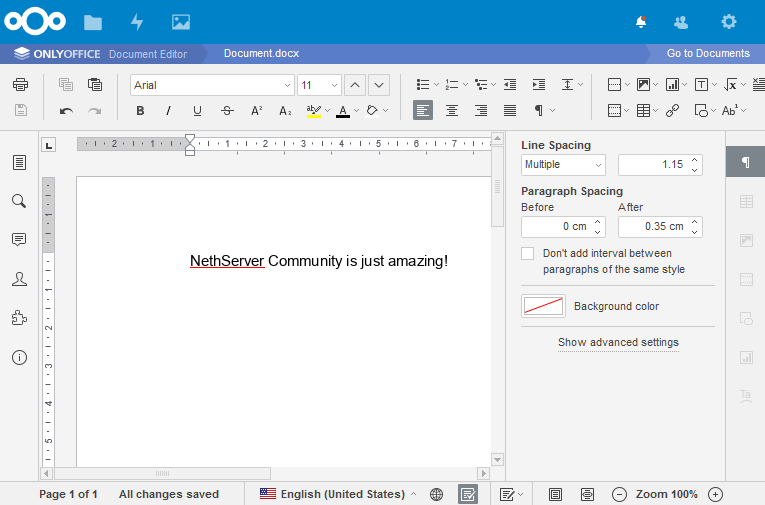
…and edit it:
Sources:
https://helpcenter.onlyoffice.com/server/linux/document/linux-installation-centos.aspx