The purpose of this howto is to install wordpress at the top of nethserver 8
we need as a requirement to have DNS name
for the mariadb server: mariadb.rocky9-pve.org
for the virtualhost for wordpress: mywebapp.rocky9-pve.org
If in the future you move the webserver or the mariadb module to another node, think to modify accordingly the DNS entries to the new IP
These FQDN must ne resolved when you do ping mywebapp.rocky9-pve.org or ping mariadb.rocky9-pve.org for instances
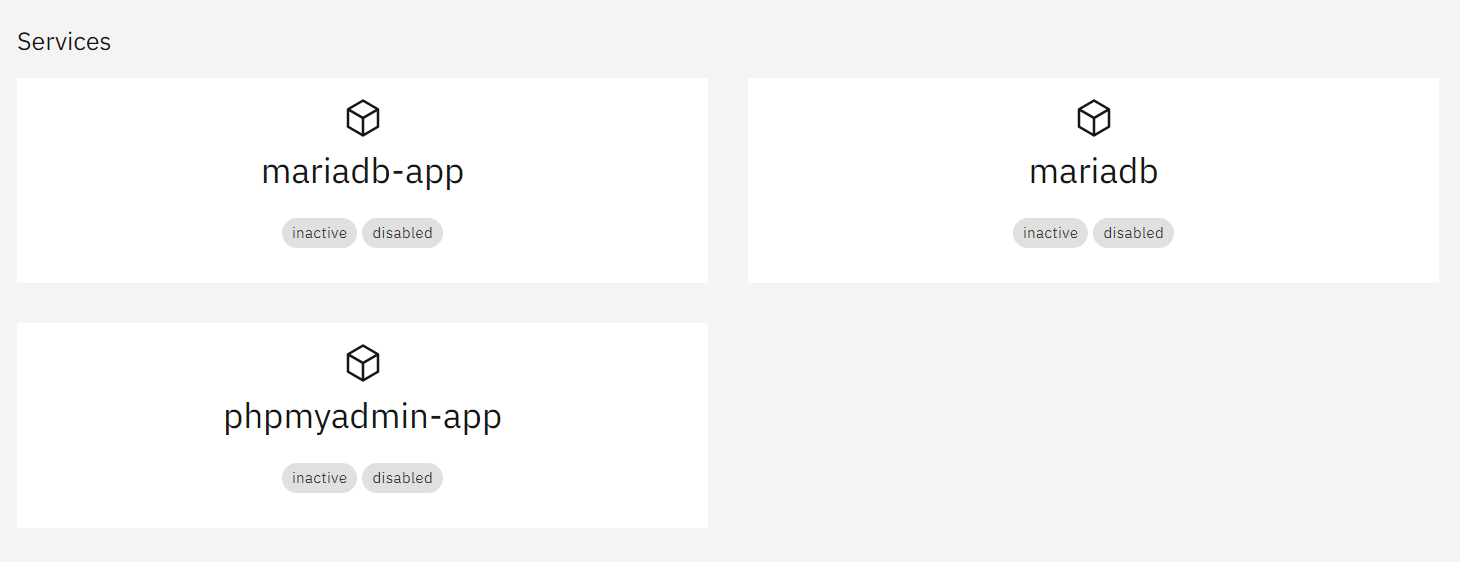
first lets go to install mariadb and webserver
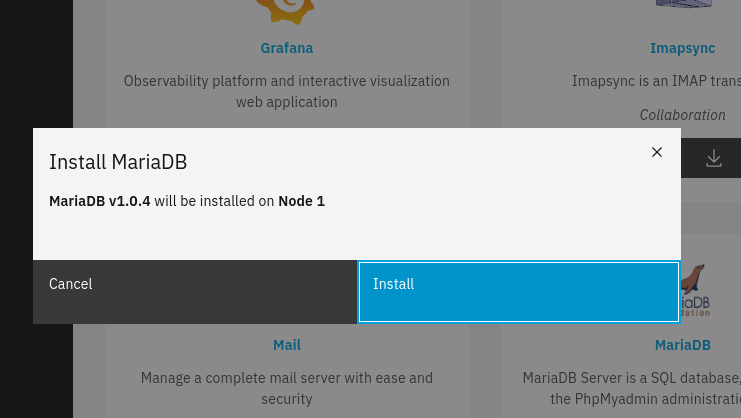
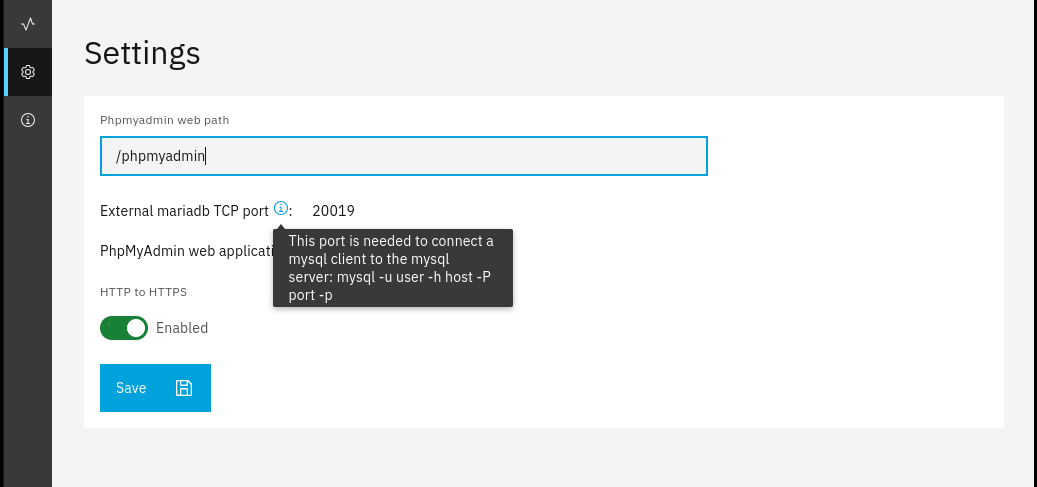
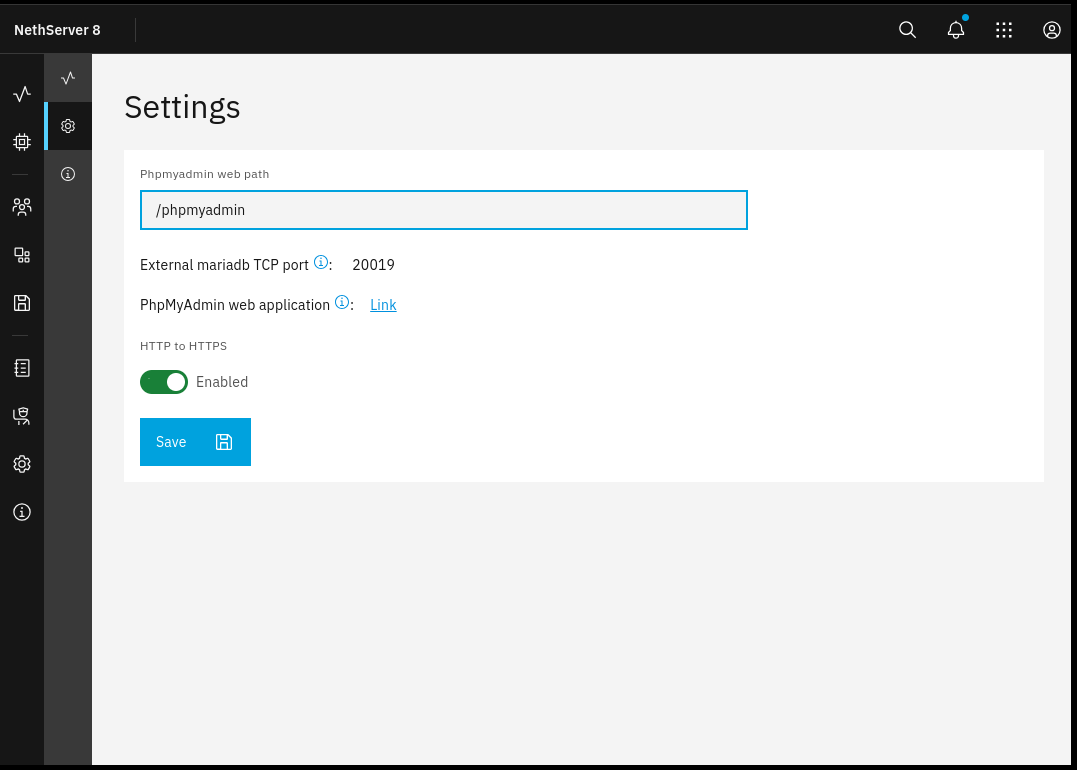
lets go first to configure mariadb
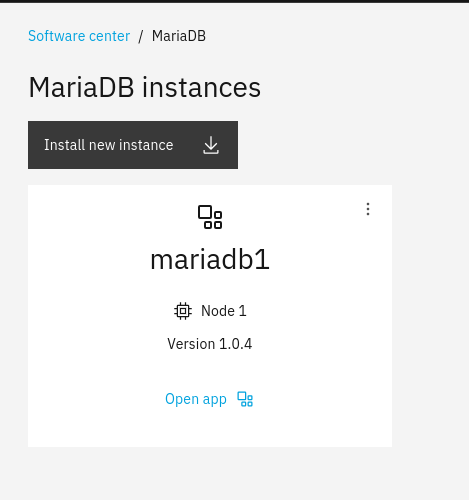
open the App
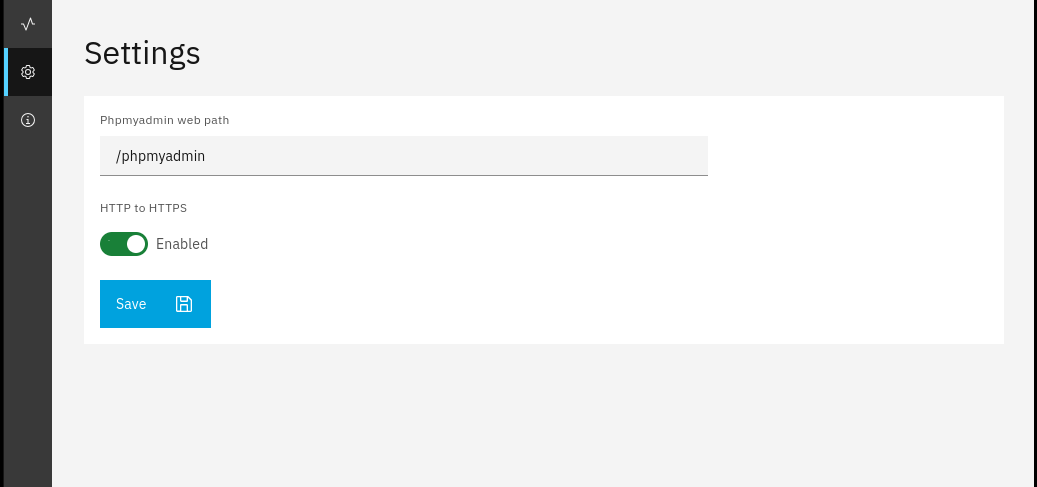
go to the settings and set a web path (the url to reach phpmyadmin will be https://mariadb.rocky9-pve.org/phpmyadmin) , force http to https and save
The web path must be unical on your node
that’s it

be aware that you must change the password of phpmyadmin at the first login because it is admin/admin
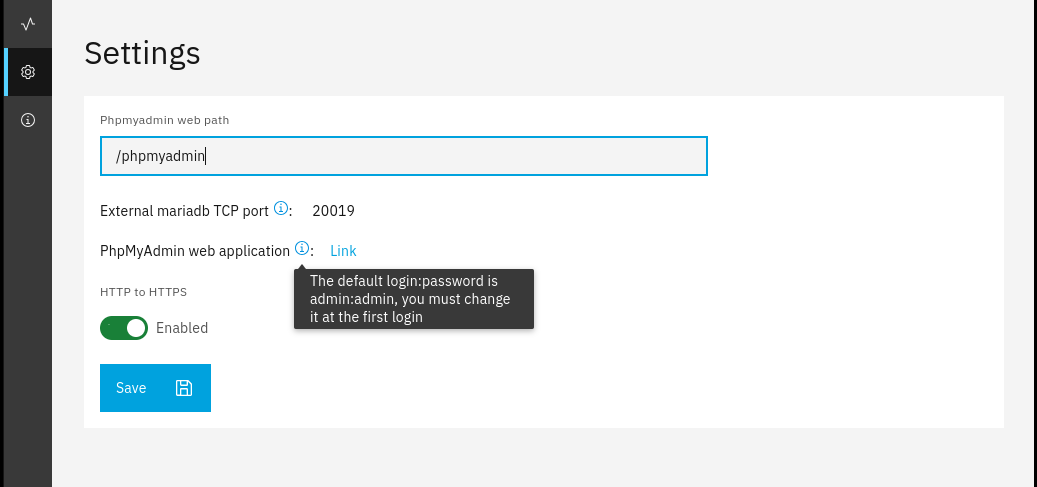
the port will be used to connect to the mariadb server, the port is restricted to the localhost and not opened in the firewall, it can be used on the node but not reachable form outside of the node
keep in mind the TCP 20019 port we will need it later in the wordpress installer
Now time to configure mariadb, go to https://mariadb.rocky9-pve.org/phpmyadmin or use the link inside the mariadb page
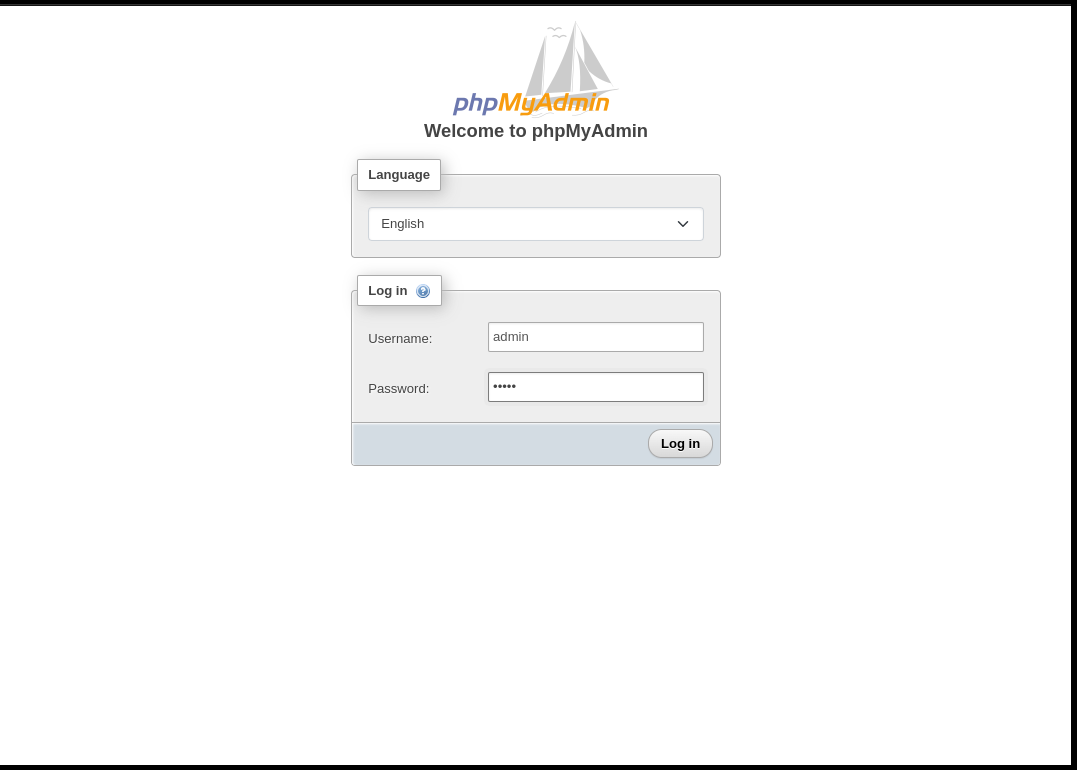
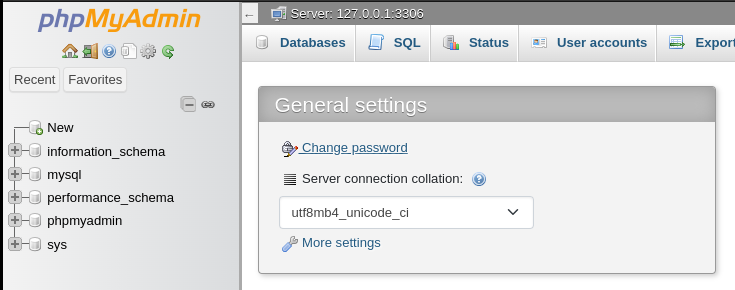
the default password is admin/admin, change it immediately, for that purpose use the change password in the General settings
Then we need now to create a database and a user for mariadb, go to user accounts and select add user account
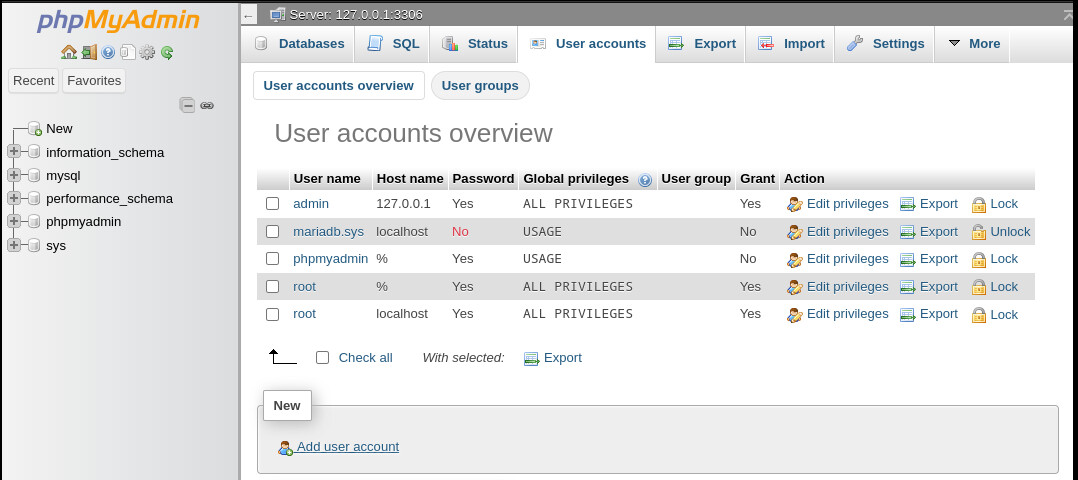
then set like the picture above and save
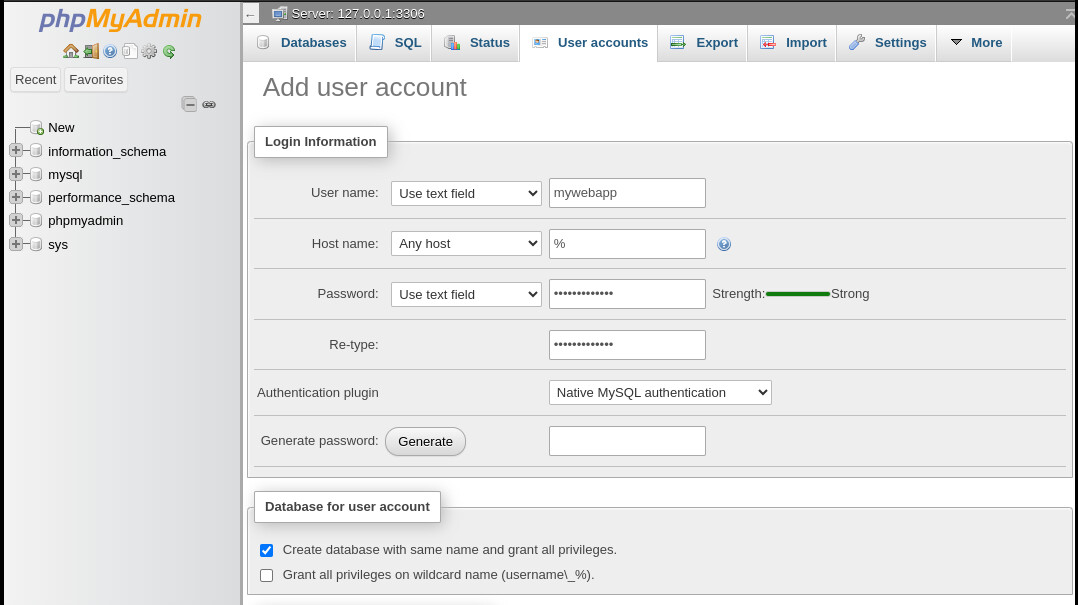
If you look closely we need to set the user permission to any host because we have two containers, one for webserver and one for mariadb and in the container world, a container is isolated to all others, so it makes no sense to use localhost, we have to set to any host (in sql language any host is converted to user@%
You can do it by the CLI in your terminal, first ssh to your server, then once done we need to ssh locally to the user of the mariadb module, this is how works NS8 to fix or inspect issues
# connect to mariadb1 (module_id)
runagent -m mariadb1
# connect to the mysql container as root
podman exec -ti mariadb-app mysql
# create the database and grant user to all from any IP (external port is closed to 127.0.0.1)
MariaDB [(none)]> CREATE DATABASE IF NOT EXISTS mywebapp;
MariaDB [(none)]> grant all privileges on mywebapp.* to mywebapp identified by 'Nethesis,1234';
MariaDB [(none)]> flush privileges;
MariaDB [(none)]> exit
Out of topic but we could a dump or load a dump from the CLI
podman exec -i mariadb-app mysql < toto.sql
podman exec -i mariadb-app mysqldump > toto.sql
if you want to access mysql you can do it by the CLI remotely IF you are using the IP of the VPN of the cluster (where the mariadb is running)
mysql -u root -h 10.5.4.1 -P 20030 -p
mysql -u phpmyadmin -h 10.5.4.1 -P 20030 -p
the password are
[root@R3 ~]# cat /home/mariadb1/.config/state/secrets/passwords.secret
MARIADB_PASSWORD=d8fcd644e867509885ce713dbfb597b0c75cd6c8

MARIADB_ROOT_PASSWORD=8a48bbf1d45107c28873435edf5d48b126f1f782
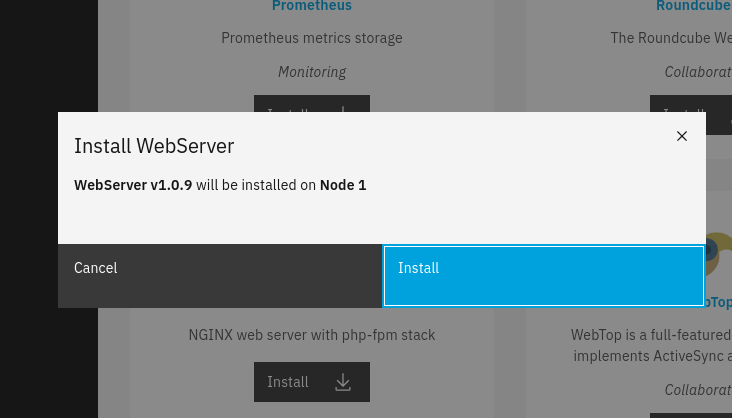
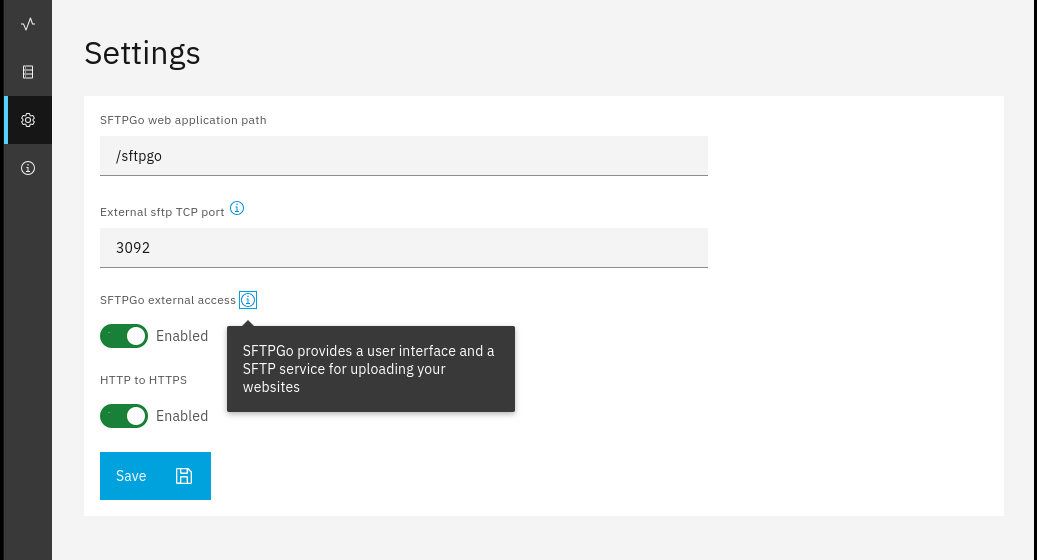
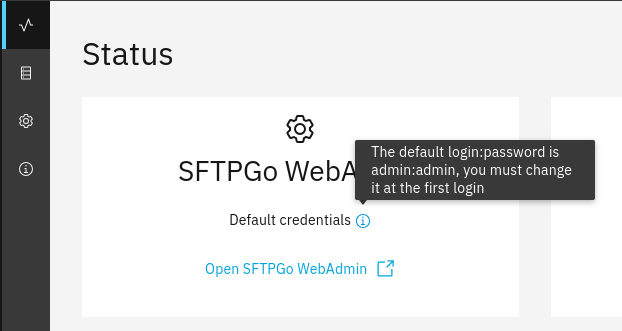
now time to configure webserver, go to the Settings or use the button configure SFTPGO in the Status page
Same like phpmyadmin we need to configure a web path and set a TCP that must be unical on your node
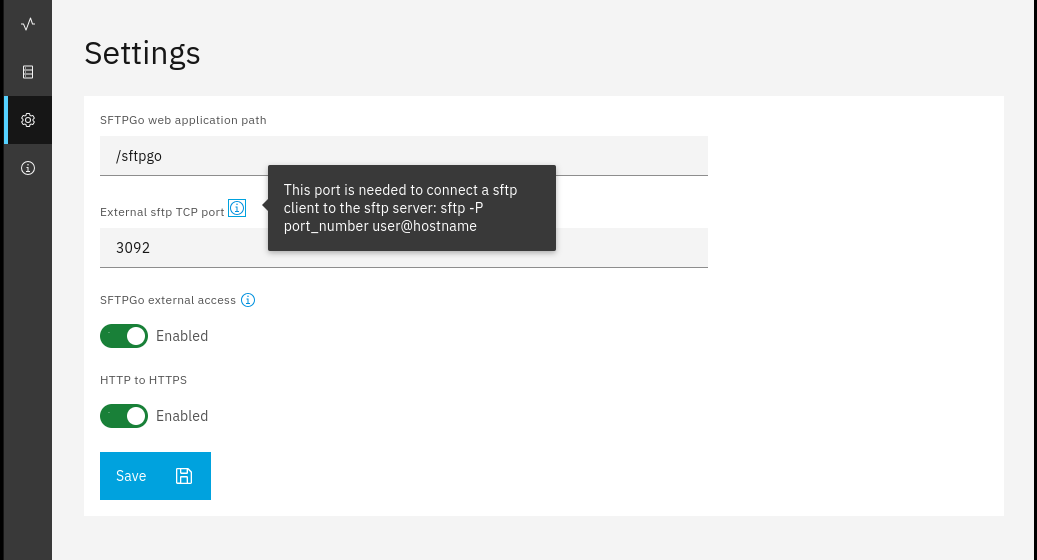
The port is used to connect a sftp client to the node and export the files from your local computer to your remote node, SFTPGo gets also a web user interface to makes changes, however the sftp CLI is much more powerful and simple
set Enabled the sftpgo external access and the https forced redirection
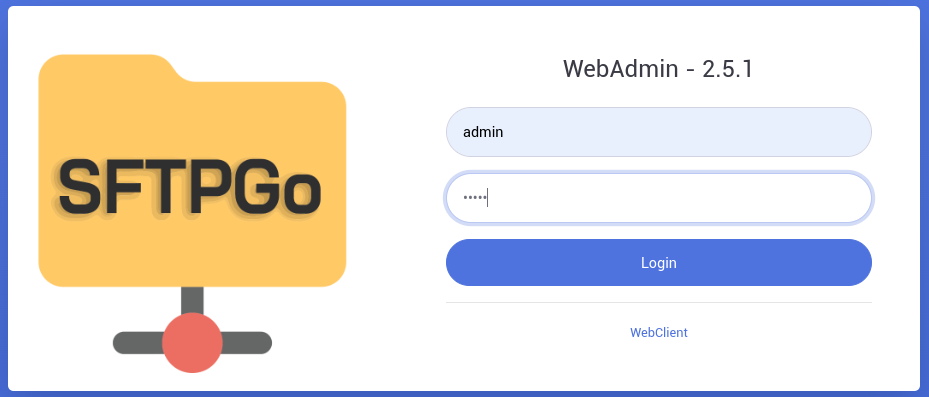
the default password of SFTPGo administration is admin/admin in the status page you have a link to the admin page, login admin/admin change immediately the password
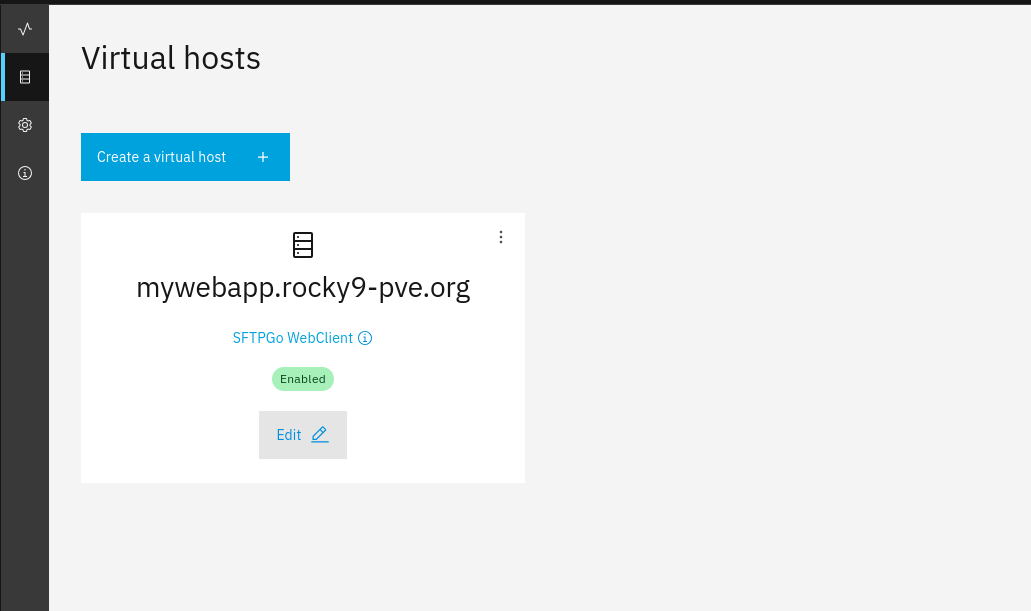
now it is time to create the virtualhost, go to the virtualhost page of webserver application
then create your first virtualhost and save
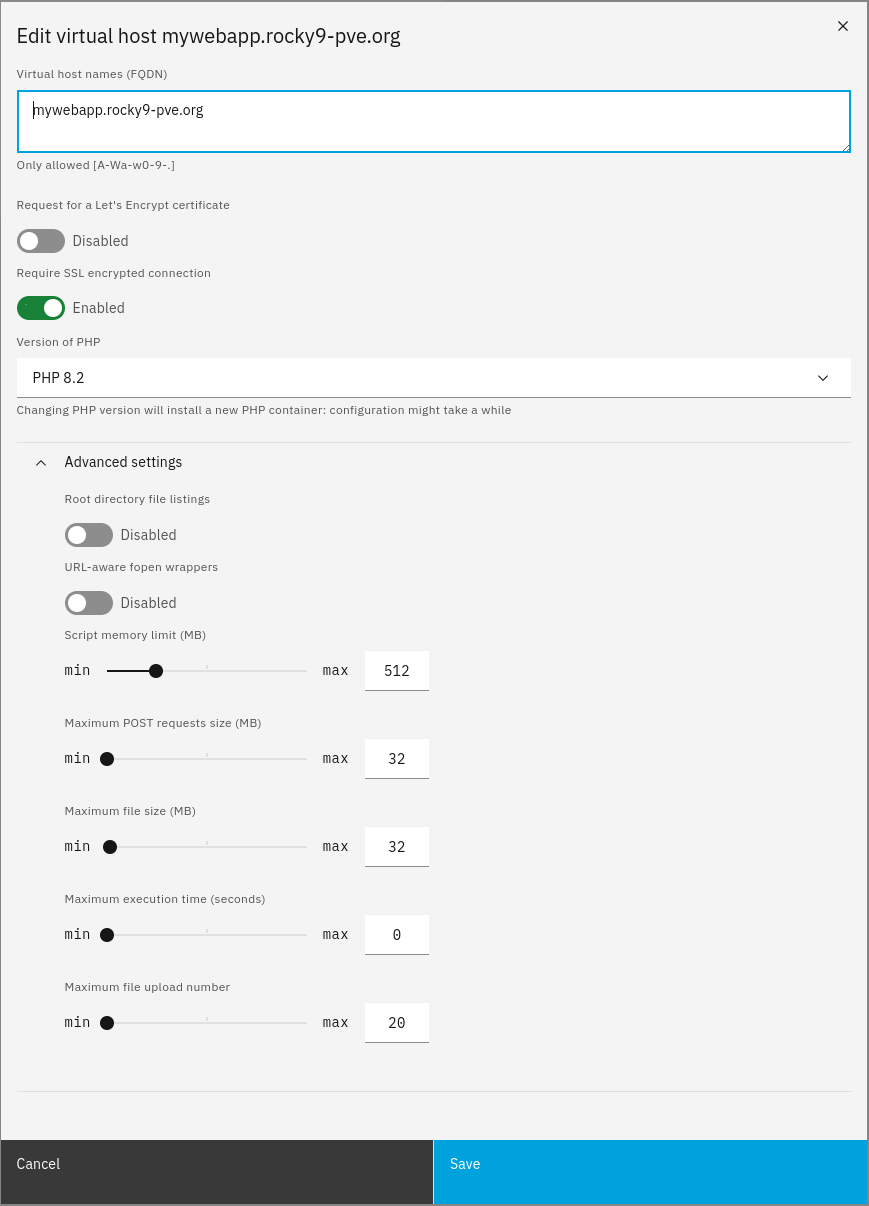
- set a full fqdn : mywebapp.rocky9-pve.org
- set force https redirection
- set php82
- adjust your php setttings
save the configuration
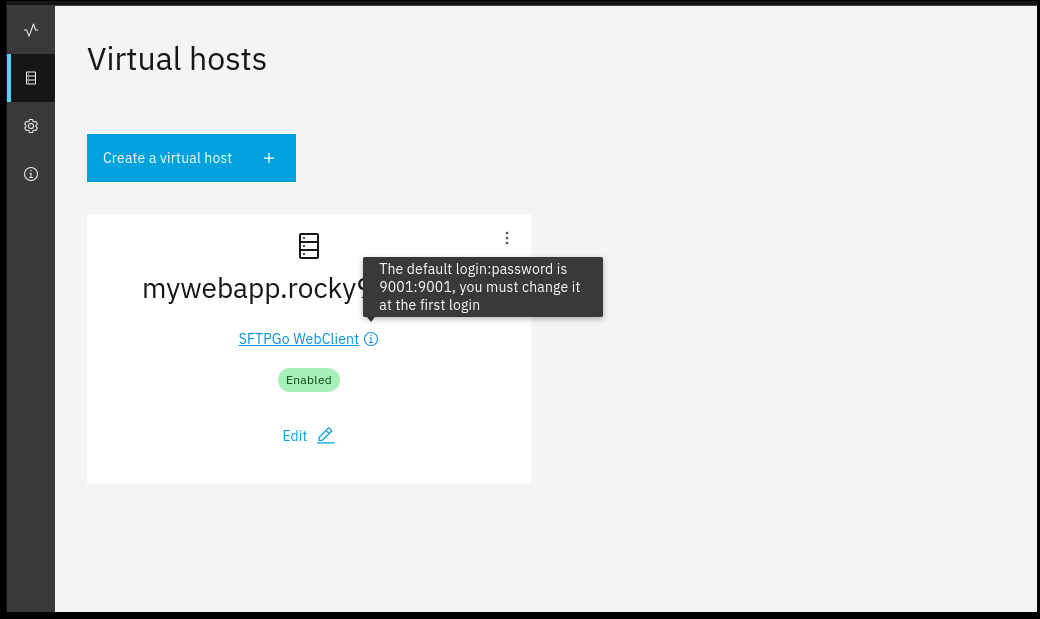
As you can see on the virtualhost car we can find the link to sftpgo with the ID 9001, this is the ID of your virtualhost if you want to add some manual changes like custom nginx directive
the place where to add these changes is /home/webserver1/.config/state/conf.d/dyn-9001.custom # webserver1 must be adapted to the ID of your module : webserver1, webserver2
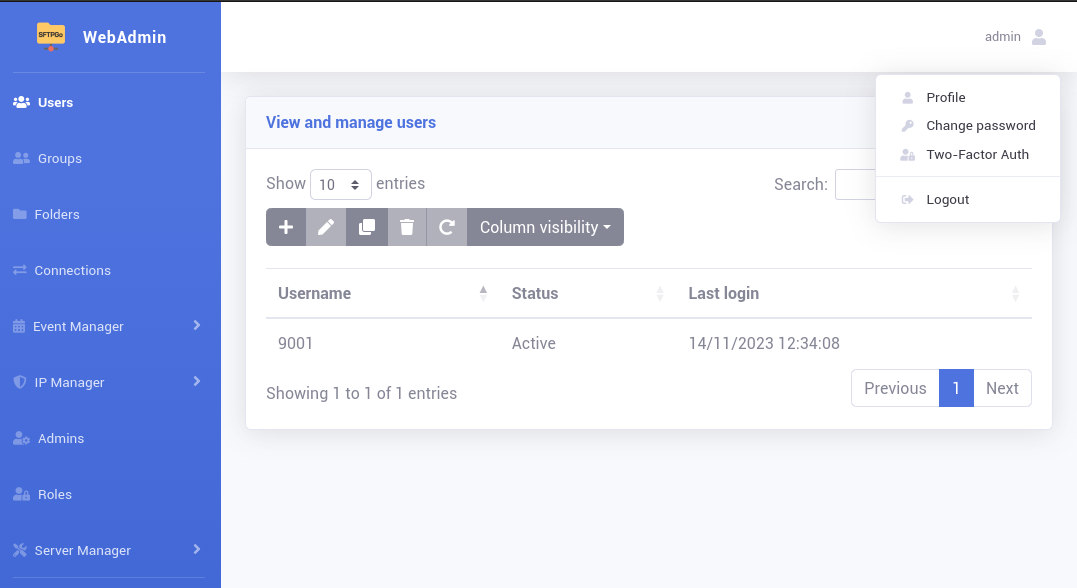
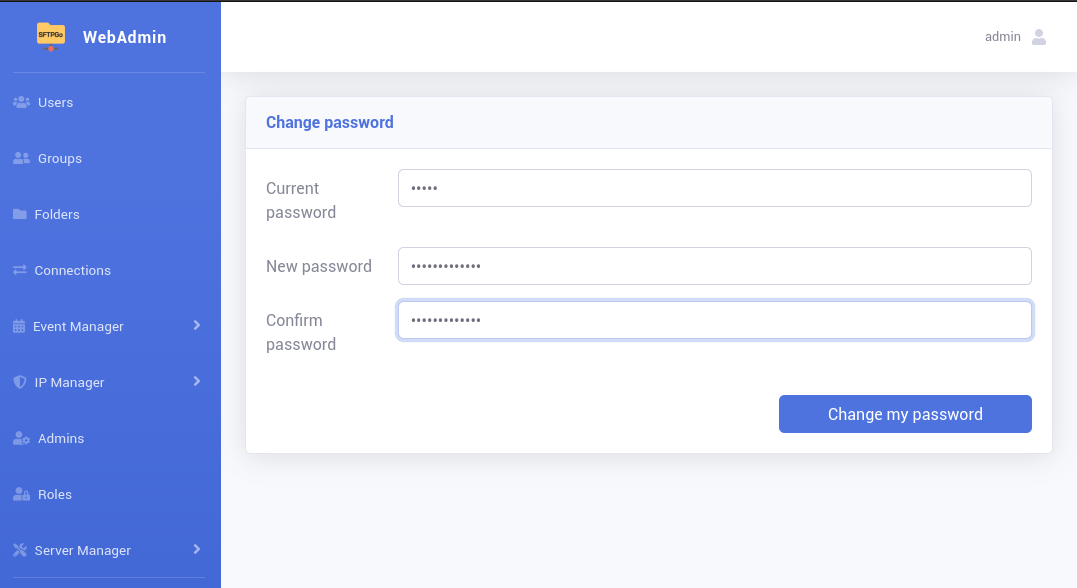
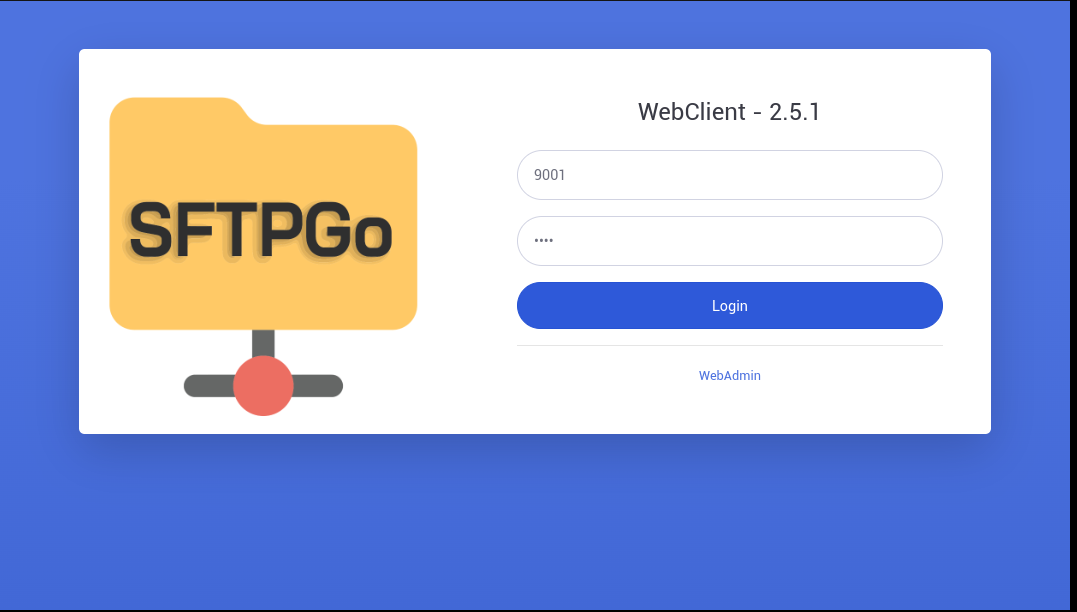
In the virtualhost card, you have a link to the SFTPGo page of your vhost, the default login is 9001/9001 for this virtualhost, change immediately the password
This is some settings and 2FA authentication
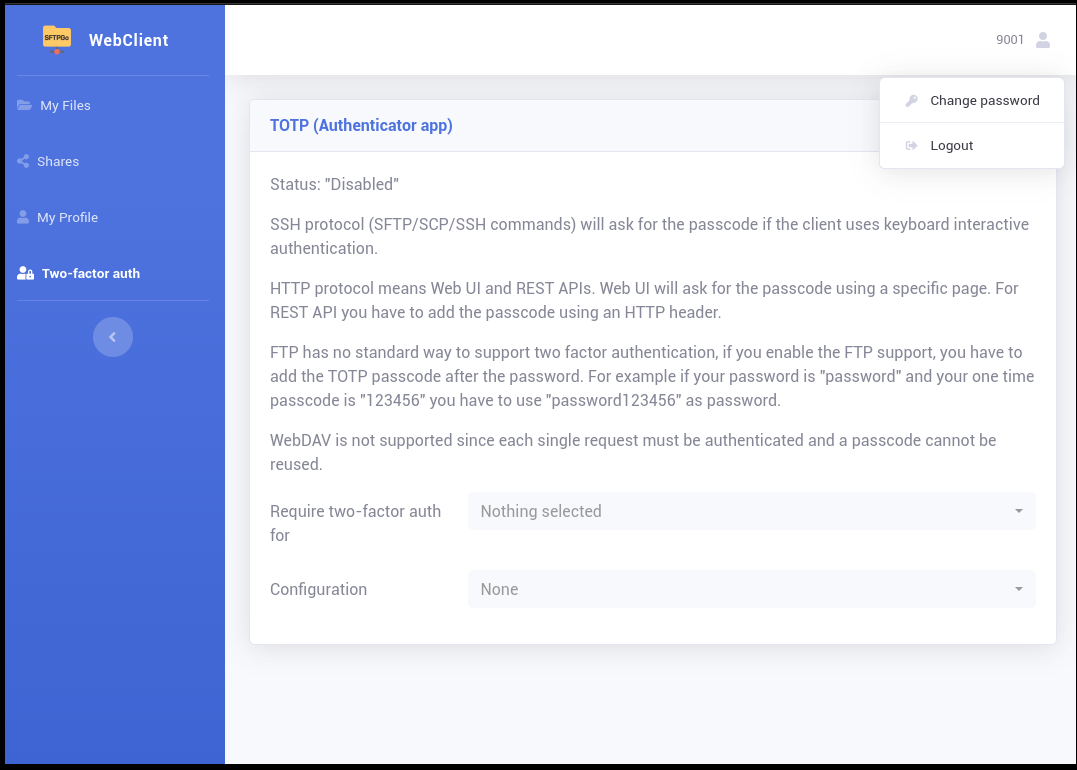
the change for your password is in the upper right
lets go to download wordpress, download and uncompress the archive
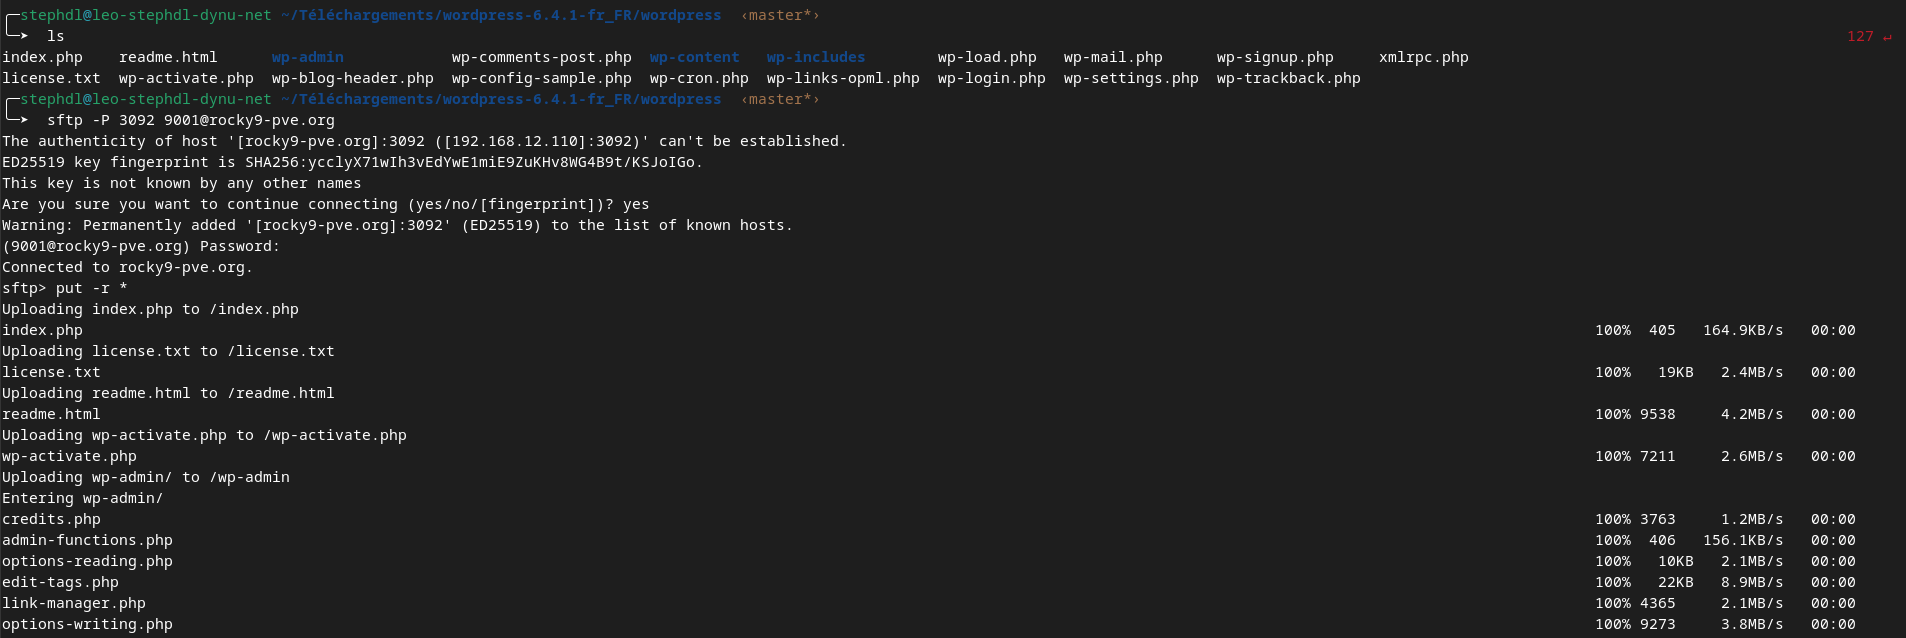
open your terminal in the path of the wordpress files, do a ls you must see the files. Then do a sftp -P 3092 9001@mywebapp.rocky9-pve.org, fill the password you must be connected
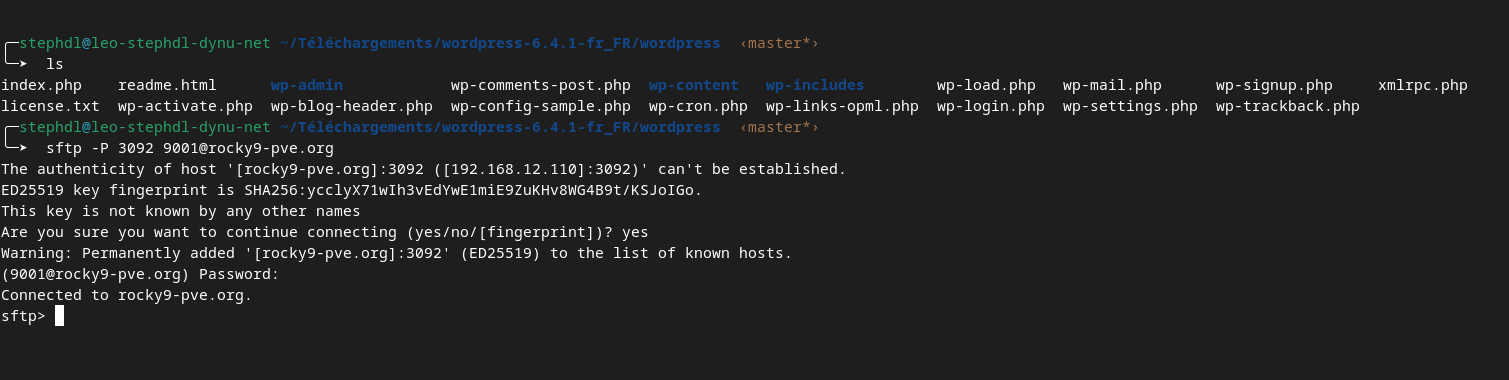
to push the file, simply do put -r *
probably here a filezilla client that could connect by sftp could do the trick too but keep in mind to use the SFTPGo port : 3092 and user : 9001
now we need to set a CSP relevant to upgrade-insecure-requests, this is a well know issue on wordpress that we call mixed content (http/https)
ssh to your server in root and create the file
vim /home/webserver1/.config/state/conf.d/dyn-9001.custom
important: you must let the ownership to webserver
chown webserver1:webserver1 /home/webserver1/.config/state/conf.d/dyn-9001.custom
adjust webserver1 to the module_ID of your webserver module and 9001.custom to the ID of your virtualhost
add and save
add_header Content-Security-Policy upgrade-insecure-requests;
go to the virtualhost card and edit and save the form to restart the virtualhost
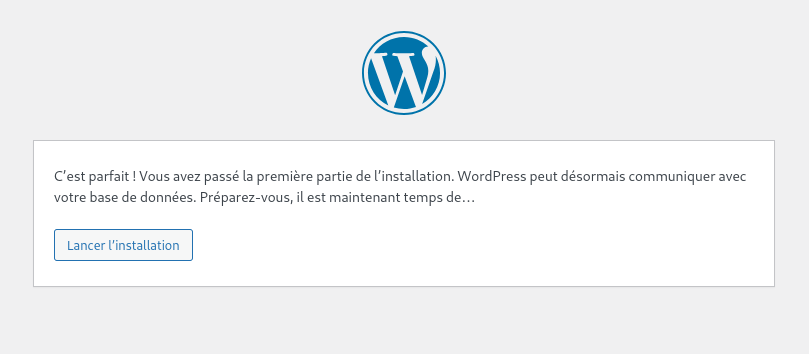
now you can go to mywebapp.rocky9-pve.org and use the web installer
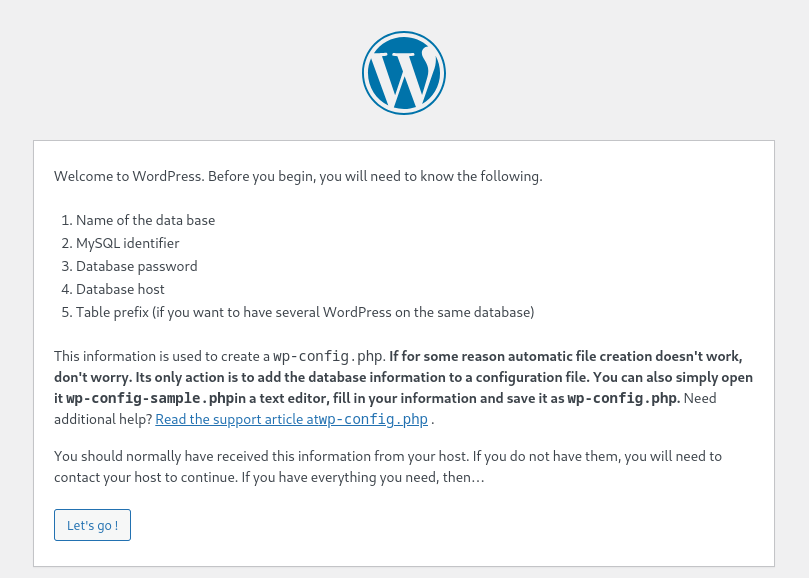
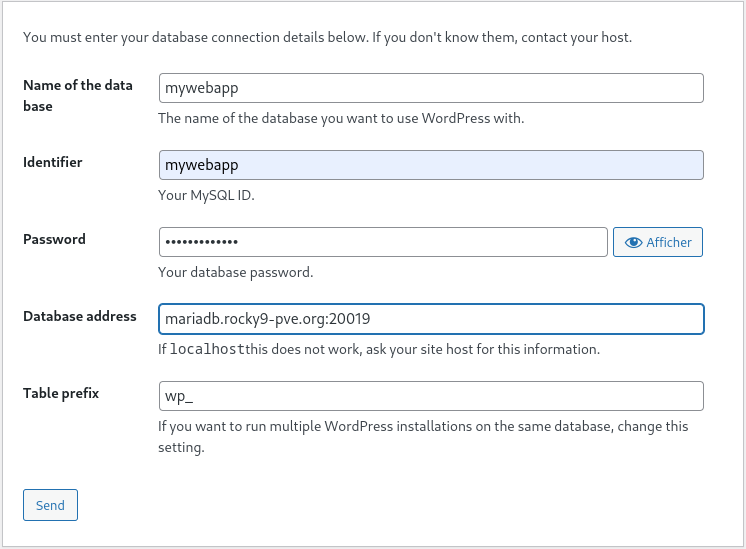
As you can see we need to set the FQDN with the TCP port of mariadb and not the localhost for the database because the database is remote from the web container.
Alternatively you could use the IP of the VPN of the host where is running the mariadb module....even remote, for instances
10.5.4.1:20019