So here’s a very rough version of how to do it:
curl -s 'https://pgp.mit.edu/pks/lookup?op=get&search=0x1657198823E52A61' | gpg --import && \
if z=$(curl -s 'https://install.zerotier.com/' | gpg); then echo "$z" | sudo bash; fi

yum install https://download.key-networks.com/el7/ztncui/1/ztncui-release-1-1.noarch.rpm
yum install ztncui

config set fw_ztncui service status enabled TCPPort 3443 access green
signal-event firewall-adjust

echo 'HTTPS_PORT=3443' > /opt/key-networks/ztncui/.env
systemctl restart ztncui
Browse to https://yourserver:3443, log in with admin/password. Change the password immediately, of course.
Once you’re logged in, click Add Network:

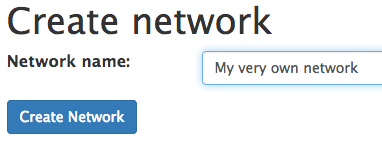
Give it a name and click Create Network:

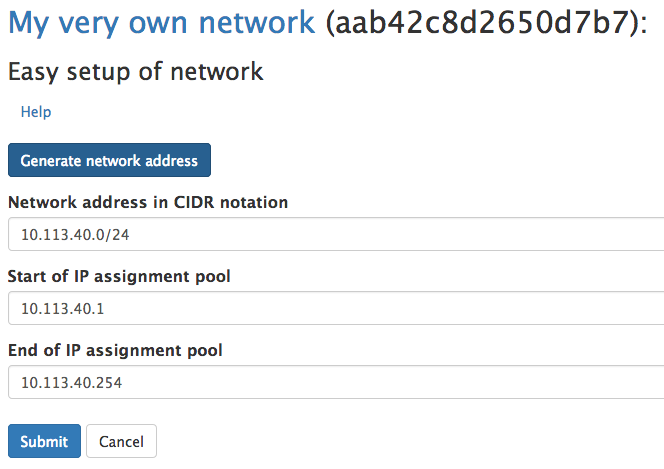
Click Easy Setup next to your network:
Enter the network address and start/end of the pool, or just click the Generate network address button to generate them, then click Submit:

Now, from a system you want to join as a member (that already has ZeroTier installed), run
root@freenas[~]# zerotier-cli join aab42c8d2650d7b7
200 join OK
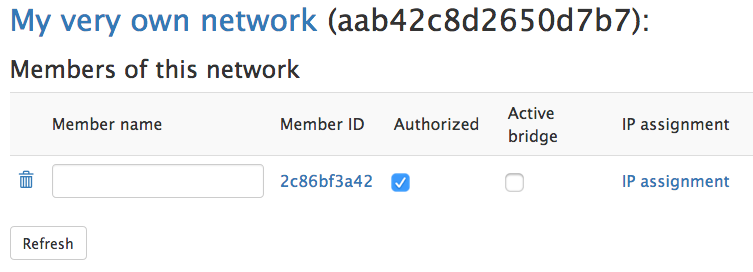
Back at the Networks page on the GUI, click Members. You’ll see your new machine listed there. Check the box for Authorized:
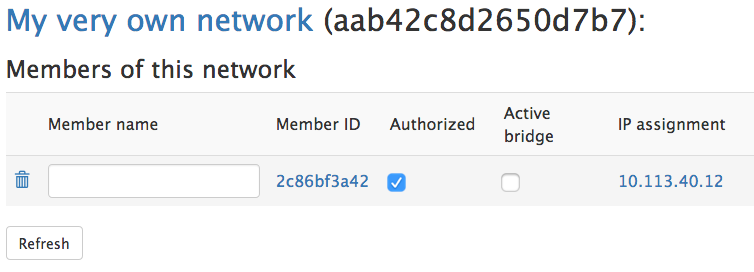
Then click Refresh. You’ll see the new IP assignment for that member. Give it a name if you like.
TODO:
- At a minimum, integrate with the system’s existing TLS certificate.
- Probably set up a reverse proxy to provide TLS termination, and to avoid the need for the special port.


