Hello my Nethserver friends,
Today I wanted to create a quick How To guide on quickly setting up and using a Raspberry Pi 4 (specifically this kit). This guide assumes that you have already downloaded the latest CentOS 7.9 image file and loaded it onto an SD card. We used the CentOS-Userland-7-armv7hl-RaspberryPI-Minimal-4-2009 image with default login credentials of username:root and password:centos.
Assumptions & Scope:
There is a single Raspberry Pi 4 networked on a standard class A X.X.X.X/24 network (10.0.1.0/24 for our demo) with NethServer having only 1 NIC. NOTE because this is new/untested software do not consider this a recommendation for production ready environments and you will not be able to purchase official support from Nethserver and will most likely be left to figure out any problems on your own. Use at your own risk and consider learning more about the NS Backup module.
First Time Configuration of RP4:
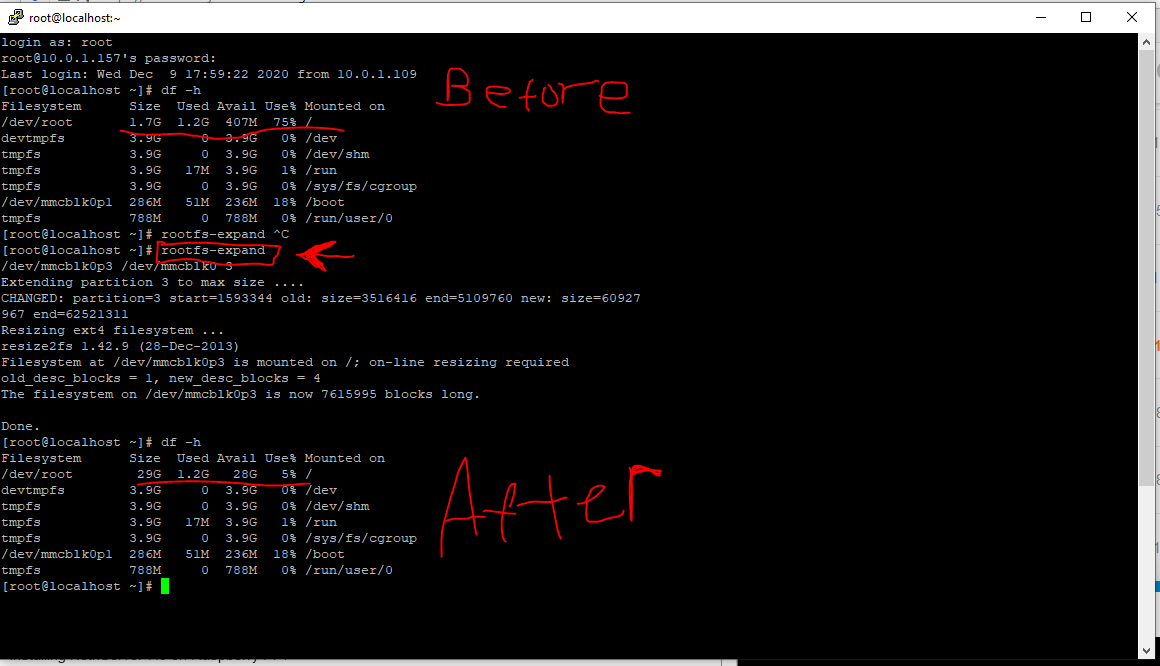
From either the terminal or ssh log into the Raspberry Pi 4 root account and look at the current disk space layout with:
df -h

Notice that the root of the drive is reporting 75% usage and we need to expand the file system to fit the remainder of the space on the SD card. To exapnd the file system, as root perform the following command:
rootfs-expand
Add Repository and Install Nethserver:
After confirming the file system has expanded the entire volume of the SD card we need to add the NethServer repository to our RP4. Add the repository by entering the following. Make sure to confirm with a y (for yes) when prompted to add the NS repository to your system.

After the NS repository has been succesffuly added, we can perform the standard Nethserver install procedure found here. To begin the install process, copy the following and press enter. NOTE the install process may take a 5 -10 minutes.
nethserver-install
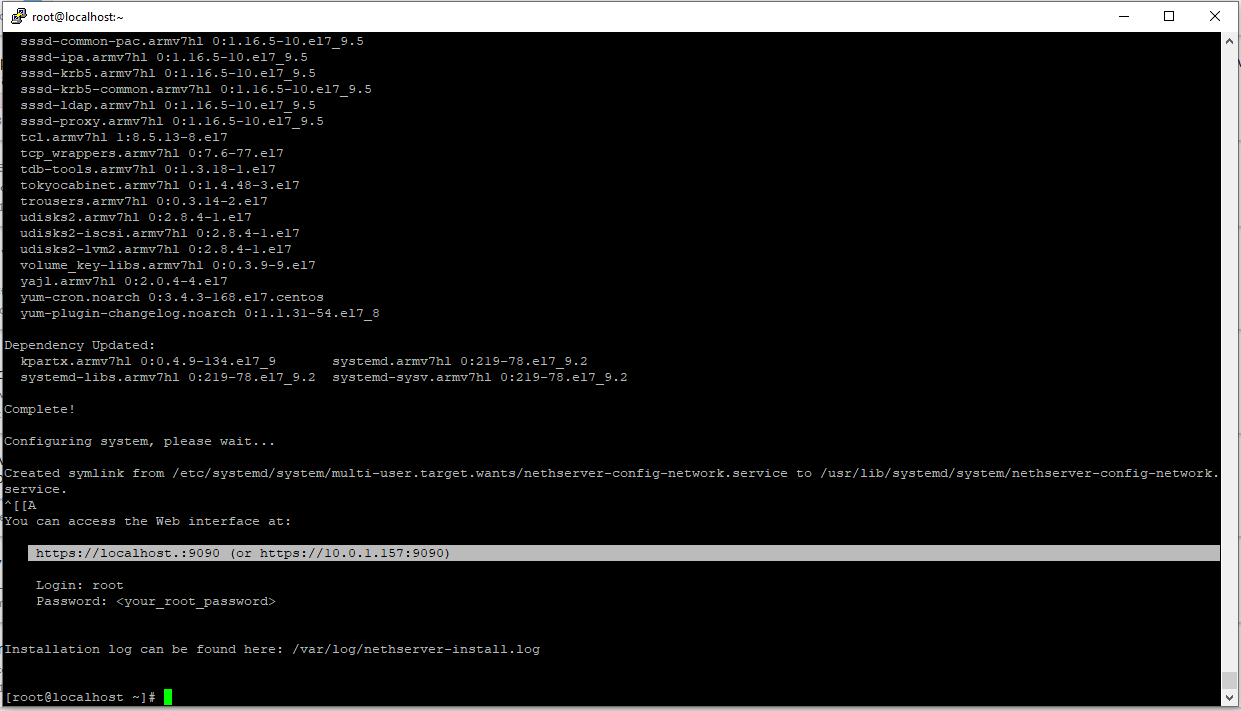
When finished, a Complete! message will be displayed along with your web access your URL.
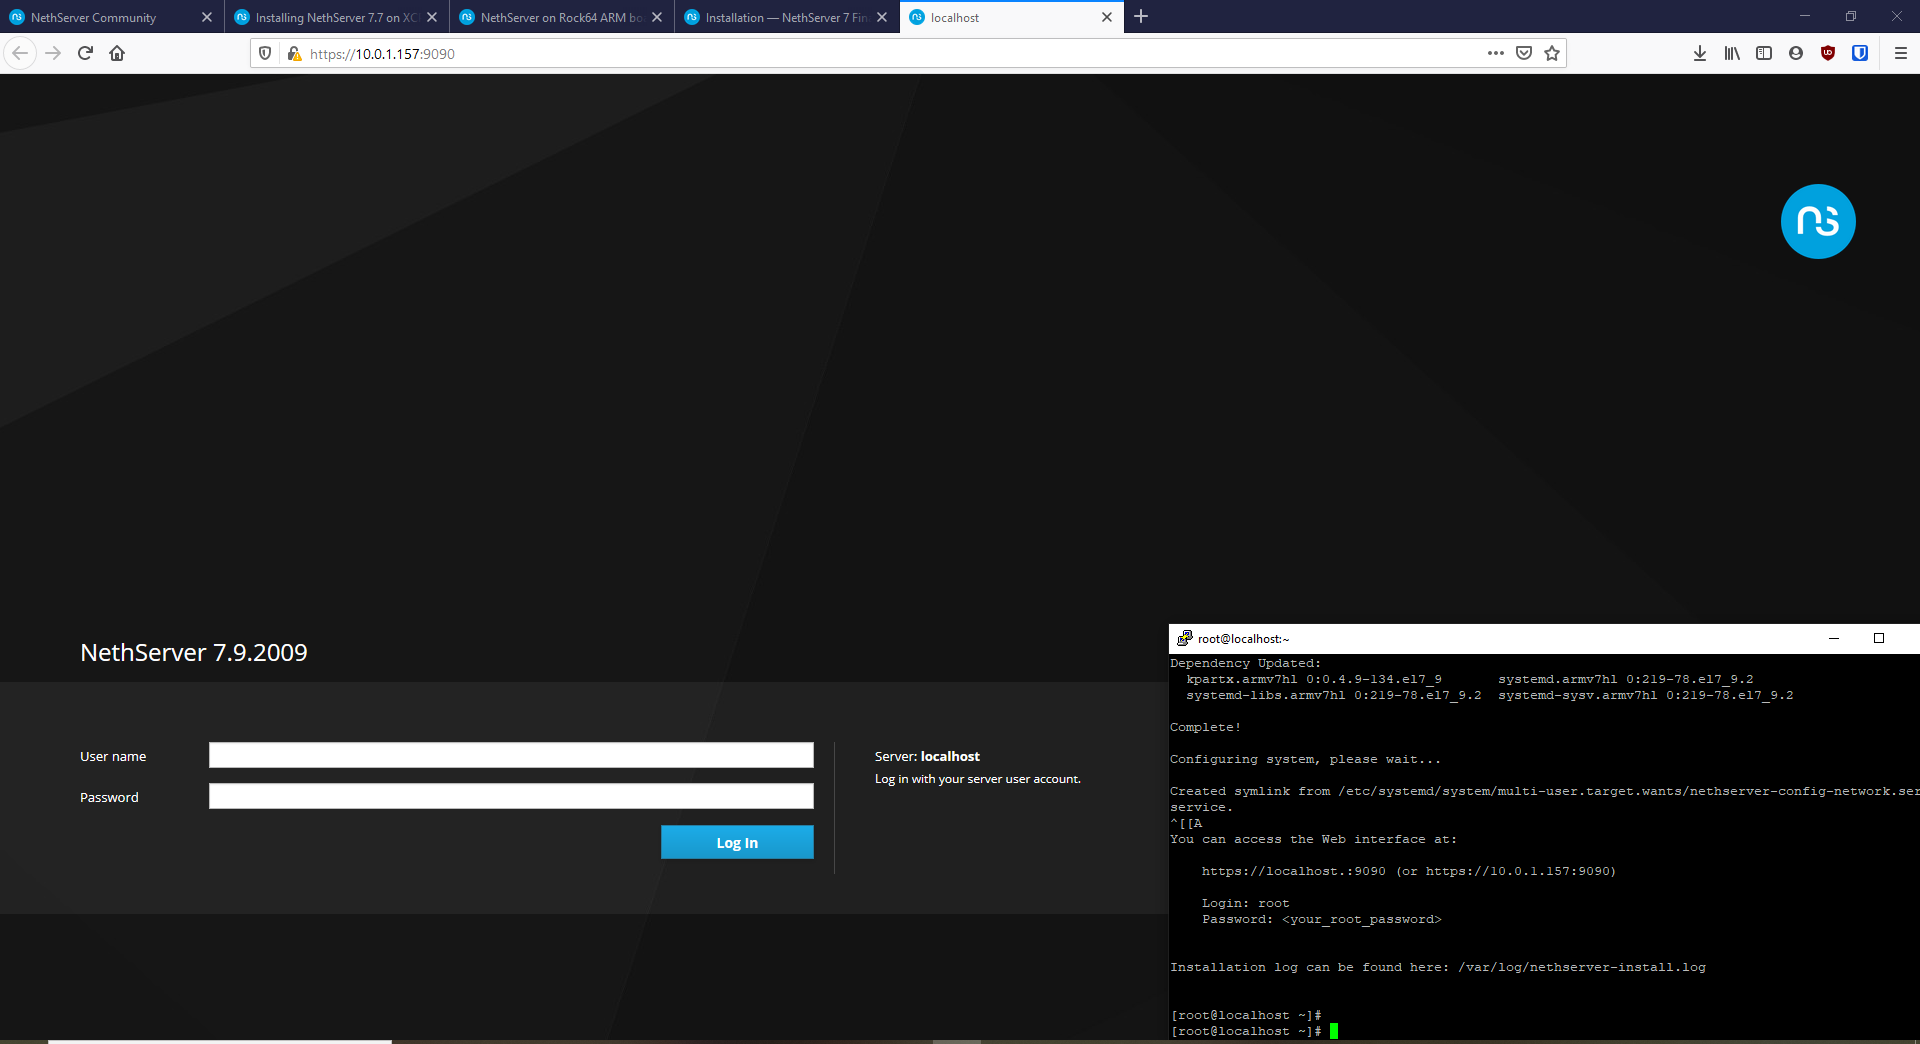
Accessing the Server Manager
To complete the configuration and gain access to the newly installed NethServer in a web browser navigate to your server IP web-admin address using the following format https://a.b.c.d:9090 where a.b.c.d is the IP address of the server. For this demo https://10.0.1.157:9090 will give us access to the Server Manager.
Note - you may get a security warning from your browser due to the self signed untrusted certificate. Bypass this warning by selecting the Advanced option and selecting the Accept the Risk and Continue button to proceed to the next step. The default login credentials of username:root and password:centos are used here.
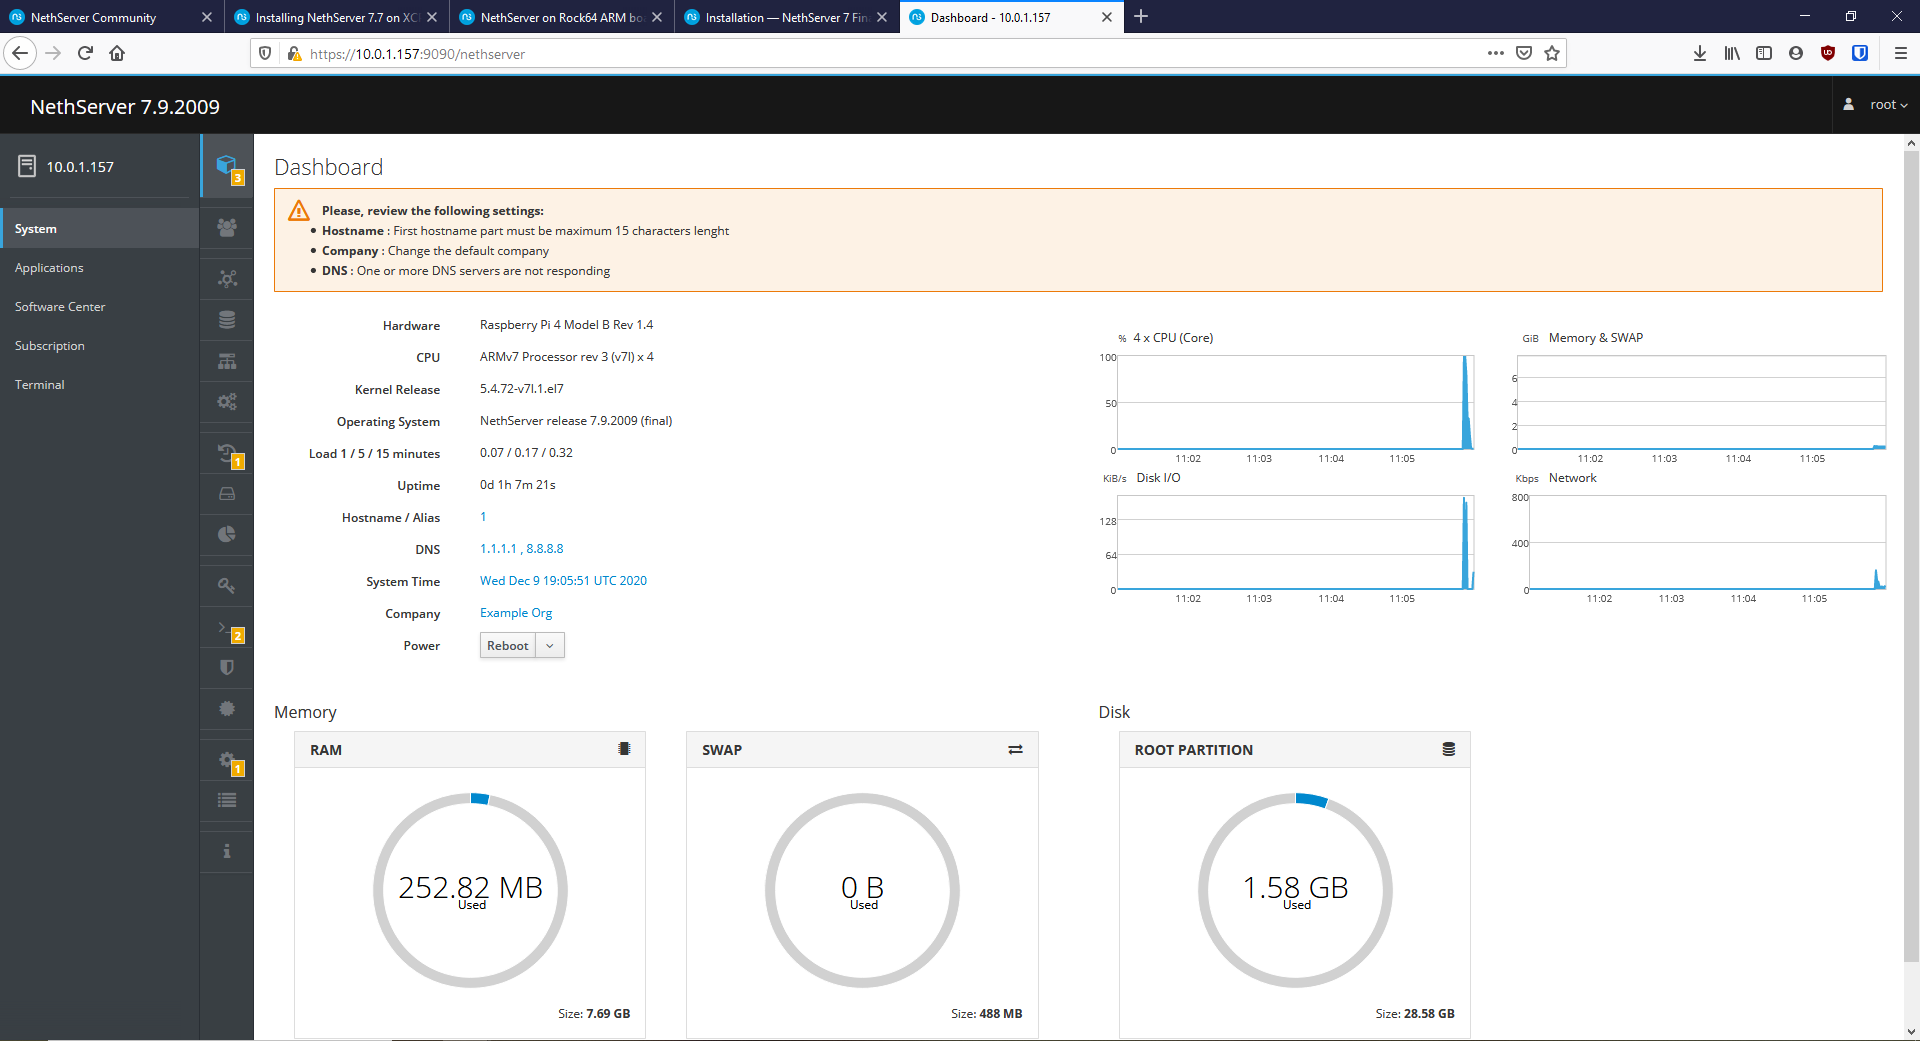
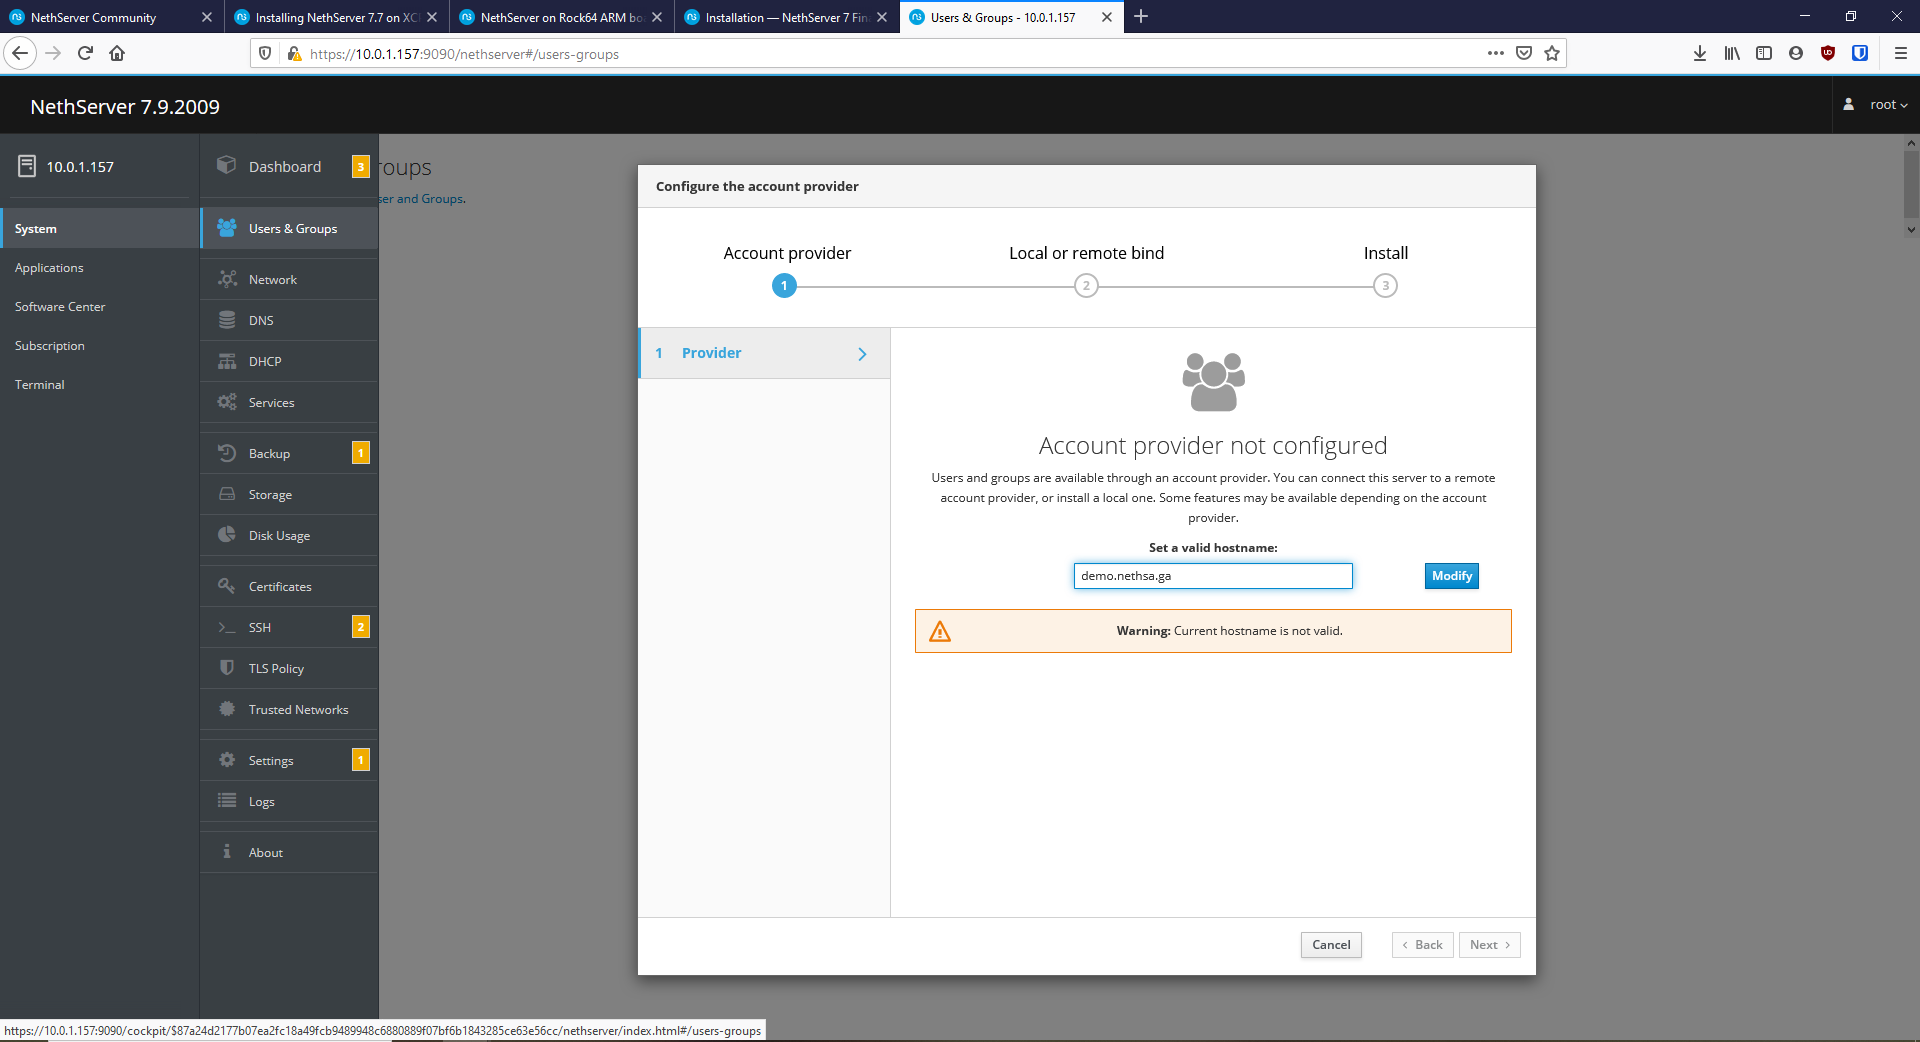
From here you can perform any of the typical/routine first time setup arrangements such as changing the password, installing apps and setting you networking requirements. NOTE to change the hostname for the first time I had to set the valid domain at System → Users & Groups and selected the “Modify” button after setting the full desired host name.
-TO DO List-
- Add video
- Explore software modules
- Refine guide as needed