Hi all interested!
Here’s a small howto for those who would like to / need to enlarge the Debian swap partition on the base OS Debian, where NS8 is running on. NS8 is running on Proxmox in this case, installed on Debian 12.5 as a VM.
Here some background infos:
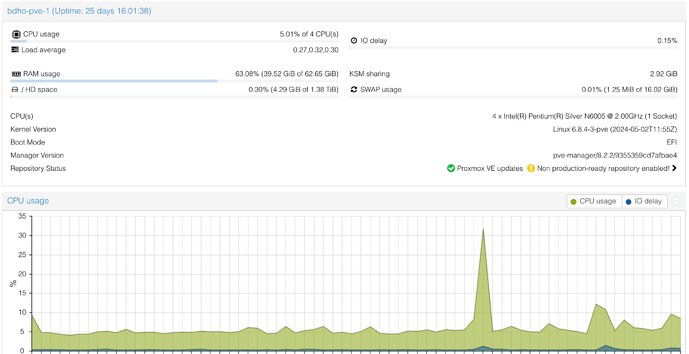
The Proxmox is a low powered Odroid H3+, running NS8, a Win10 box for RDP access and a Home Assistant.
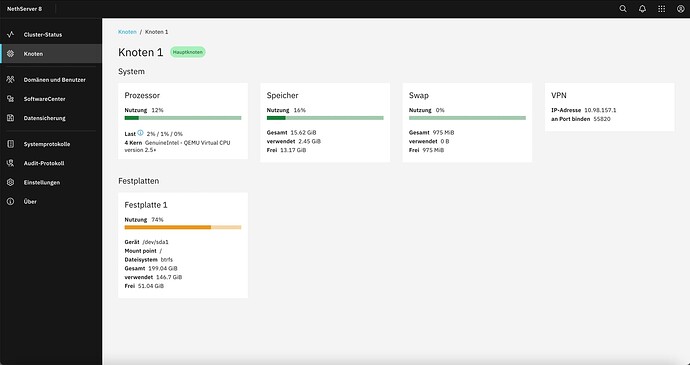
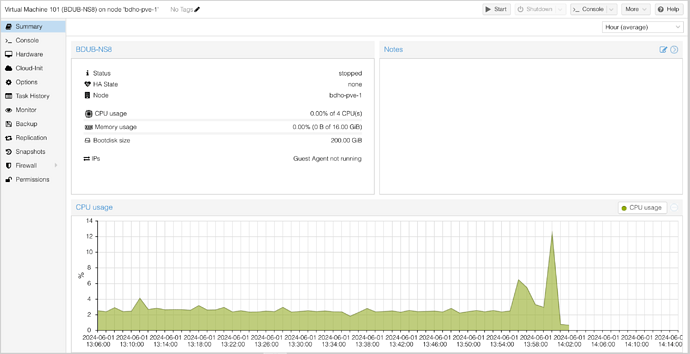
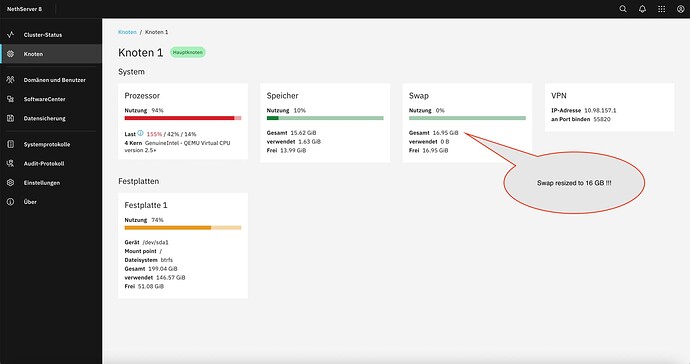
The NS8 itself is shown here (sorry for german):
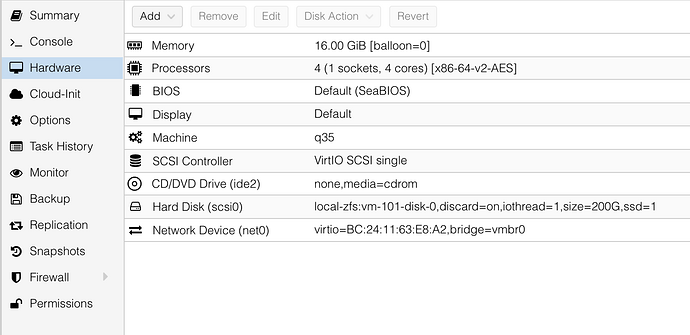
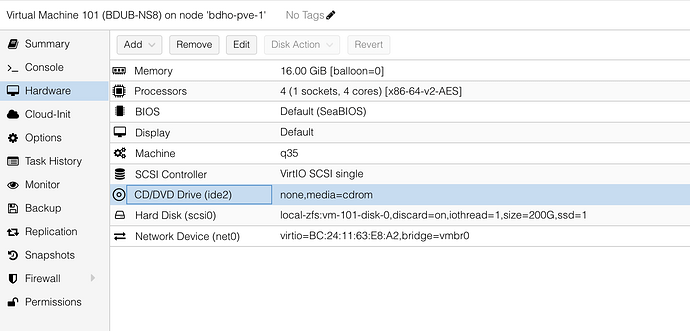
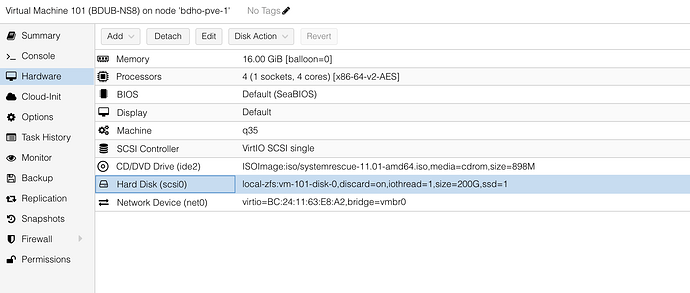
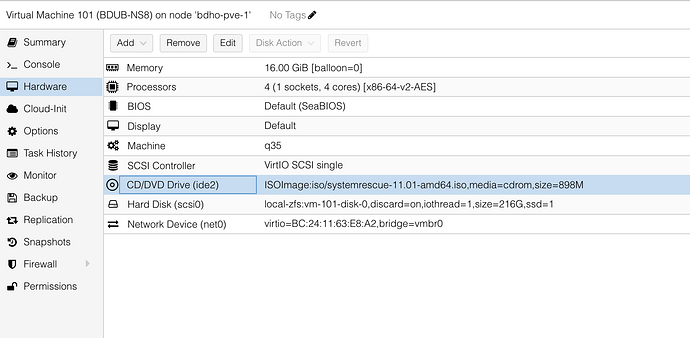
The VM specific Proxmox settings are shown here:
If installed the quick way, Debian will have a swap partition of about 1 GB, in some cases not enough!
So how can this swap partition be easily and painlessly enlarged?
First things first:
Before making any changes to a running system, make a backup. Proxmox makes this easy and fairly quick, especially if PBS is also available. No excuses!
The only tool we will be needing is SystemRescue, previously called SystemRescueCD.
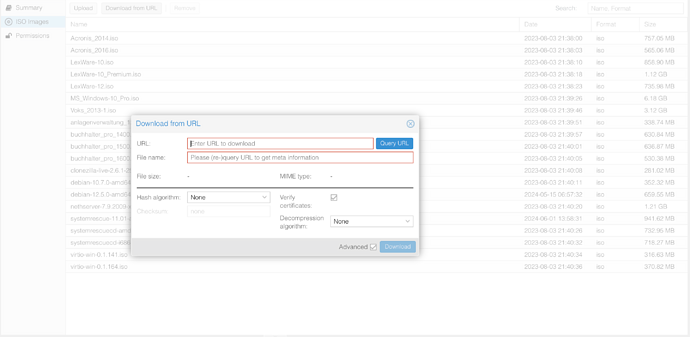
You can copy the fastly download as ISO link, and insert it directly into proxmox download from URL for ISOs…
Shutdown your NS8 using that button when the VM is marked. Debian 12.5 includes qemu-guest-agent automatically when it detects a KVM based install and it’s activated. Check if the status of the VM shows the used IPs…
The VM is off.
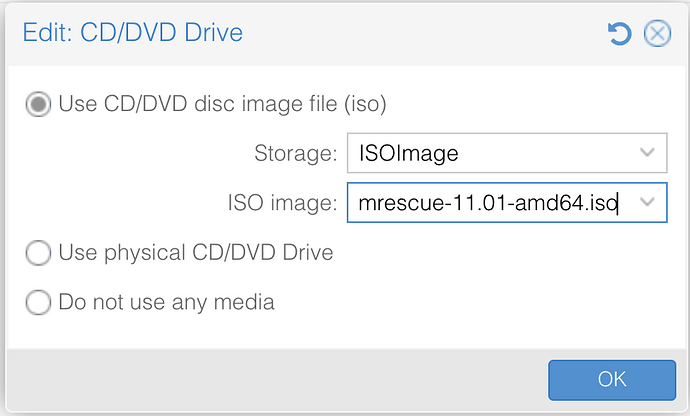
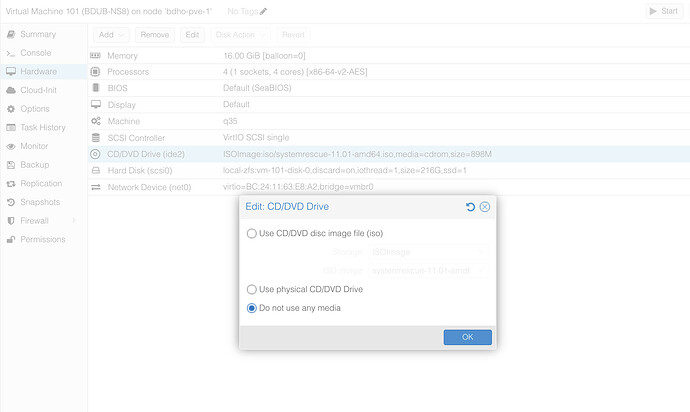
Now, to change the ISO boot Image and set Boot Start Options…
Something like this should work:
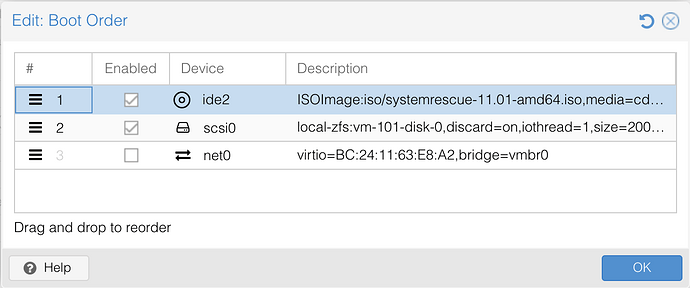
The Boot start order also needs to be adapted:
This can be left after the swap resizing as is.
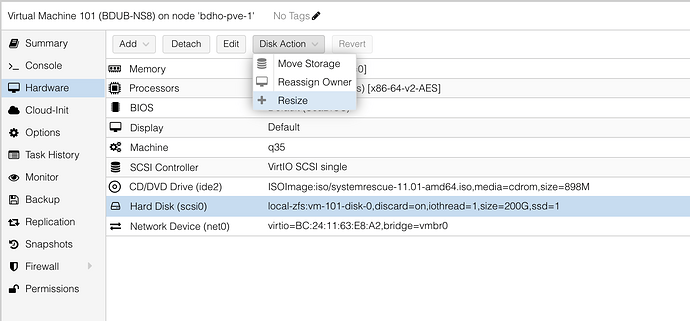
Now, to enlarge the virtual disk itself in Proxmox:
Mark the disk and choose Disk Actions on top, there choose resize
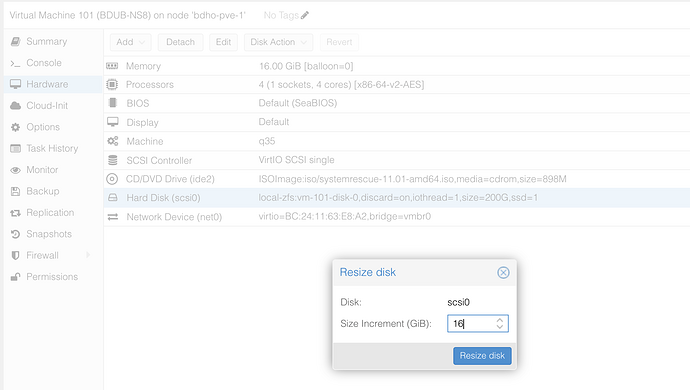
Here, type in 16, then click on resize disk.
We are now ready to boot SystemRescue…
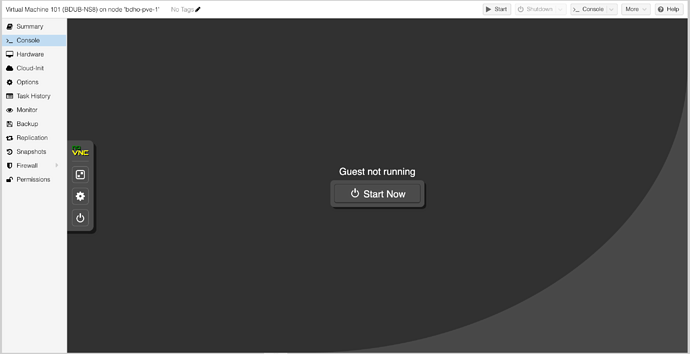
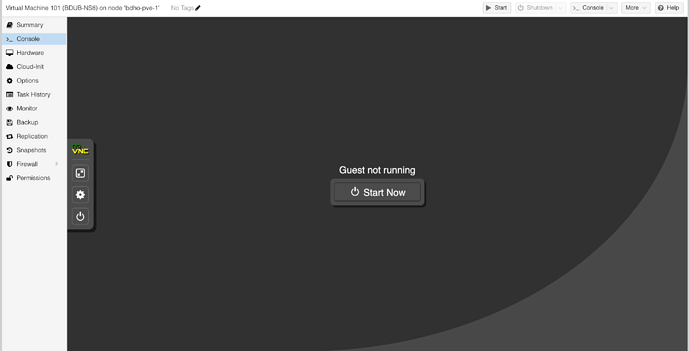
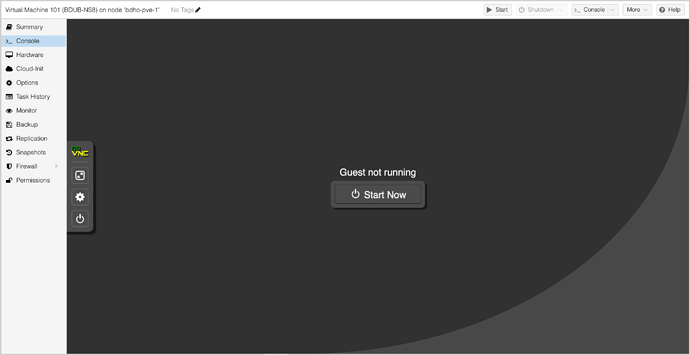
Go to console, and hit the “Start Now” button.
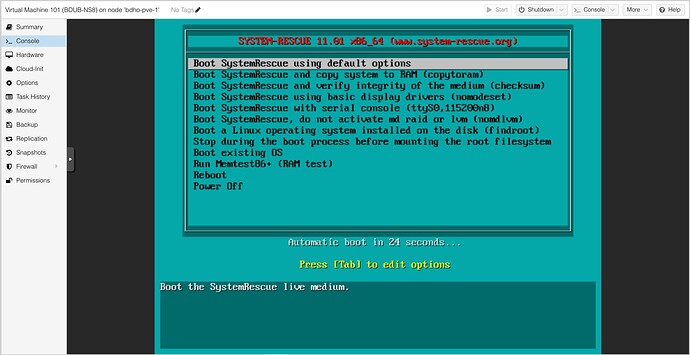
SystemRescue offers several options, the first works best in Proxmox!
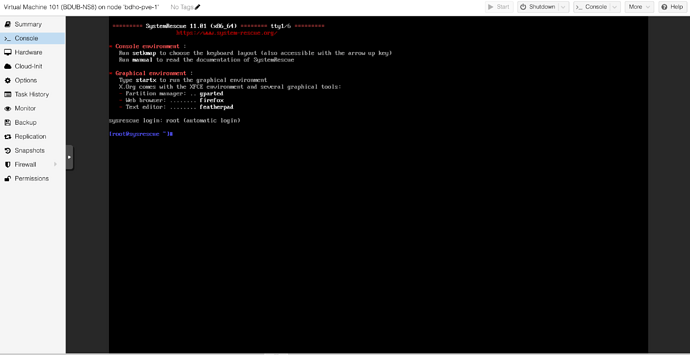
Once booted, you will get this:
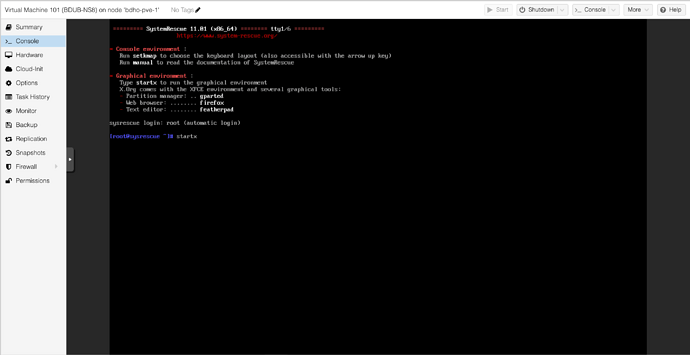
Type startx at the prompt and hit ENTER.
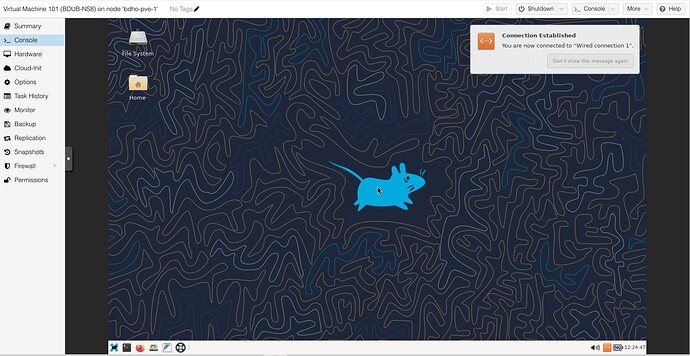
The GUI will start up…
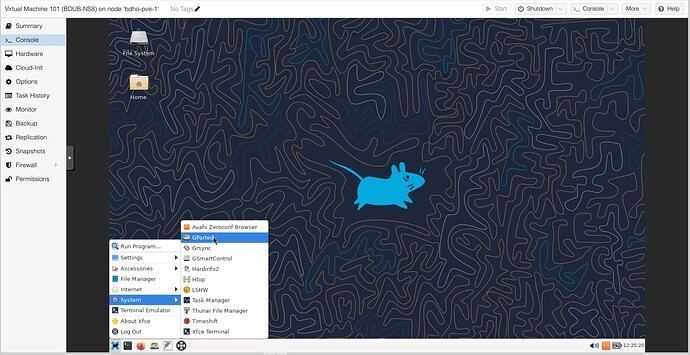
We need gparted:
Note:
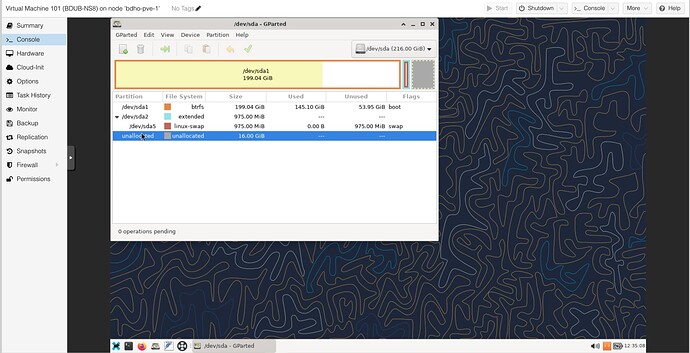
SystemRescue can automatically recognize and use the supported file systems in Debian, except for ZFS.
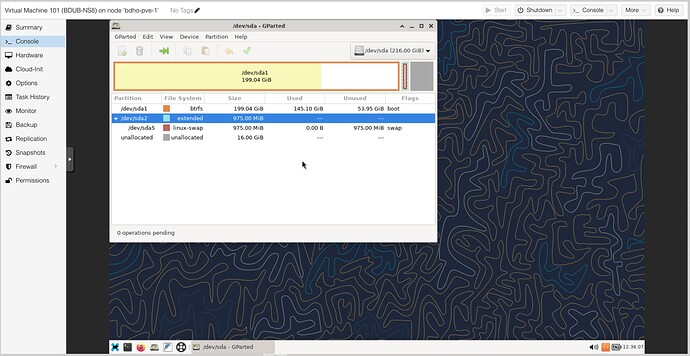
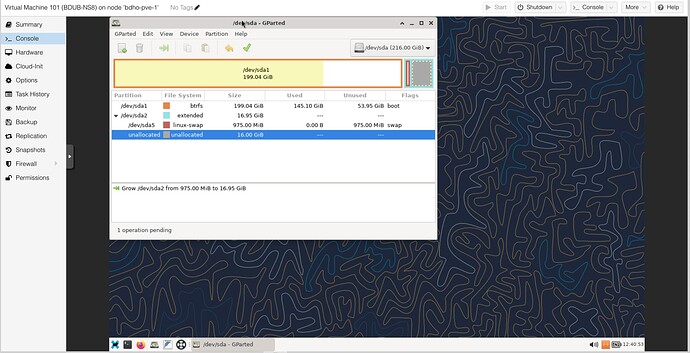
Mark the sda2 extended partition as shown:
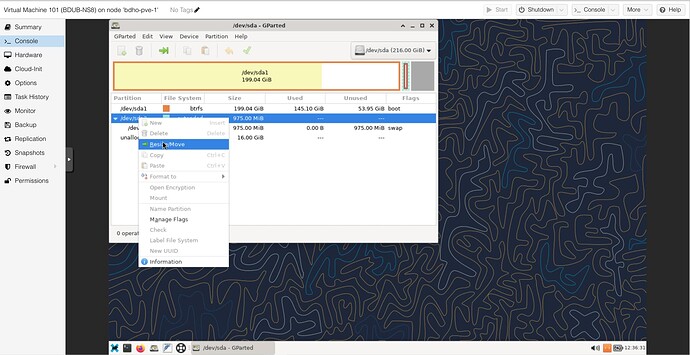
A right mouse click will display:
Resize sounds right… ![]()
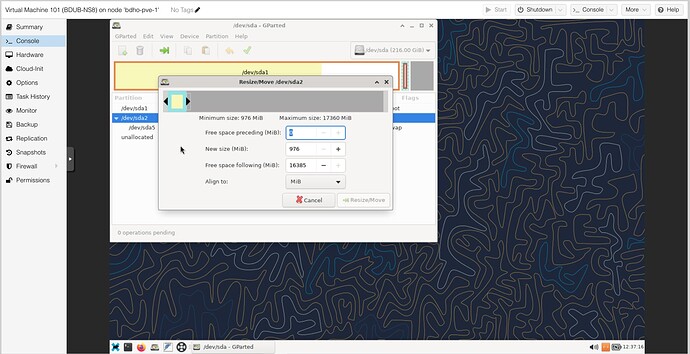
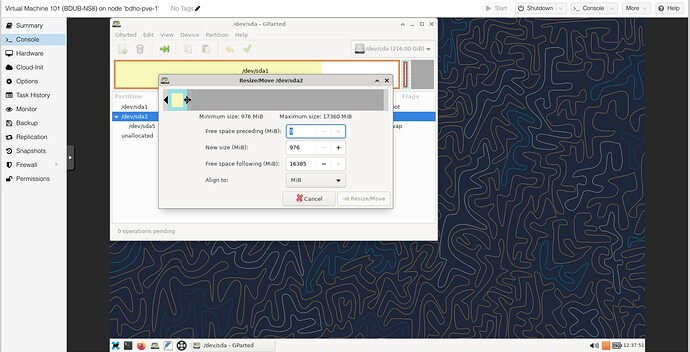
Place your mouse here, on the right side of the partition display…
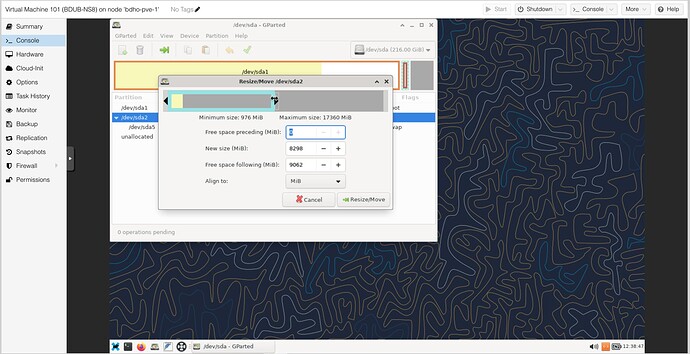
Enlarge by draging that “handle”
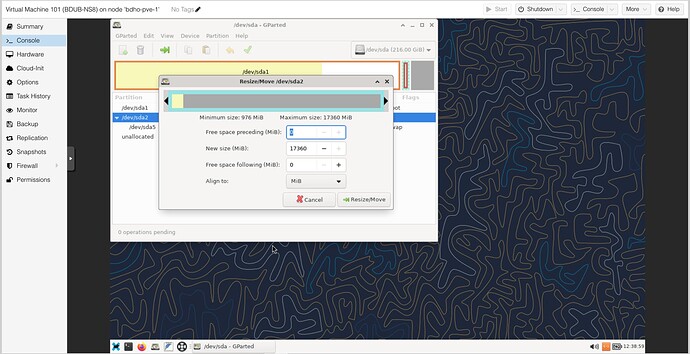
until this:
Click Resize / Move
Step one done: Extended partition enlarged.
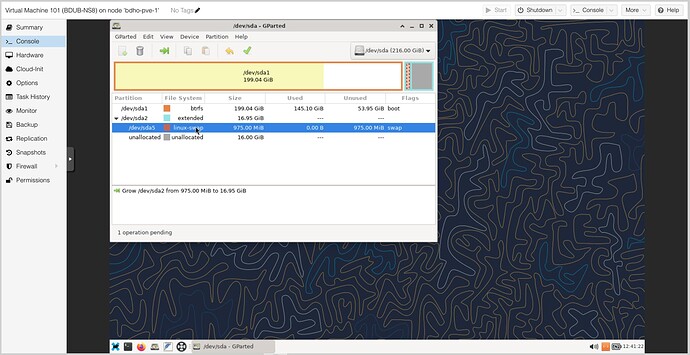
Now mark the swap partition as shown:
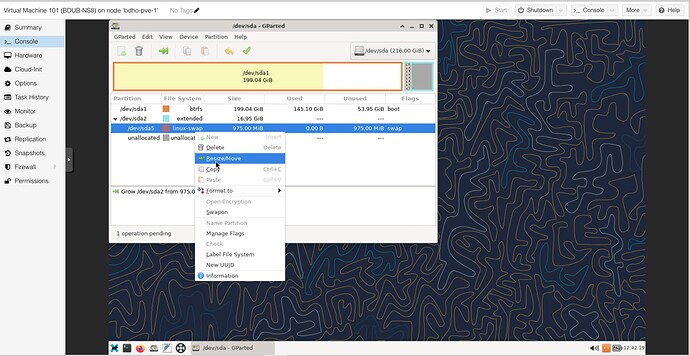
Right mouse click:
Again Resize / Move:
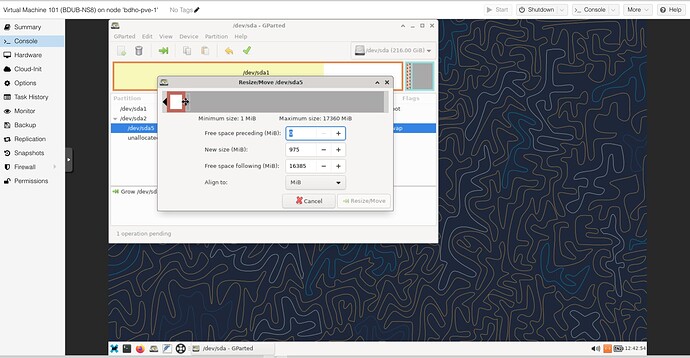
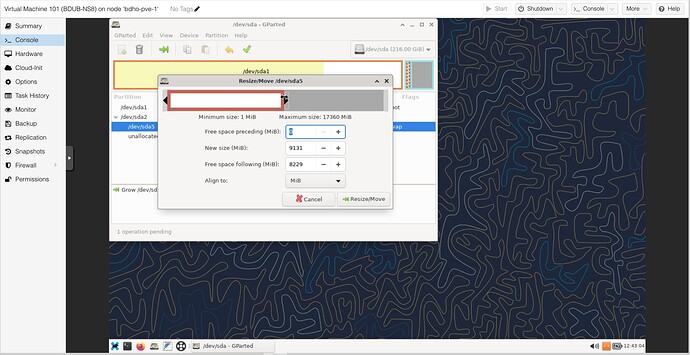
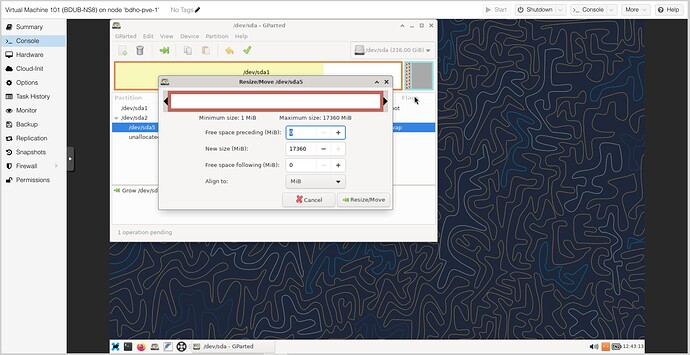
Here, again drag the partition from it’s right side:
until here:
Click again Resize / Move.
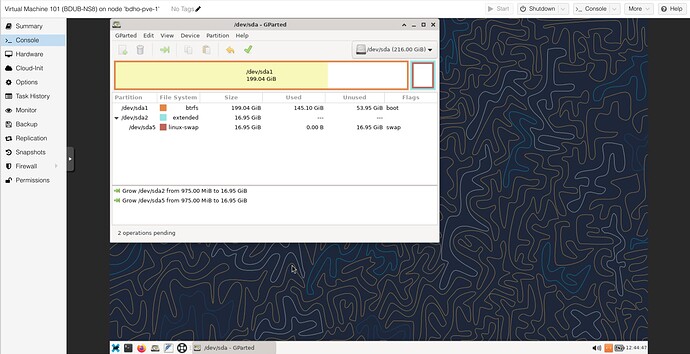
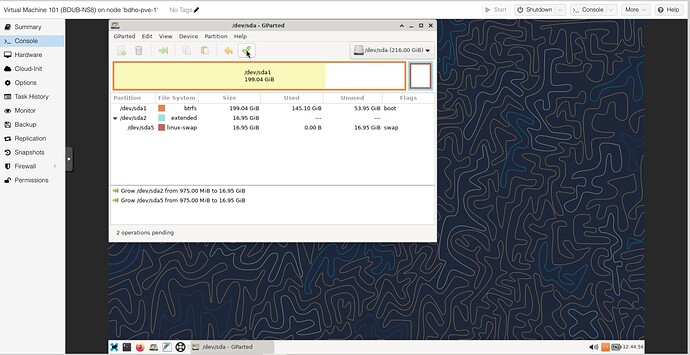
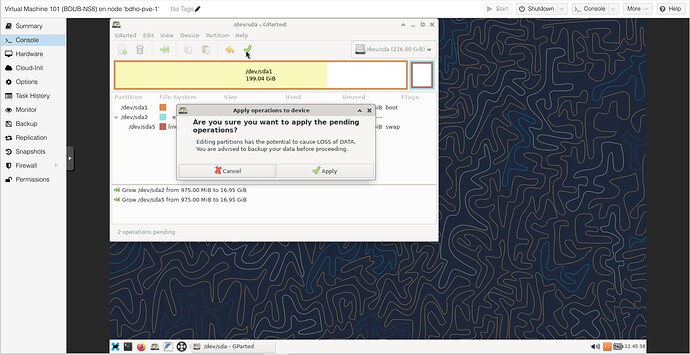
Now, to do the actual resizing, hit the green tick on the top
Are you sure?
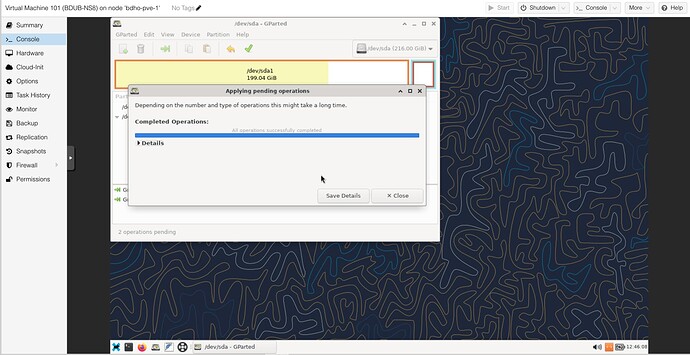
Hit Apply.
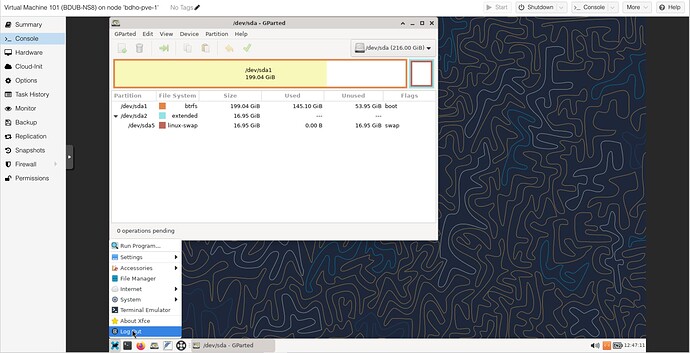
Close the window.
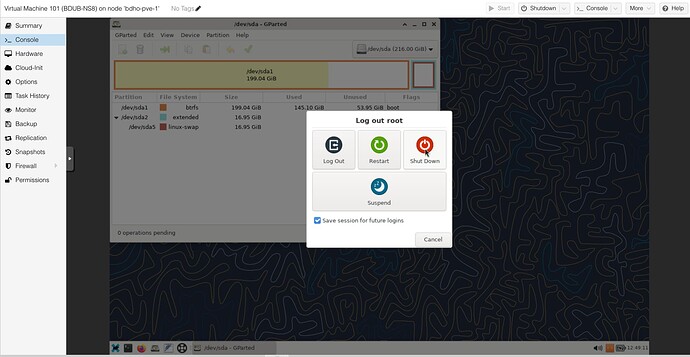
SystemRescue can be shut down at this point, no need to close any windows.
Shutdown would be right.
SystemRescue shuts down very fast!
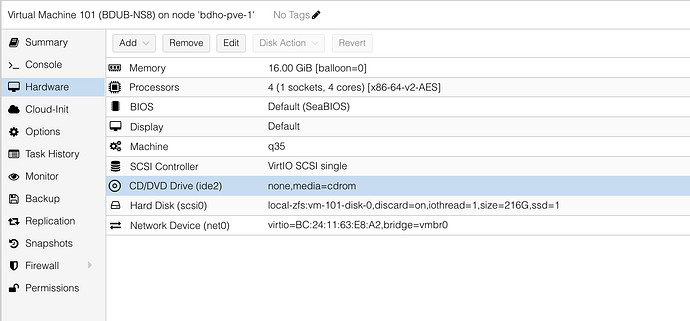
Now, remove the ISO Image and CD:
Done.
Now, the moment of truth: Boot again with NS8:
Refreshing the still open NS8 Dashboard shows:
It works, NS8 is satisfied!
→ Note:
While this HowTo is specifically for Proxmox users, the methods & tools shown will probably work 1:1 on other Hypervisor solutions, from VMWare, Hyper-V, Xen and Virtualbox…
Hope this helps someone!
My 2 cents
Andy
