Part 1 - Installation of Ubuntu MATE 20.04 on encrypted ZFS
Inspired by:
I used ubuntu-mate-20.04-desktop-amd64.iso for the installation.
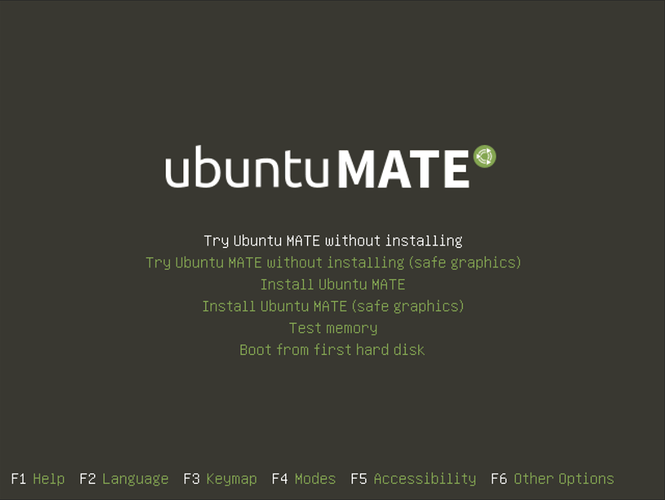
Step 1: Boot the Ubuntu Desktop live CD/DVD and click on “Try Ubuntu MATE without installing”
Step 2: Open a terminal and edit zsys-setup
nano /usr/share/ubiquity/zsys-setup
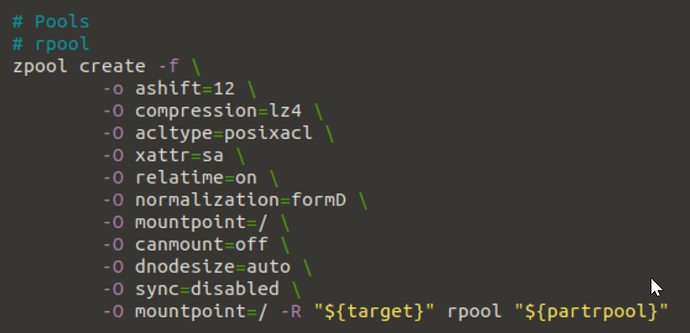
Step 3: Search the zpool create entry with the rpool on the end
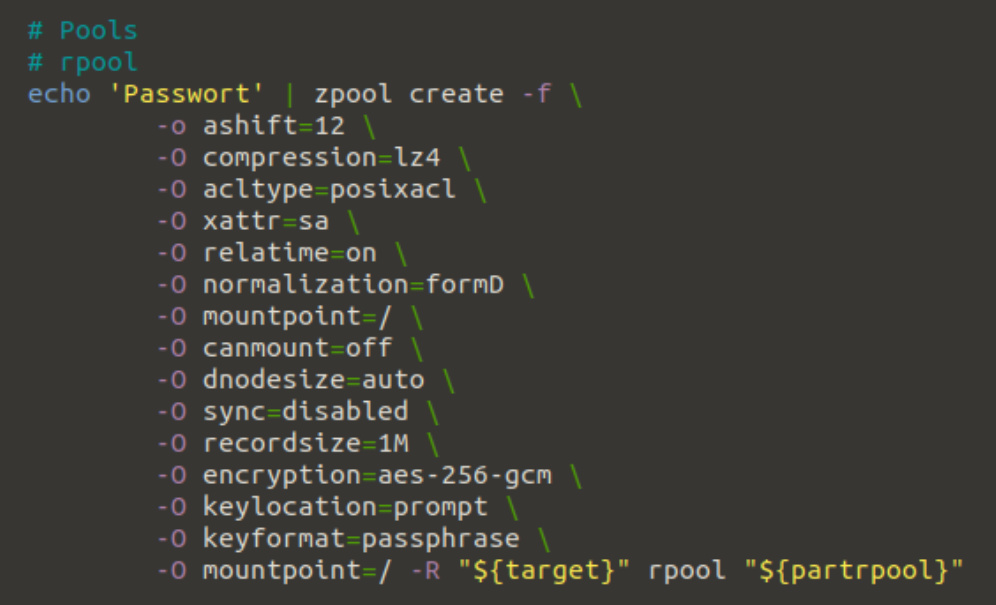
Step 4: Edit it as shown in the screenshot and use your own password instead of Passwort
Step 5: Type the command ubiquity to start the installer

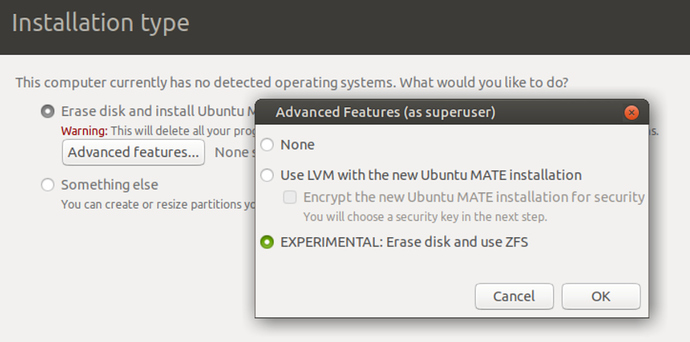
And Erase disk and use ZFS under Advanced features…
Part 2 - Join the Nethserver Samba AD
In my setup, I use Nethserver 7.7 as DHCP and DNS server. Be sure that your Ubuntu Client get an IP-Adress and DNS-Information from the server.
Optional: Install ssh service on the client to be able to copy and paste commands
Install SSH server:
sudo apt install ssh
Enable and start SSH server daemon:
sudo systemctl enable --now ssh
Check SSH server status:
sudo systemctl status ssh
Get IP address:
ip a
Connect from another Computer:
ssh username@Your-Server-IP
Step 1: Install required packages
sudo apt update
sudo apt -y install realmd libnss-sss libpam-sss sssd sssd-tools adcli samba-common-bin oddjob oddjob-mkhomedir packagekit
Step 2: Check domain configuration
sudo realm discover ad.yourdomain.lan
This should look like:
ad.yourdomain.lan
  type: kerberos
  realm-name: AD.YOURDOMAIN.LAN
  domain-name: ad.yourdomain.lan
  configured: no
  server-software: active-directory
  client-software: sssd
  required-package: sssd-tools
  required-package: sssd
  required-package: libnss-sss
  required-package: libpam-sss
  required-package: adcli
  required-package: samba-common-bin
You can see what packages are required…
Step 3: Join Ubuntu Client to the Nethserver Samba AD
sudo realm join -U Administrator ad.yourdomain.lan
Step 4: Create user’s home directory
sudo bash -c "cat > /usr/share/pam-configs/mkhomedir" <<EOF
Name: activate mkhomedir
Default: yes
Priority: 900
Session-Type: Additional
Session:
        required                        pam_mkhomedir.so umask=0022 skel=/etc/skel
EOF
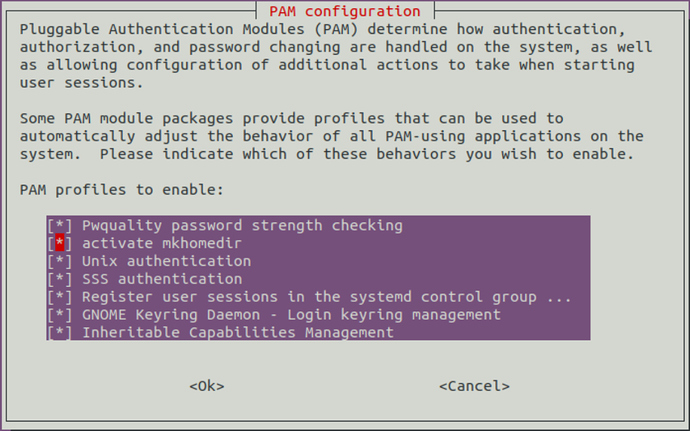
Step 5: Activate users’ home directory
sudo pam-auth-update
Step 6: Configure Sudo Access
sudo echo "" | sudo tee -a /etc/sudoers
sudo echo "# Allow Nethserver Admins" | sudo tee -a /etc/sudoers
sudo echo "administrator@ad.yourdomain.lan ALL=(ALL) ALL" | sudo tee -a /etc/sudoers
sudo echo "admin@ad.yourdomain.lan ALL=(ALL) ALL" | sudo tee -a /etc/sudoers
Step 6a: Automount homedir
Install some packages
sudo apt-get install ntp adcli libsss-sudo libpam-mount cifs-utils
Edit pam_mount.conf.xml
sudo nano /etc/security/pam_mount.conf.xml
Place the Volume definitions on the end of the xml file before </pam_mount>
<!-- Volume definitions -->
<volume user="*" sgrp="domain users@ad.yourdomain.lan" fstype="cifs" server="your-servername" path="%(DOMAIN_USER)" mountpoint="~/nethome/home" options="nosuid,nodev" />
<volume user="*" sgrp="domain users@ad.yourdomain.lan" fstype="cifs" server="your-servername" path="share1" mountpoint="~/nethome/share1" options="nosuid,nodev" />
<volume user="*" sgrp="domain users@ad.yourdomain.lan" fstype="cifs" server="your-servername" path="share2" mountpoint="~/nethome/share2" options="nosuid,nodev" />
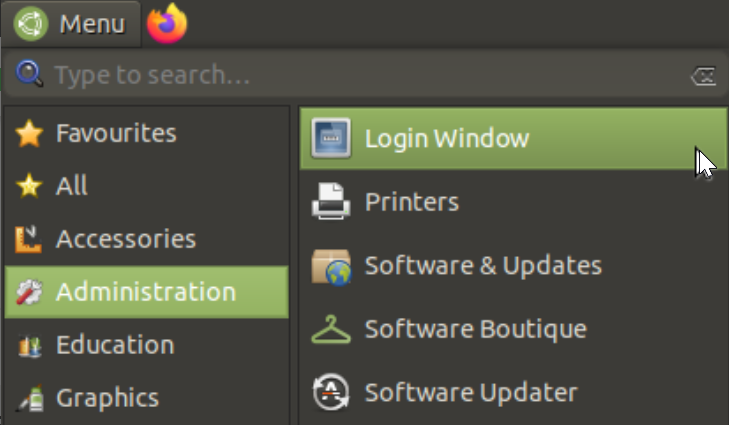
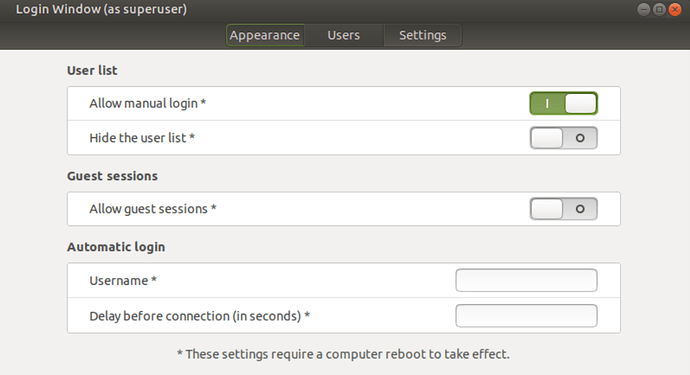
Step 7: Allow manual login
Reboot your Client now
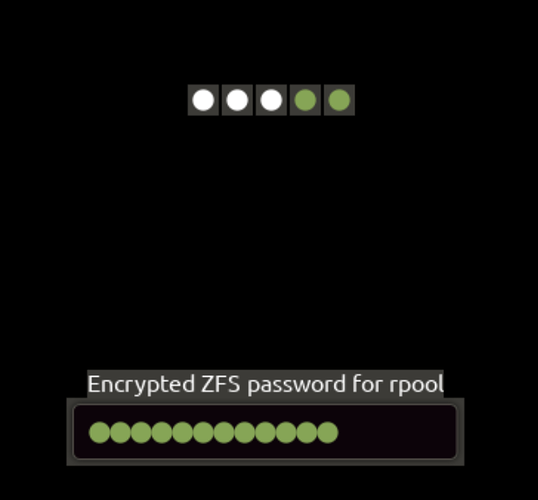
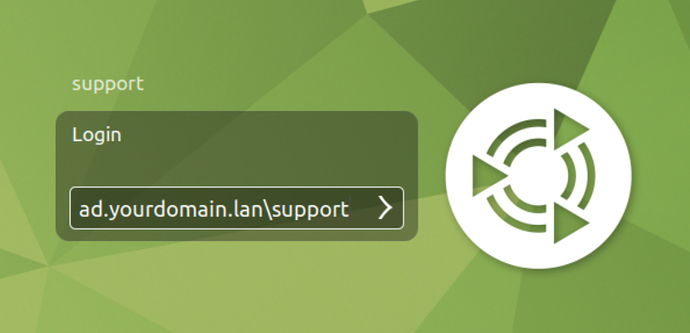
Step 8: Logon as Domain user
First we need the ZFS password
Second the domain user credentials
