Requirement
- A working Google Cloud Platform account.
For this test I’ve used the free trial period given by Google to new subscribers: 60 days with 300$ of credit to consume. Not bad… 
Let’s go…
Create a new project on Google Cloud Platform
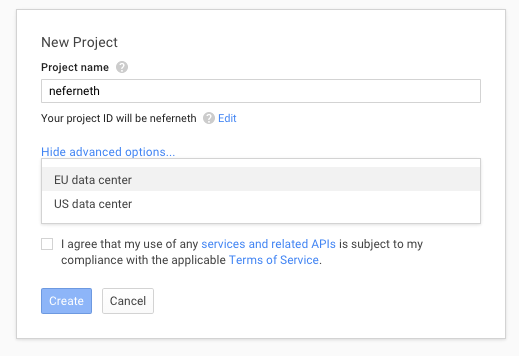
Access to the Google Cloud Platform console management at https://console.developers.google.com/ and create a new project
In advanced options you could choose the location of your instance/project.
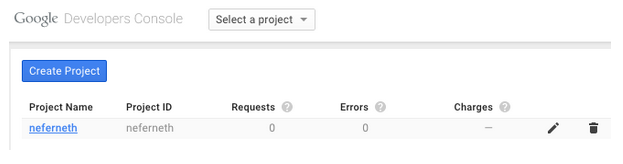
Now select the new project just created in the list
Create a new instance of the virtual machine
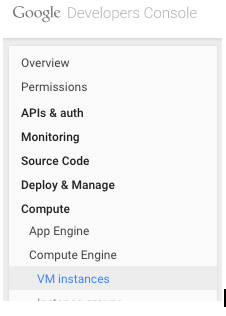
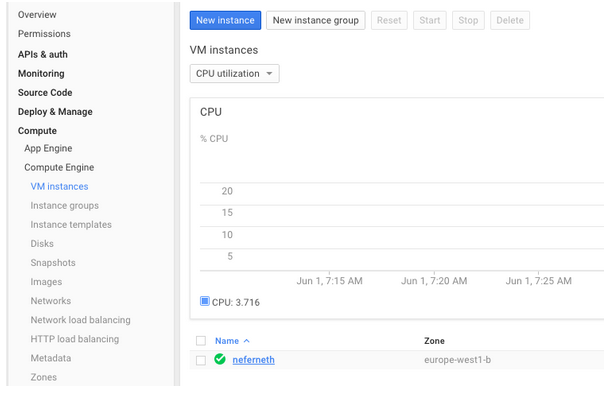
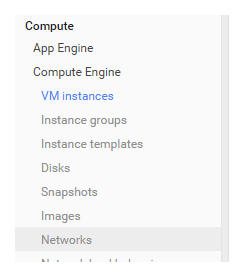
In the left side bar menu go to Compute > Compute Engine and select VM instances.
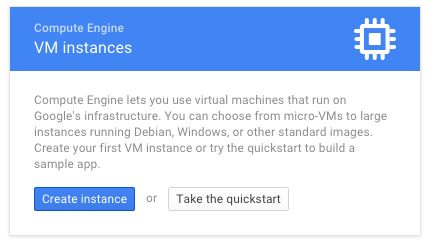
And in the right main panel select Sign up for a free trial of your free trial period and complete the registration (credit card is required). Completed the registration, you can create a new virtual machine instance clicking over Create instance
Configure the instance
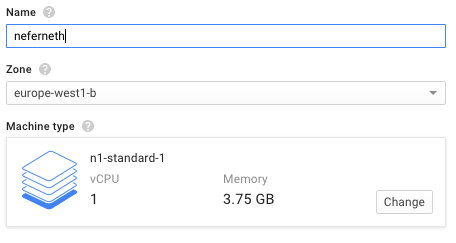
Set the name, the zone and the type machine of you instance
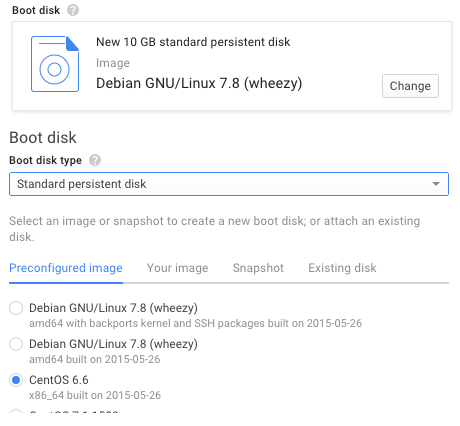
Change Boot disk image to CentOS 6.6
If you want, allow http and https traffic to allow.
This is optional, but later you have to set access to port 980 of server-manager.

Click over Create bottom to create the virtual machine

Accessing to the virtual machine
Now the new instance of CentOS should be listed, click on it
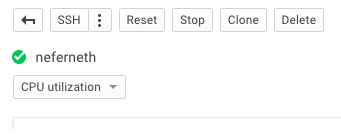
And then click on the first bottom SSH in the top to access to your console
Download NethServer package and Install it
Follow the official documentation to install Nethserver over centos via ssh
http://docs.nethserver.org/en/latest/installation.html#install-on-centos
# sudo yum localinstall -y http://mirror.nethserver.org/nethserver/nethserver-release-6.6.rpm
Before run the installation process command nethserver-install we have to made some manual steps to avoid that the virtual machine become unreachable (view this topic for more info)
Manual installation process
Open nethserver-install script with your favorite editor and comment the line 104
[stefano@neferneth ~]$ which nethserver-install
/usr/sbin/nethserver-install
[stefano@neferneth ~]$ sudo vim /usr/sbin/nethserver-install

#logexec "/sbin/e-smith/signal-event system-init"
Now you can run the installation command
# sudo nethserver-install
It could take a while… be patient.
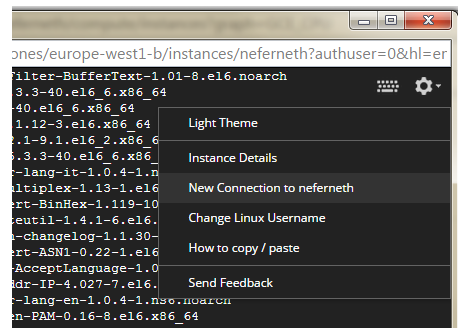
If you want, you can open a new ssh session by clicking the option icon in the upper corner of the window and then select “New Connection to yourservername”
By this way you can check installation logs at /var/log/messages and /var/log/nethserver-install.log
# sudo tail -f /var/log/messages
# sudo tail -f /var/log/nethserver-install.log
Completed the task, the system is not yet initializied.
Before continuing you have to reload nethserver bash aliases
[stefano@neferneth ~]$ source /etc/bashrc
and then delete a symlink in the init-system events tasks
[stefano@neferneth ~]$ sudo rm /etc/e-smith/events/system-init/S95nethserver-base-interface-update
This is important to avoid the problem issued with network interfaces.
Now you can complete the installation running the sistem-init process
[stefano@neferneth ~]$ signal-event system-init
Now the system is installed!
Just after have made an
# sudo yum update
To update the system
(The update of CentOS system should be made after NethServer installation to avoid dependence version issue according to this post of @filippo_carletti)
Restore sshd configuration
Perform this commando to restore Google Compute Platform sshd standard configuration
Disable PasswordAuthentication
[stefano@neferneth ~]$ db configuration setprop sshd PasswordAuthentication no
Disable root login via ssh
[stefano@neferneth ~]$ db configuration setprop sshd PermitRootLogin no
Setup GSSAPI Authentication
[stefano@neferneth ~]$ db configuration setprop sshd GSSAPIAuthentication yes
[stefano@neferneth ~]$ db configuration setprop sshd GSSAPICleanupCredentials yes
Update the file configuration with new parameters
[stefano@neferneth ~]$ signal-event nethserver-openssh-update
Disable FirstConfigWiz on httpd-admin
To avoid a reset of sshd configuration with FirstConfig Wizard at first login via httpd-admin, disable it with this commands
[stefano@neferneth ~]$ db configuration setprop httpd-admin ForcedLoginModule ""
[stefano@neferneth ~]$ signal-event nethserver-httpd-admin-update
[stefano@neferneth ~]$ service httpd-admin restart
You should remember to configure manually hostname and timezone of your server.
Setup root password
Now you have to setup the password for root user for using it to access the server-manager console
[stefano@neferneth ~]$ sudo su -
[root@neferneth ~]# passwd
Changing password for user root.
New password:
Retype new password:
passwd: all authentication tokens updated successfully.
Open 980 port on Compute Engine Console
In the left bar go to Compute > Compute Engine > Networks
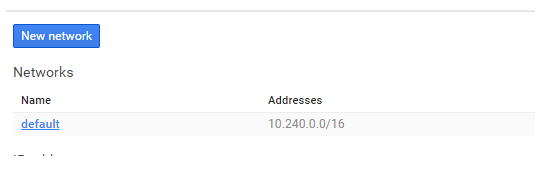
Select the default network
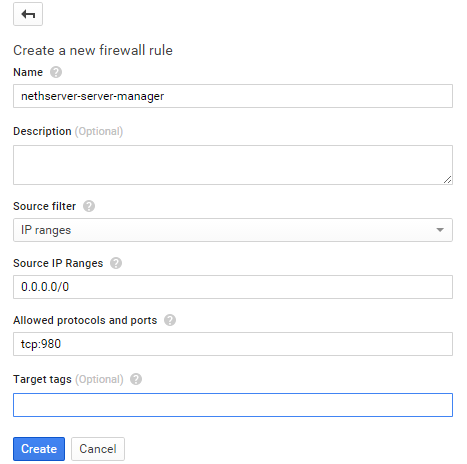
And then in the Firewall rules select Add firewall rule
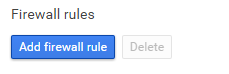
Create a rule to permit access from every source ip range to tpc:980 port.
If you have more instace you could use tags to route the traffic to a specific host.
Access to server-manager
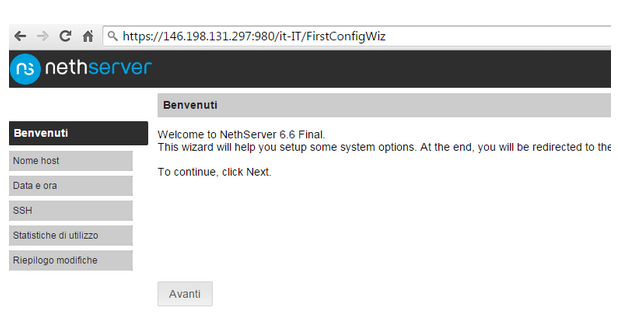
Now go on the VM instance to found you public ip and try to connect with explicit https protocol to the server-manager at port 980

In this case the server-manager is reachable at https://146.198.131.297:980
Now you have access to NethServer manager hosted on Google Compute Engine Platform.
Have fun!