Piwigo is an open-source web photo gallery application running under PHP and MySQL. As with many such applications, it can be easily installed on Nethserver. Here’s how:
Prerequisites
Piwigo requires a web server, PHP (at least version 5.3), MySQL (at least version 5), and strongly recommends ImageMagick. All of these except for ImageMagick can be installed using the Software Center in the server manager. To install ImageMagic, SSH in to your Neth server and run yum install ImageMagick.
If you want Piwigo to be in its own virtual host, create that now. Disable FTP access, and set the other options as appropriate for your installation.
For better performance, you can use a more recent version of PHP. To do that, follow the instructions to install PHP Software Collections, and then set PHP 7.2 for the virtual host where you’ll be installing Piwigo.
Create the database
While you’re logged in via SSH, you’ll need to create a database for Piwigo. Take the following steps:
# mysql
mysql> create database piwigodb;
mysql> grant all on piwigodb.* to piwigouser@localhost identified by 'SuperStrongPassword';
mysql> flush privileges;
mysql> exit
(obviously, replace SuperStrongPassword with a secure password of your own choosing).
Install Piwigo
Change to the directory where you want to install Piwigo. If you’re placing it in its own virtual host, that will be in /var/lib/nethserver/vhost/vhost_name. If you’re placing it in the default virtual host, you’ll use a directory in /var/www/html/. Note that the installer will create a subdirectory of /piwigo in the installation directory.
Download the Netinstall script:
curl "http://piwigo.org/download/dlcounter.php?code=netinstall" > piwigo_install.php
Then, using your web browser, browse to that file. You’ll see this page:
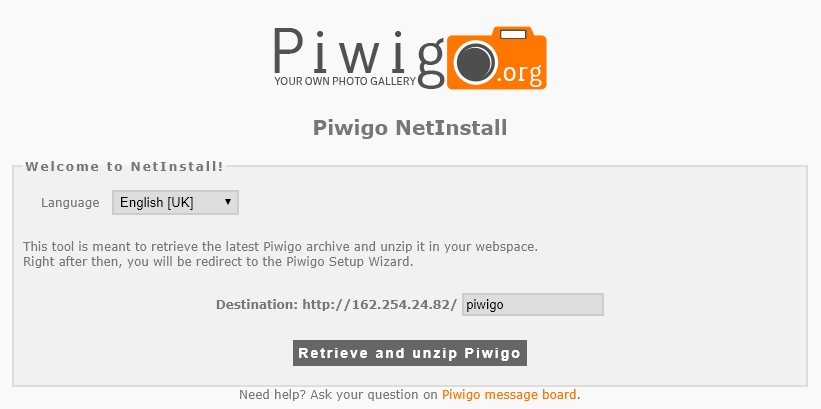
Click the Retrieve and unzip button. You’ll then see this:
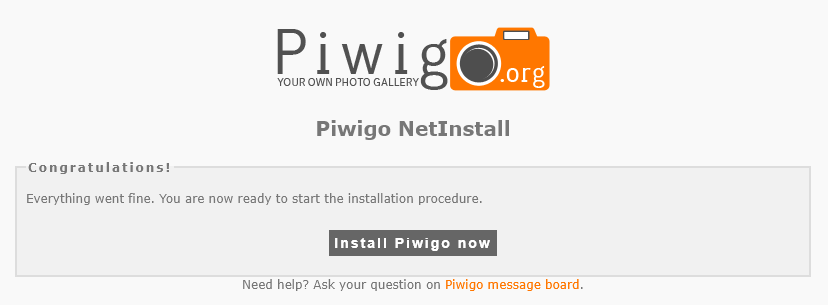
Surprise surprise, you’ll click Install Piwigo now. You’ll then see this page:
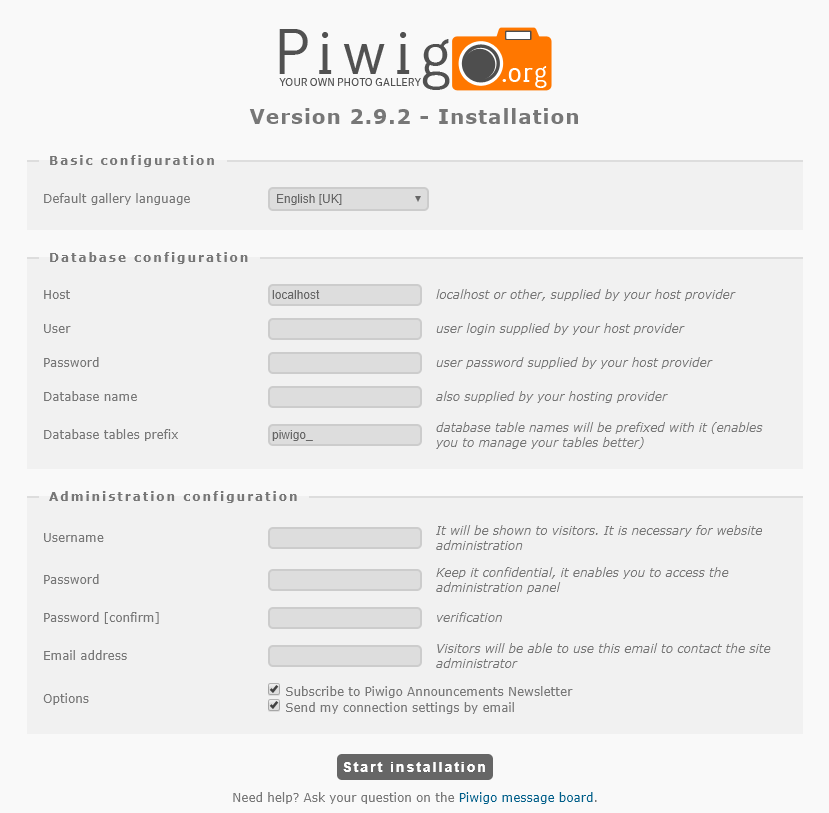
The fields should be self-explanatory. Once you’ve completed the form, click Start Installation. You’ll then see this page:
Installation is complete.
Redirect
As noted above, the Netinstall process creates a subdirectory of /piwigo wherever you run it, which means you’ll need to add that to the URL. To automate this, create a file called index.html with the following contents:
<!DOCTYPE HTML>

<meta charset="UTF-8">
<meta http-equiv="refresh" content="1; url=piwigo/">

<script>
  window.location.href = "piwigo/"
</script>

<title>Page Redirection</title>

<!-- Note: don't tell people to `click` the link, just tell them that it is a link. -->
If you are not redirected automatically, follow the <a href='piwigo/'>link</a>.
TODO
- As noted above, the Netinstall process creates a subdirectory of
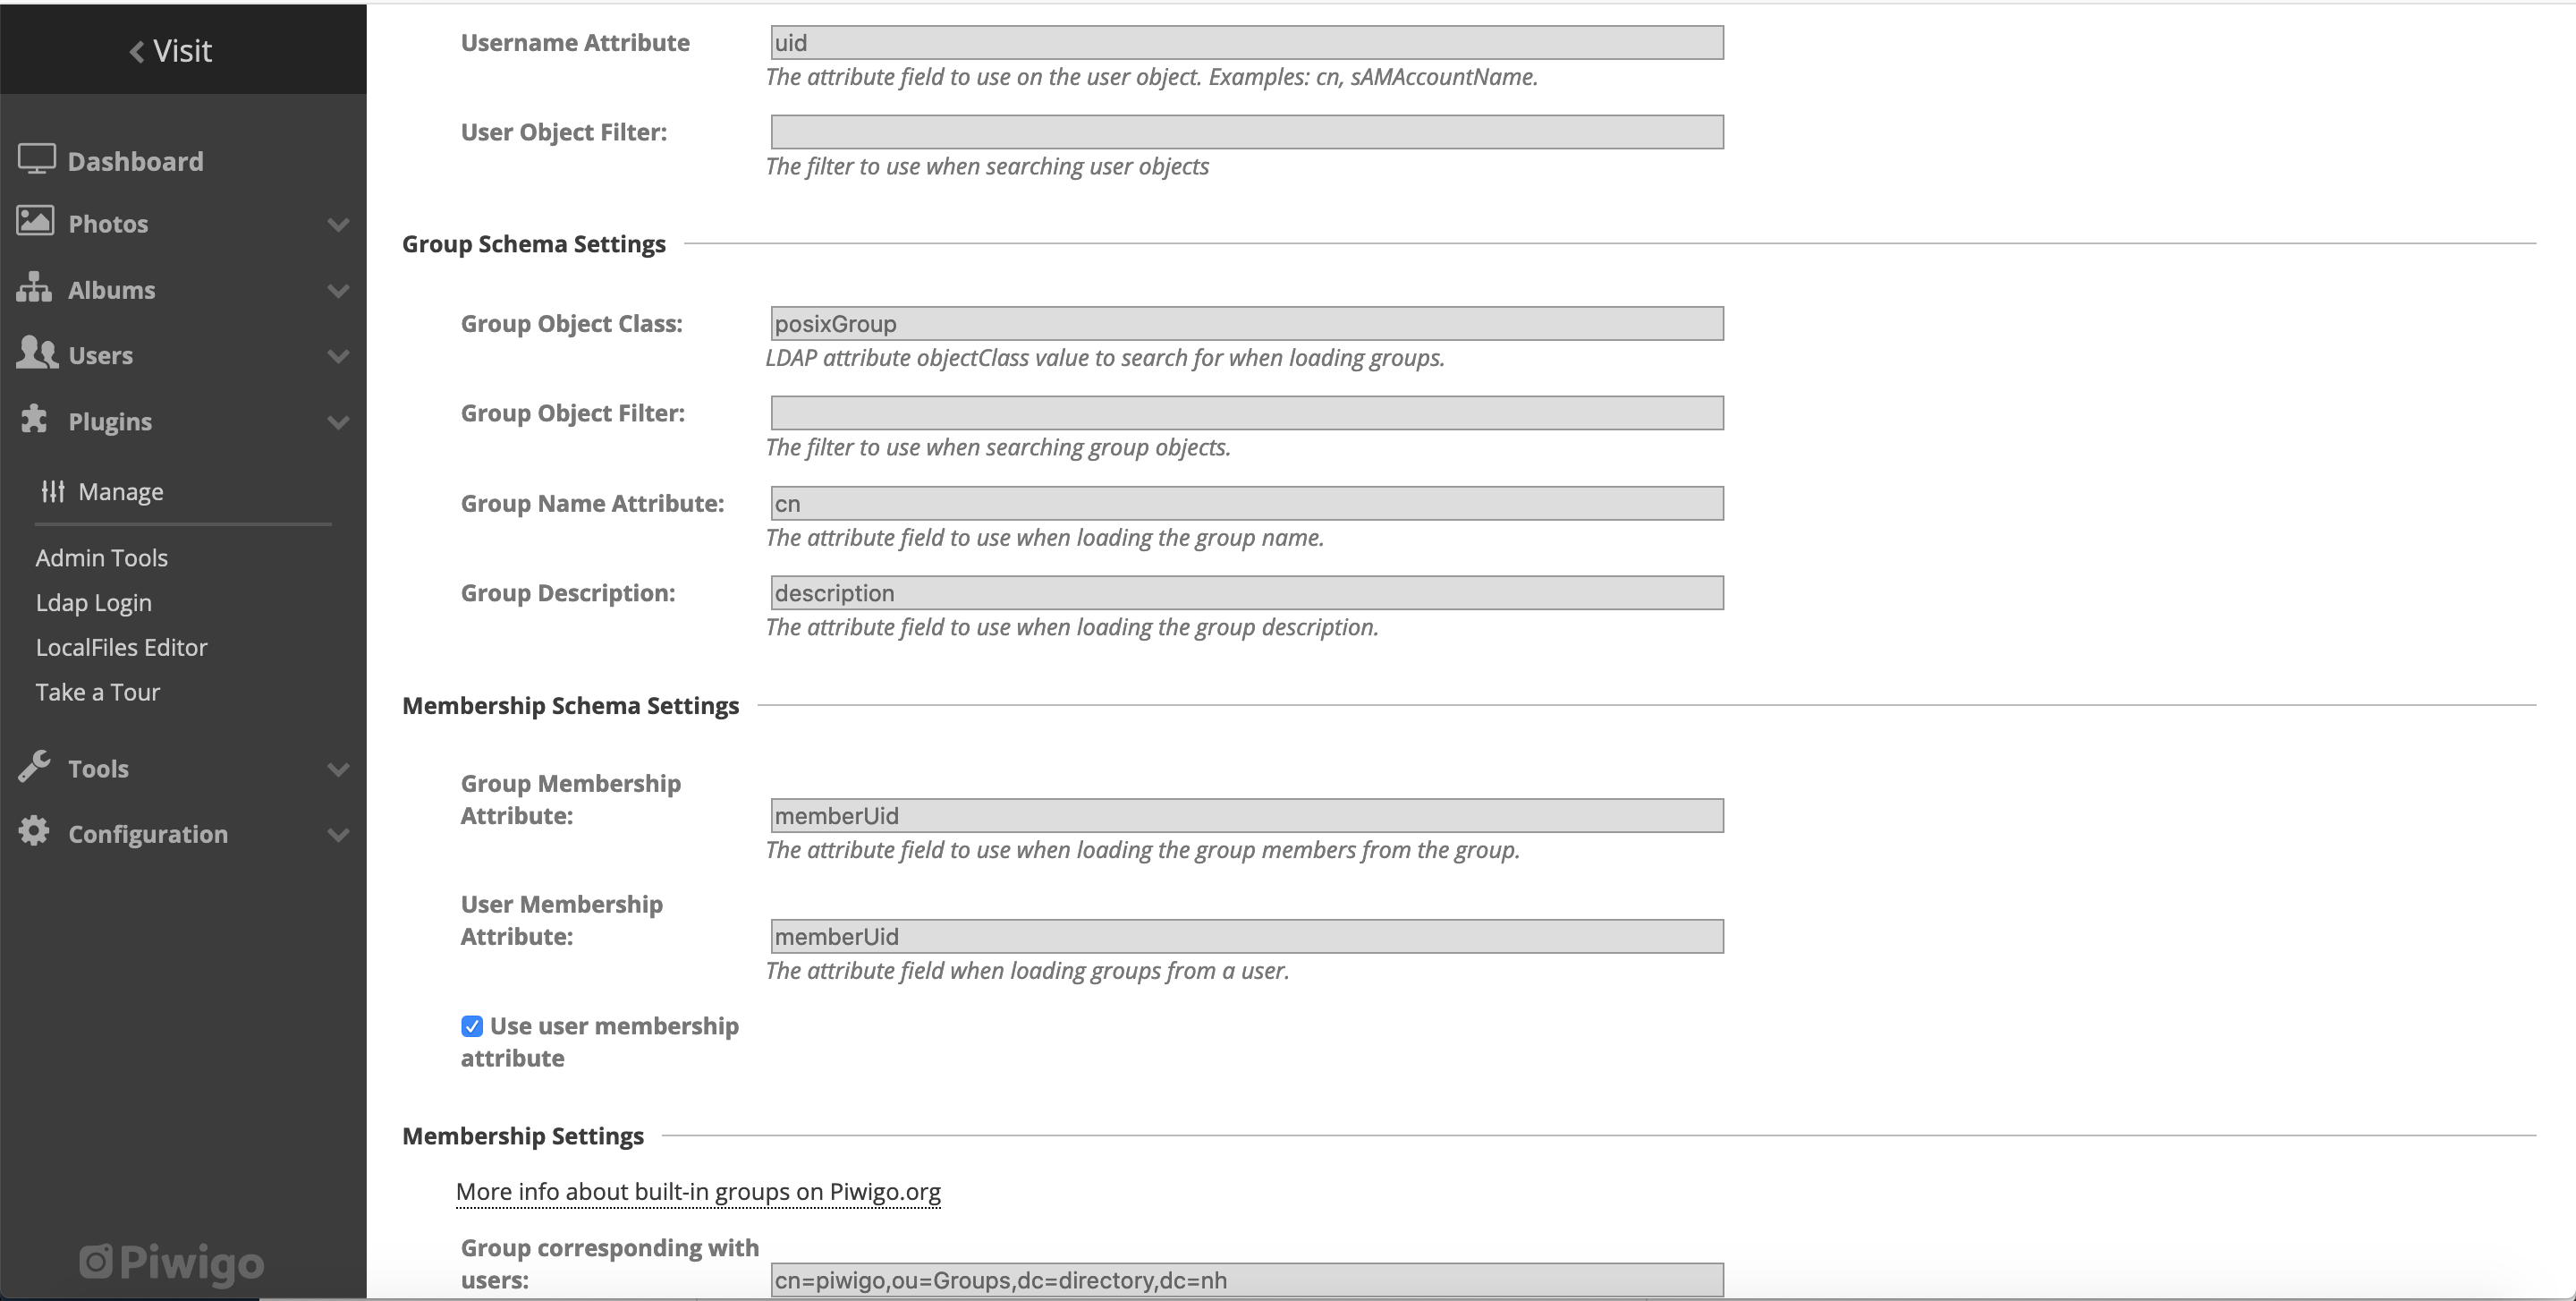
/piwigowherever you run it, which means you’ll need to add that to the URL. It’d be pretty simple to prepare anindex.htmlfile to take care of a redirect. - Investigate using the LDAP Login plugin