hmm, pimox also runs on my odroidn2+ 


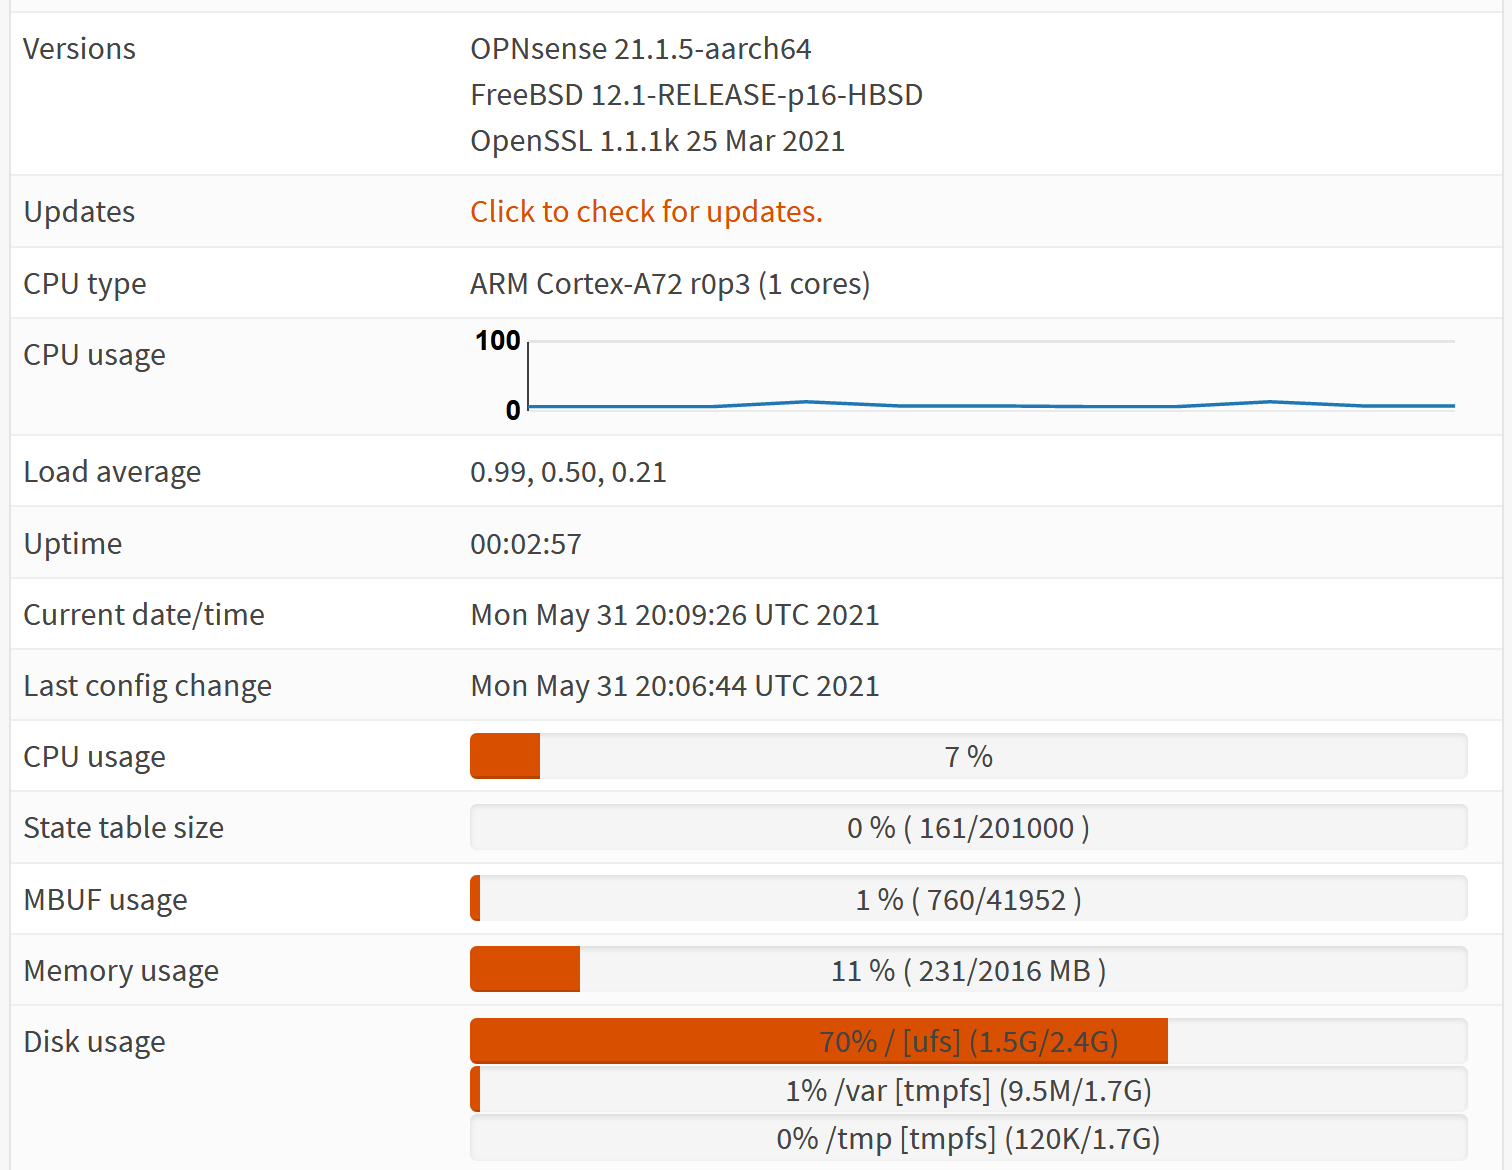
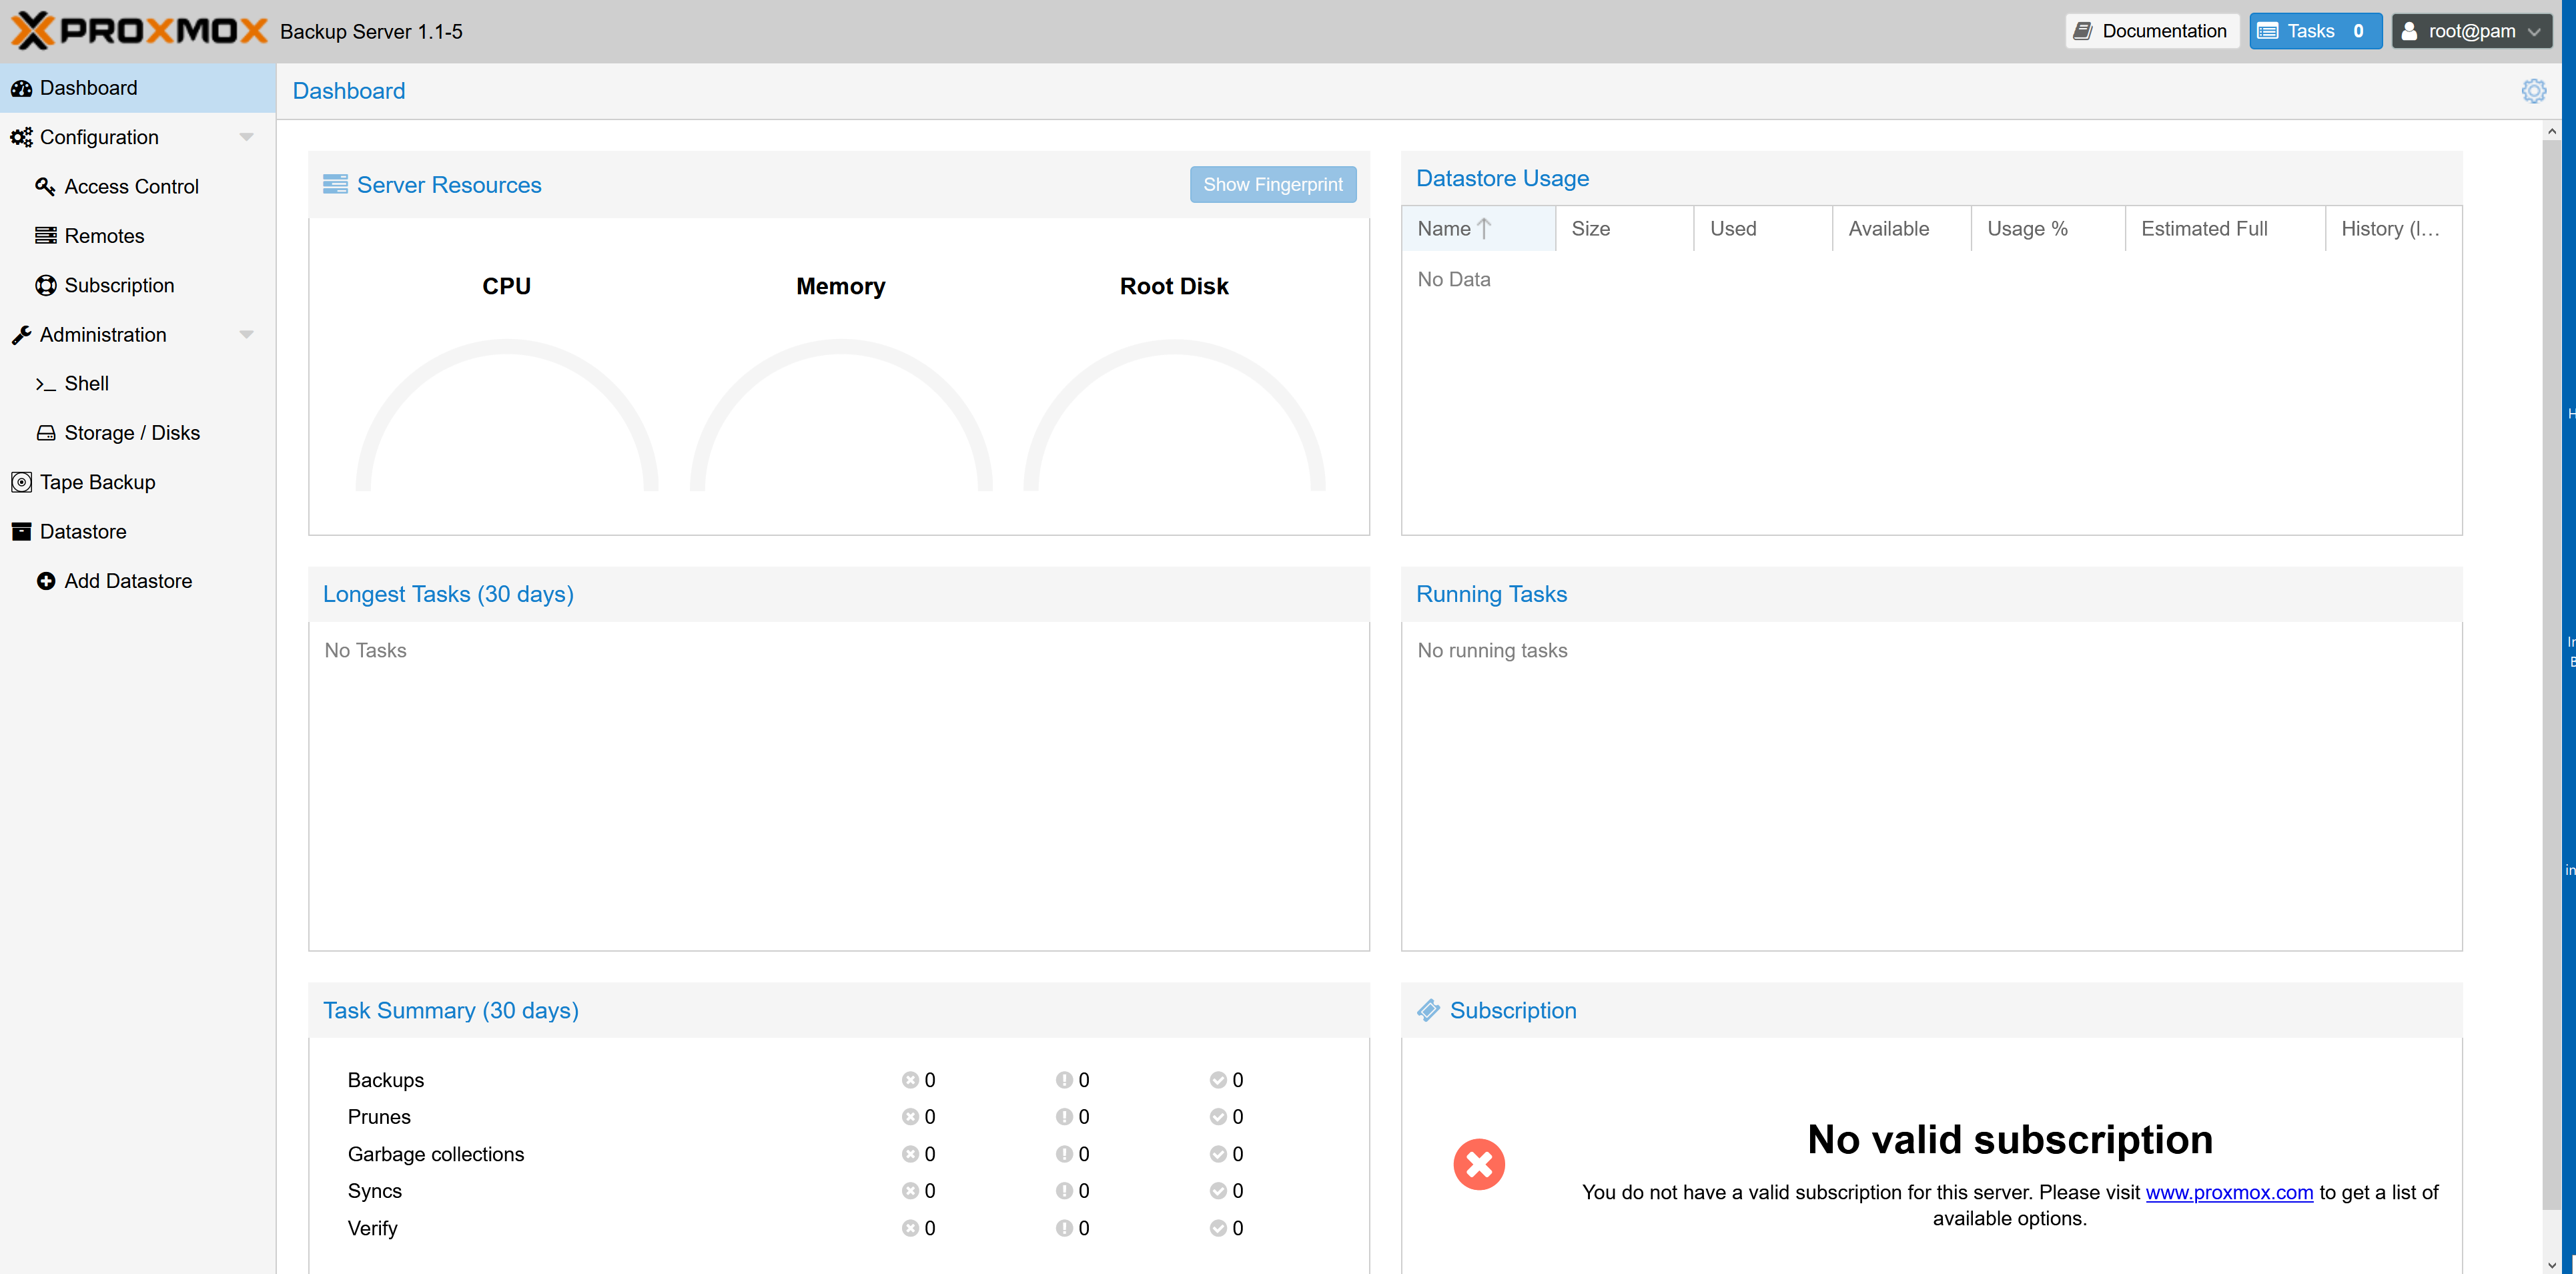
It looks like it is also possible to install Proxmox Backup Server on the Pi…
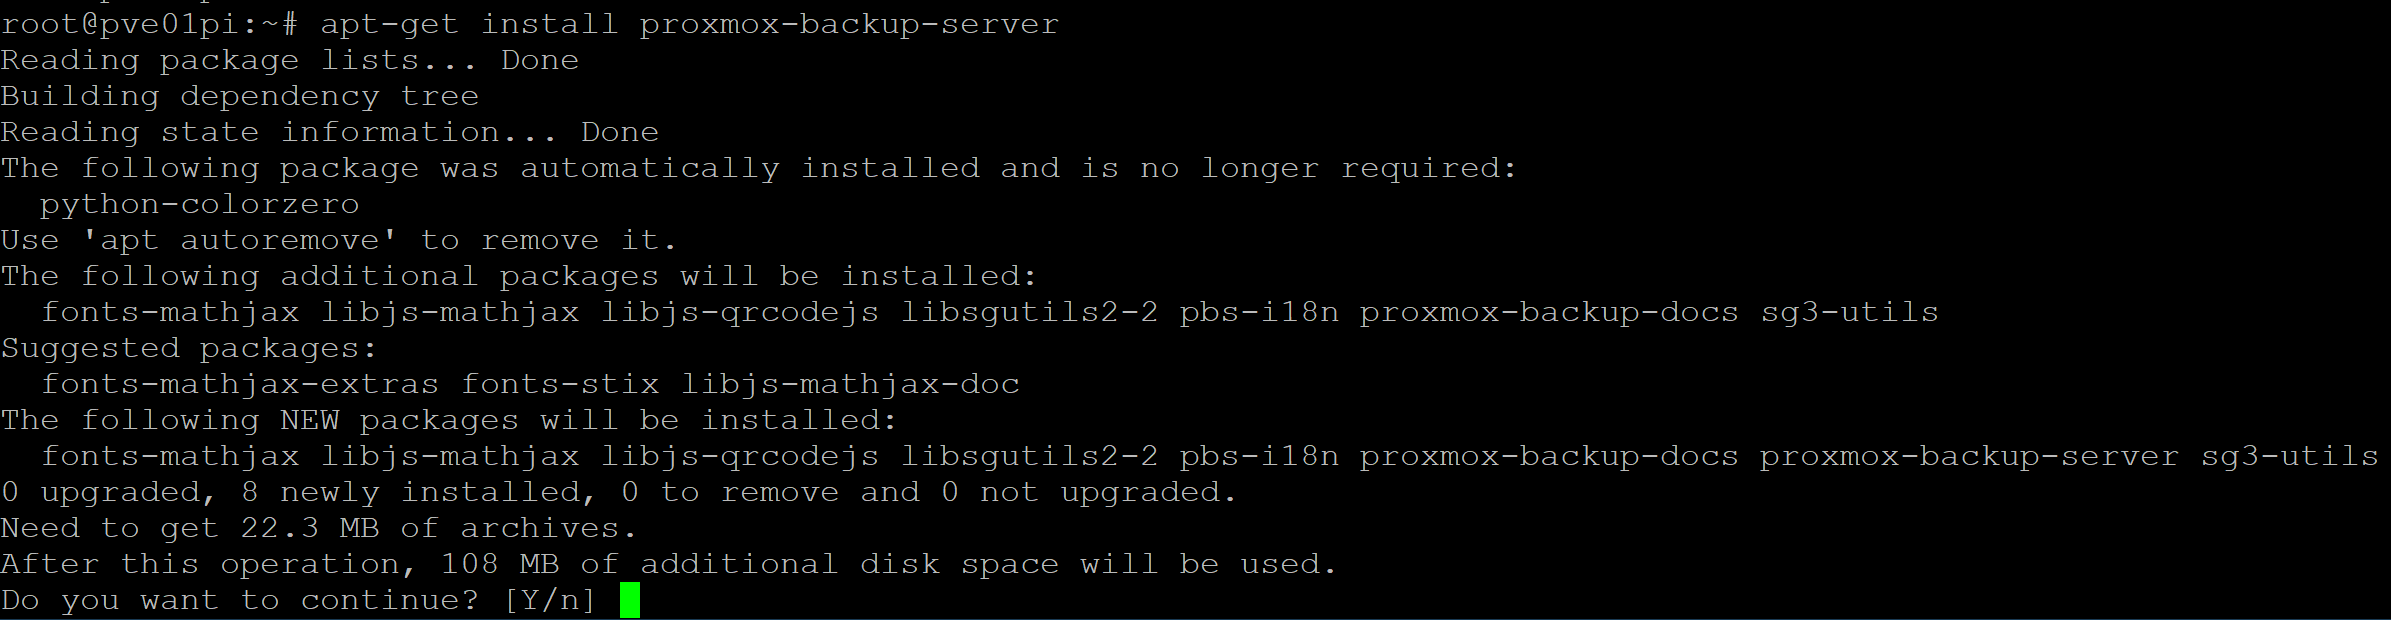
But with some limitation I guess…
Edit: Backed up a Firewall VM to the Pi’s ZFS Storage (SanDisk Extreme PRO USB 3.1 Solid State Flash 128GB Stick - Read 420 MB/s, Write 380 MB/s)
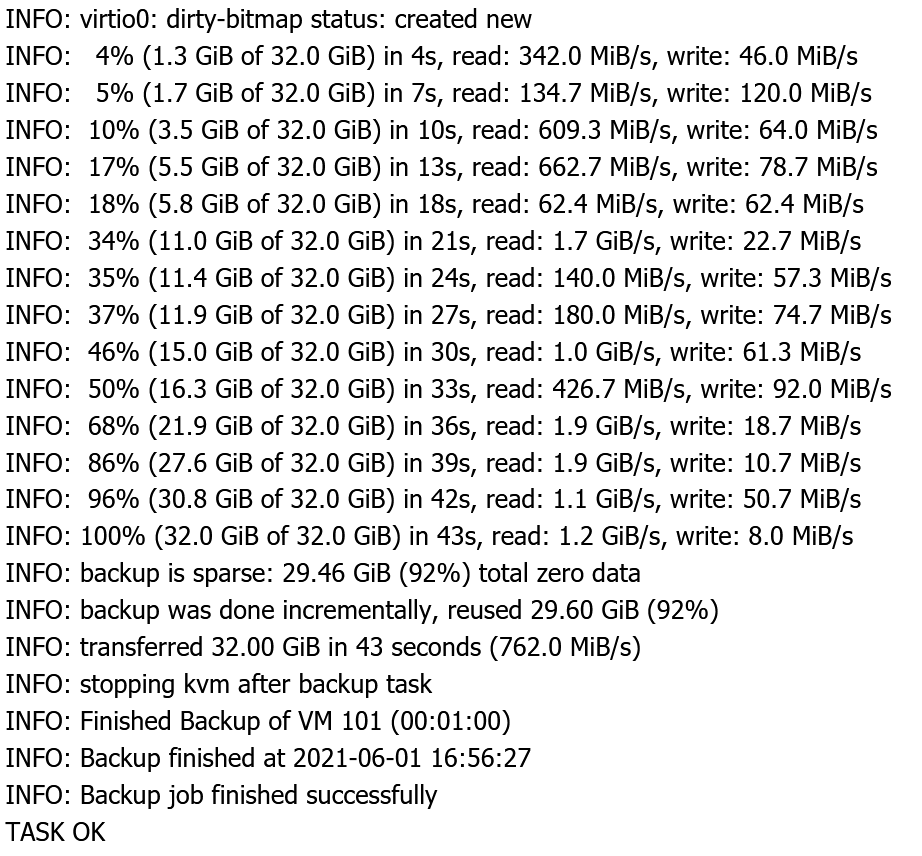
Not Bad! - 
2 Likes
Was a bit to optimistic here: pimox installs oke, it kind of works… not very stable on a odroidn2+.
Root cause seems to be (pve-)qemu can not handle a SOC with 2 different type arm-cores . The odroidn2+ has 4 “Big” A73 cores and 2 “Little” A53 cores. So in the end it is not to blame on pimox. ![]()
The pimox developer is still pushing on:
EDIT:
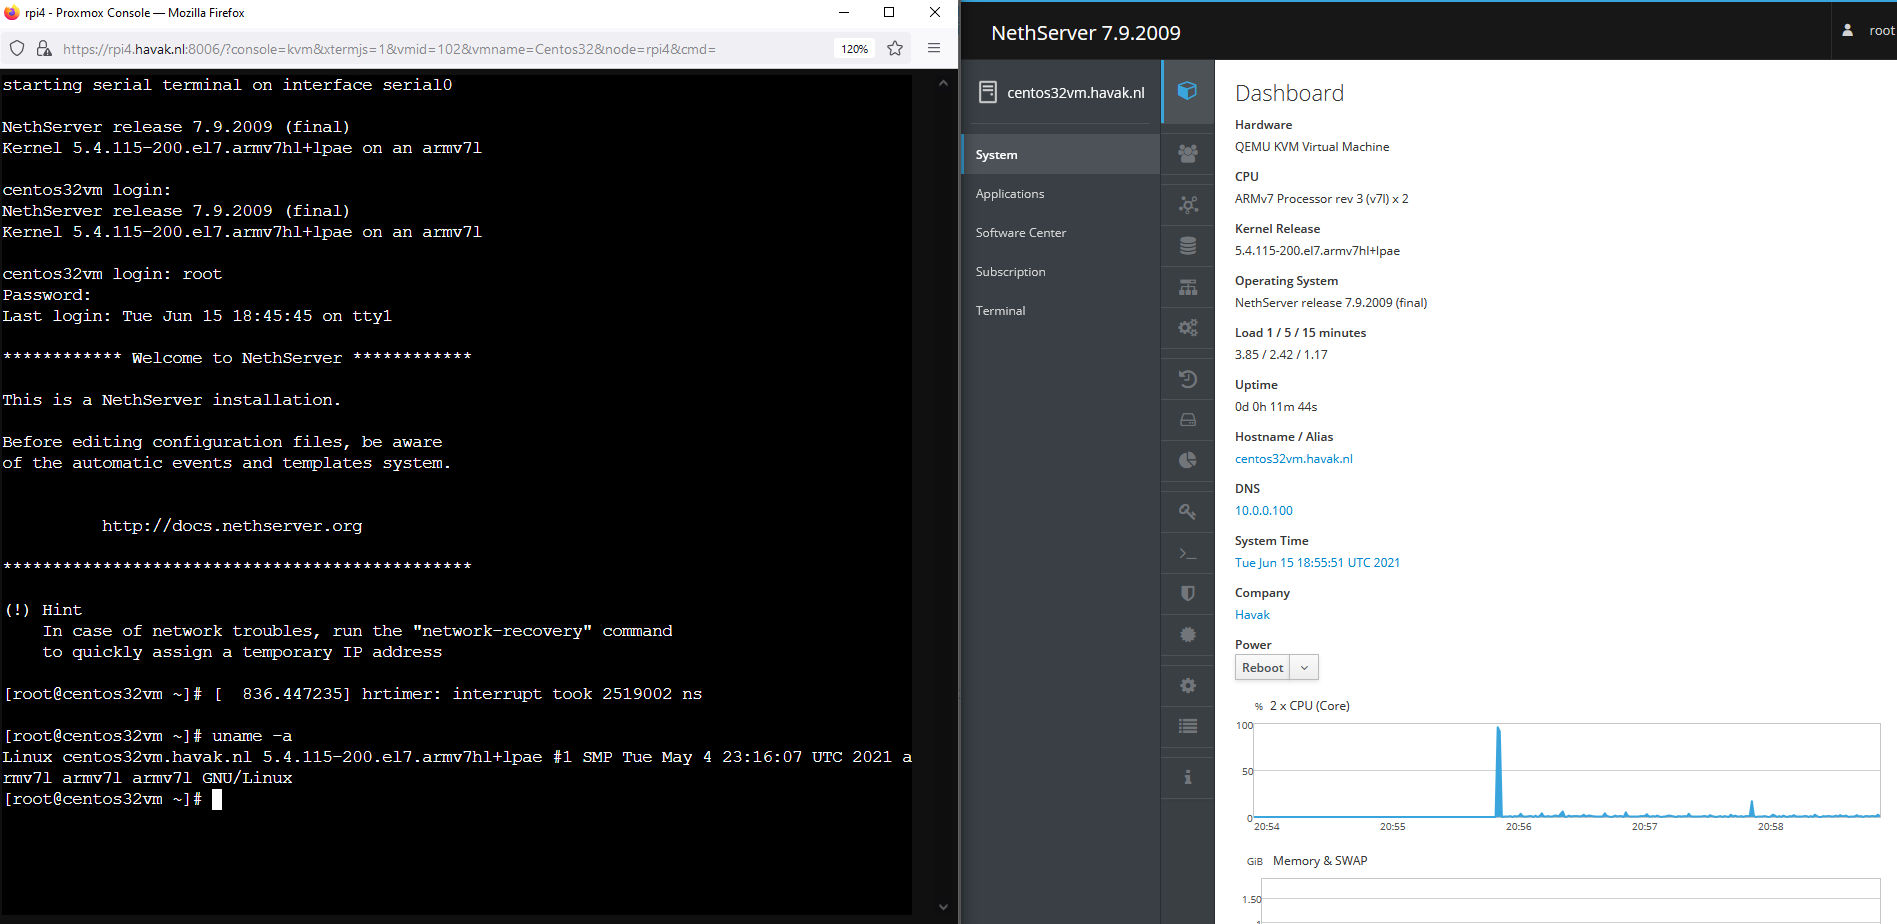
got a experimental CentOS arm-32bit up and running and Nethserver installed fine on it:
3 Likes
Created a nethserver armhfp qcow2 image which booted on my (updated) pimox.
First the disclaimers:
- It is an experimental image with a home-build grub2-efi, be warned !!
- it’s close to upstream grub 2.04, AFAIK it has a CVE filed against it.
Grub 2.06 is still cumbersome to build, el7 gcc-version (4.8.5.x) being one of the challenges. - grubby (/bin/kernel-install) on el7 armhfp has no knowledge of grub2-efi, this means grubby probably does not update grub2.cfg upon new kernel installation.
I’m not a PVE expert so there are probably better ways to use this image,
this is what I did:
- Download and extract (
xz -T 0 -k -d Nethserver..) the image in a convenient place. - Create a vm with an OVMF (UEFI) BIOS and 4GB qcow2 disk
- Edit the pve configuration,
remove the CD (also from bootorder) and addarch: arm - Copy (or move) the extracted nethsever qcow2 over the disk PVE created for your VM xxx
cp Nethserver-7.9.2009-Final-QemuEfi-img.qcow2 /var/lib/vz/images/xxx/vm-xxx-disk-0.qcow2
Boot the VM and if you are happy (ie it booted and network is up) set the first-boot flag:
touch /var/spool/first-boot and reboot
here is my vm.conf as an example:
arch: arm
bios: ovmf
boot: order=scsi0;net0
cores: 1
efidisk0: local:104/vm-104-disk-1.qcow2,size=64M
memory: 2048
name: Nethserver32
net0: virtio=B2:78:99:F7:87:58,bridge=vmbr0,firewall=1
numa: 0
ostype: l26
scsi0: local:104/vm-104-disk-0.qcow2,size=4G
scsihw: virtio-scsi-pci
smbios1: uuid=8db33772-8c17-41f0-9047-d55cd8065de3
sockets: 4
5 Likes
Now pimox does work on my odroid-n2+ needed to to isolate the VM running on either the 2 small cores (0-1) or the 4 big cores (2-5). Did so in pve by following this thread:
And needed a kernel >= 5.11.x on the odroid-n2+
2 Likes
On the odroid setup pimox is installed on a 64 GB emmc module and it has an (usb3) ssd serving one big LVM partition.
How do I get the (nethserver) qcow2 (or a nethserver preinstalled raw image) installed on the LVM volume ?
1 Like
If you do not make any special settings, Proxmox usually divides up the volume - a “system” area of about 100 GB and “the rest” as a large LVM.
The “system” area is accessible with ssh, is already mounted and you could upload the qcow2 file there (for a starter…).
If you can directly access the LVM volume (It’s mounted…) from the system (Using eg ssh), you could copy the .qcow2 file directly to the LVM volume. Eg. using WinSCP.
Create in the GUI a “similiar” VM as your .qcow2 NethServer had. At least what the hardware specs are concerned…
Now - using ssh - navigate to /etc/pve/qemuserver/.
You should now find your VM - listed by VMID. This is the config file for the VM.
You can carefulle re-edit the file, and move the VM-Disks aound until they fit.
Close the editor, and start your VM!
I’ve used this process several times in a P2V migration, or Migration from VMWare ESXi to Proxmox, especially when I need to “convert” the VM-Disk file format…
A nice feature of Proxmox is the possibility to eg migrate a VM from VMWare ESXi, and if, for example, the VM is using an Intel NIC, you can configure an Intel NIC in Proxmox with the same MAC Address! Later, you can remove the NIC, re-add the NIC as a VirtIO NIC (Driver needs to be loaded!) and benefit from internally higher speeds. Depending on Windows Version, you can get 10 GBE or 100 GBE… With the same MAC Address - so no clients or switches get confused!
At least inside Proxmox, if the other VM also supports this, you get fast transfers!
If your Proxmox also has 10GBE, or bonded Interfaces, you can also use the speed outside.
Of yourse, this doesn’t really benefit a RPI or Odroid environment, but still good to know!
My 2 cents
Andy
1 Like
Hi Andy,
In the end of the day proceeded like this:
- Create a vm with the (pve) Wizard that fitst best;
- After this, detach and remove the hard disk in the (pve) GUI;
- Then, import the (NS) qcow2 to a raw disk living on the lvm_volume :
qm importdisk <vmid> Nethserver-7.9.2009-Final-Qemu-Efi-armhfp.qcow2 <lvm_volume>
Edit /etc/pve/qemu-server/<vmid>.conf so it can actually boot as an arm-32bit vm as described above.
2 Likes
And it worked? 
1 Like
Sure it does, snapshots, all the  's and whistle’s so far
(Forgot: thanks for the pointers)
1 Like
Will also try with my 8GB Raspi this week.
Found I was short on Power Supplies, Raspis, etc…
Building together 4 OPNsenses (PCEngines)
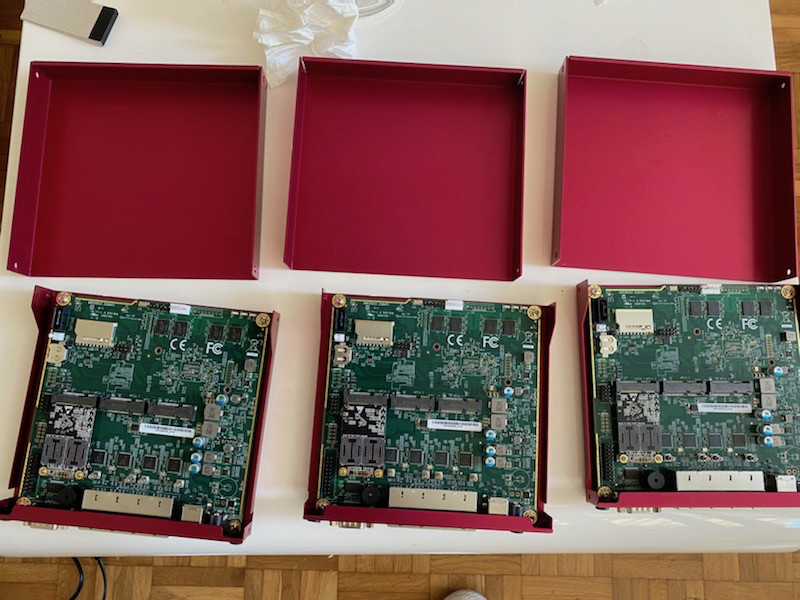
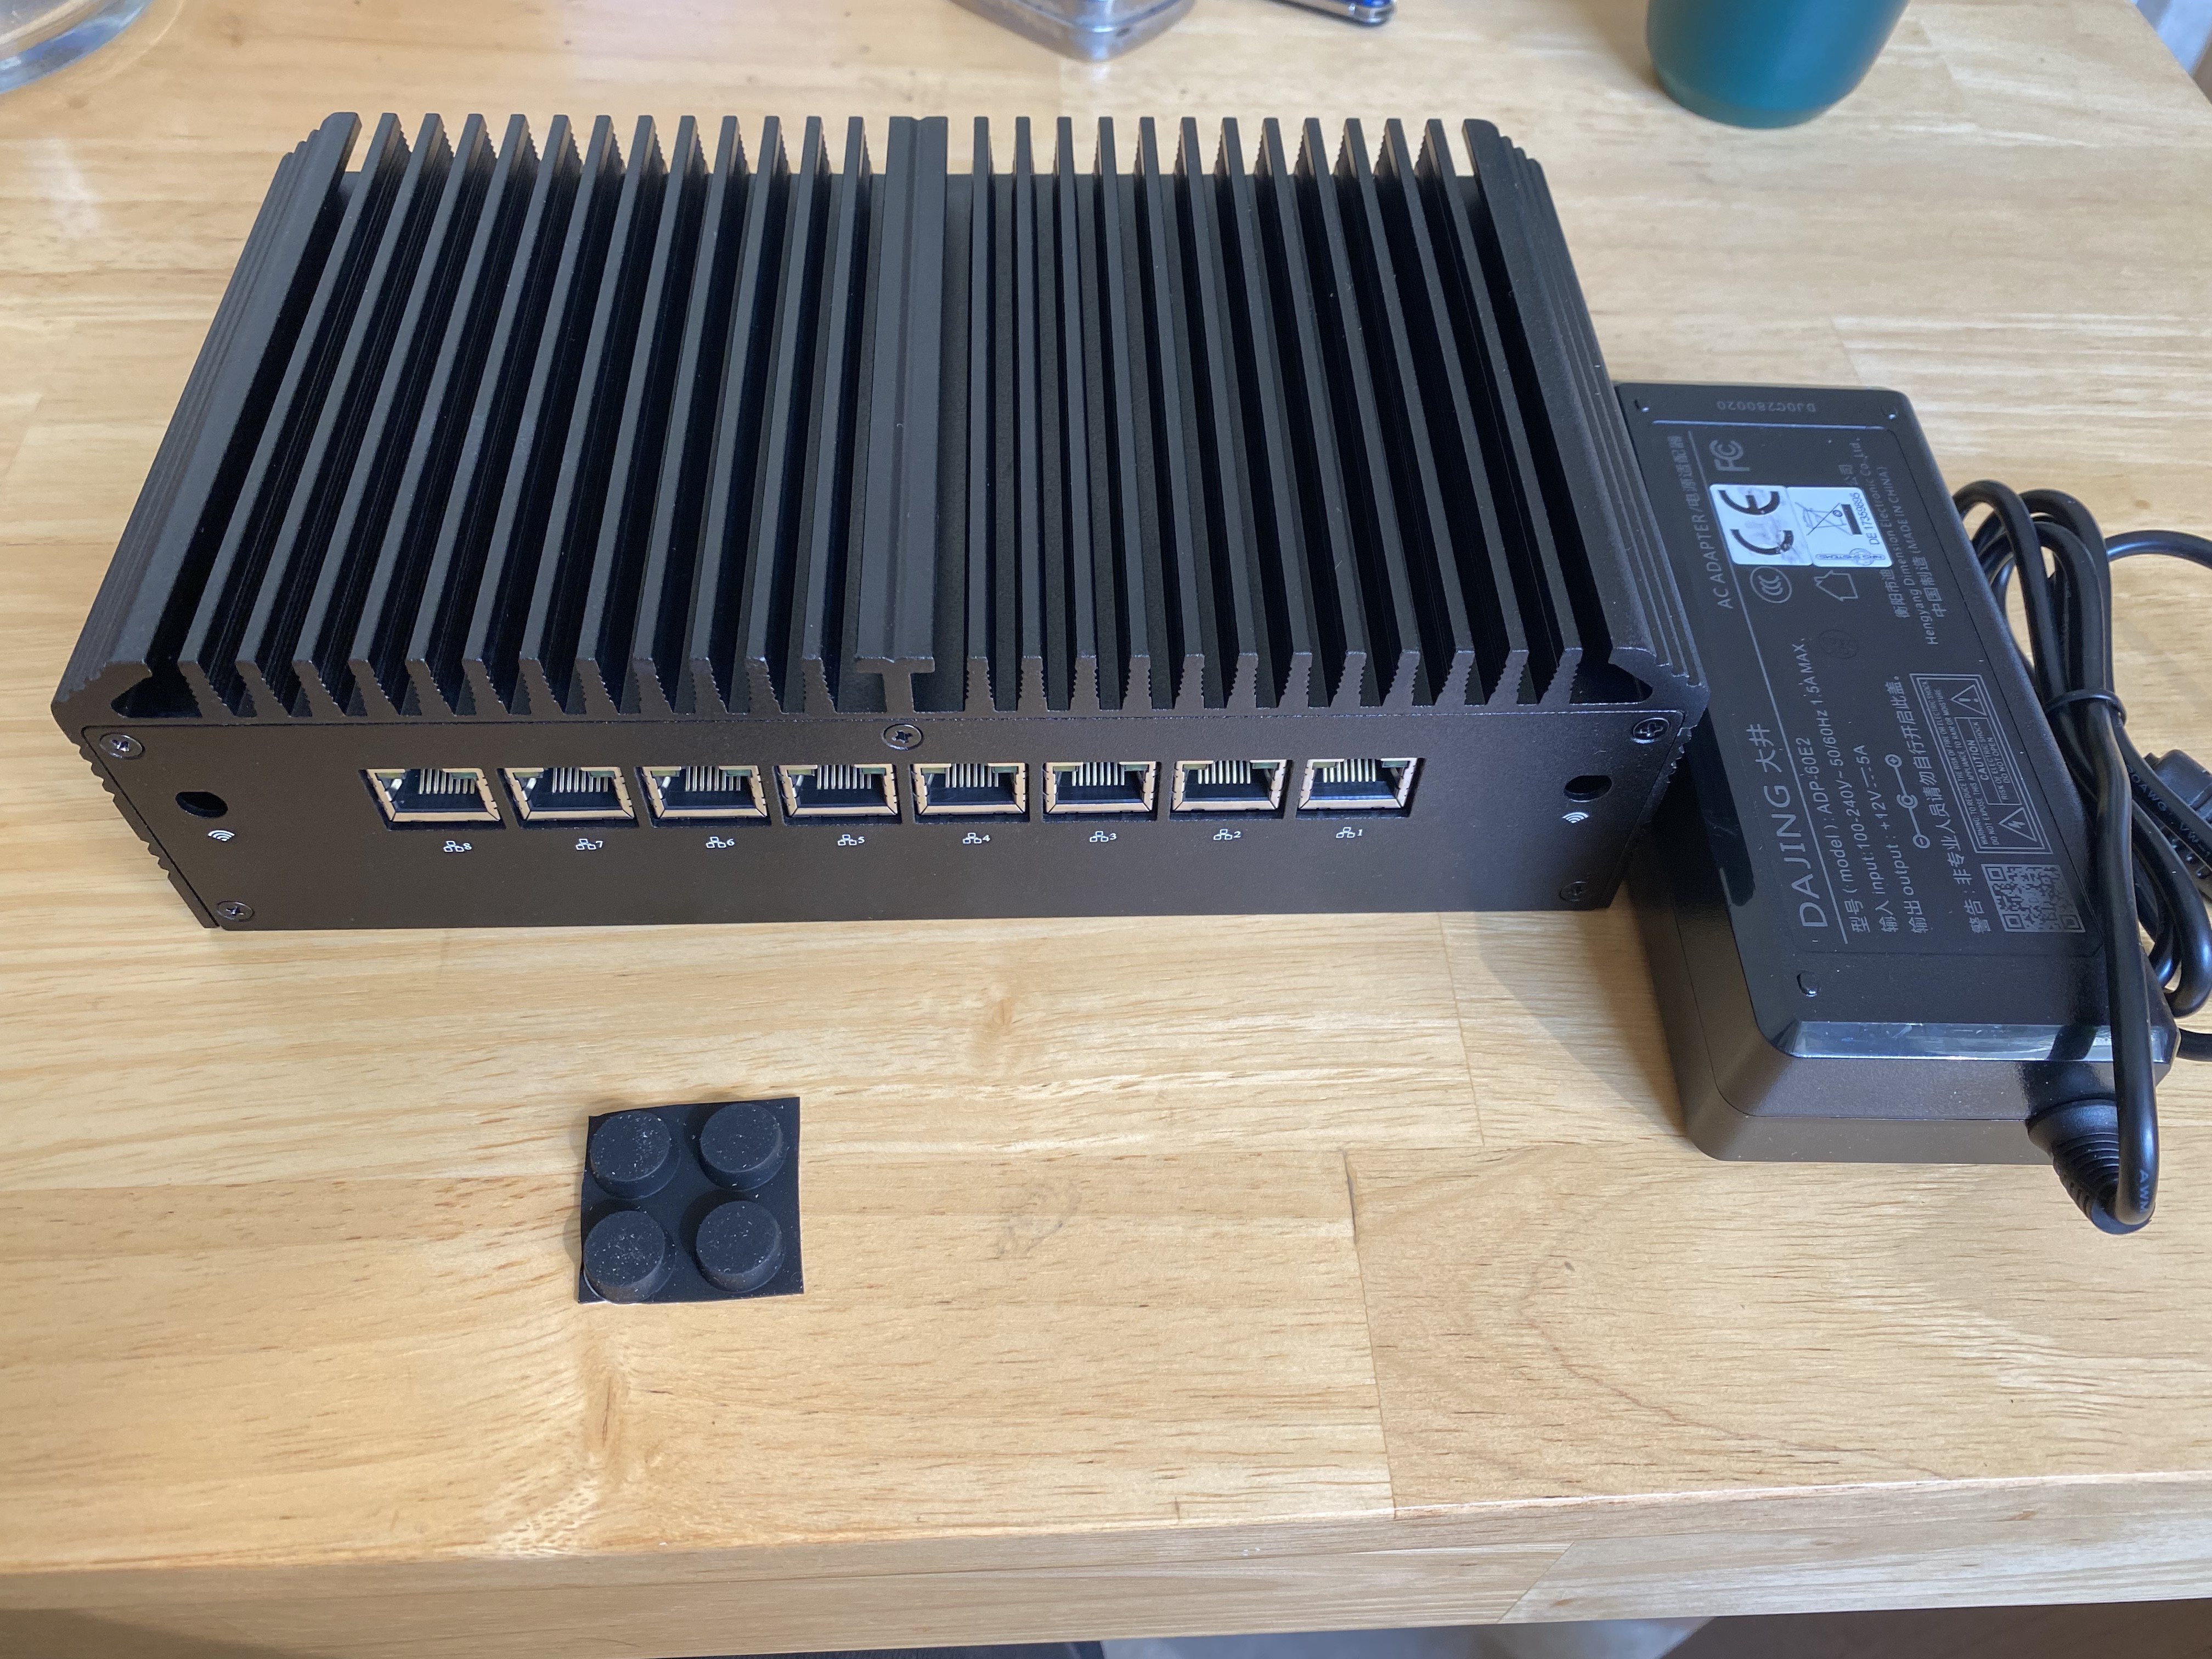
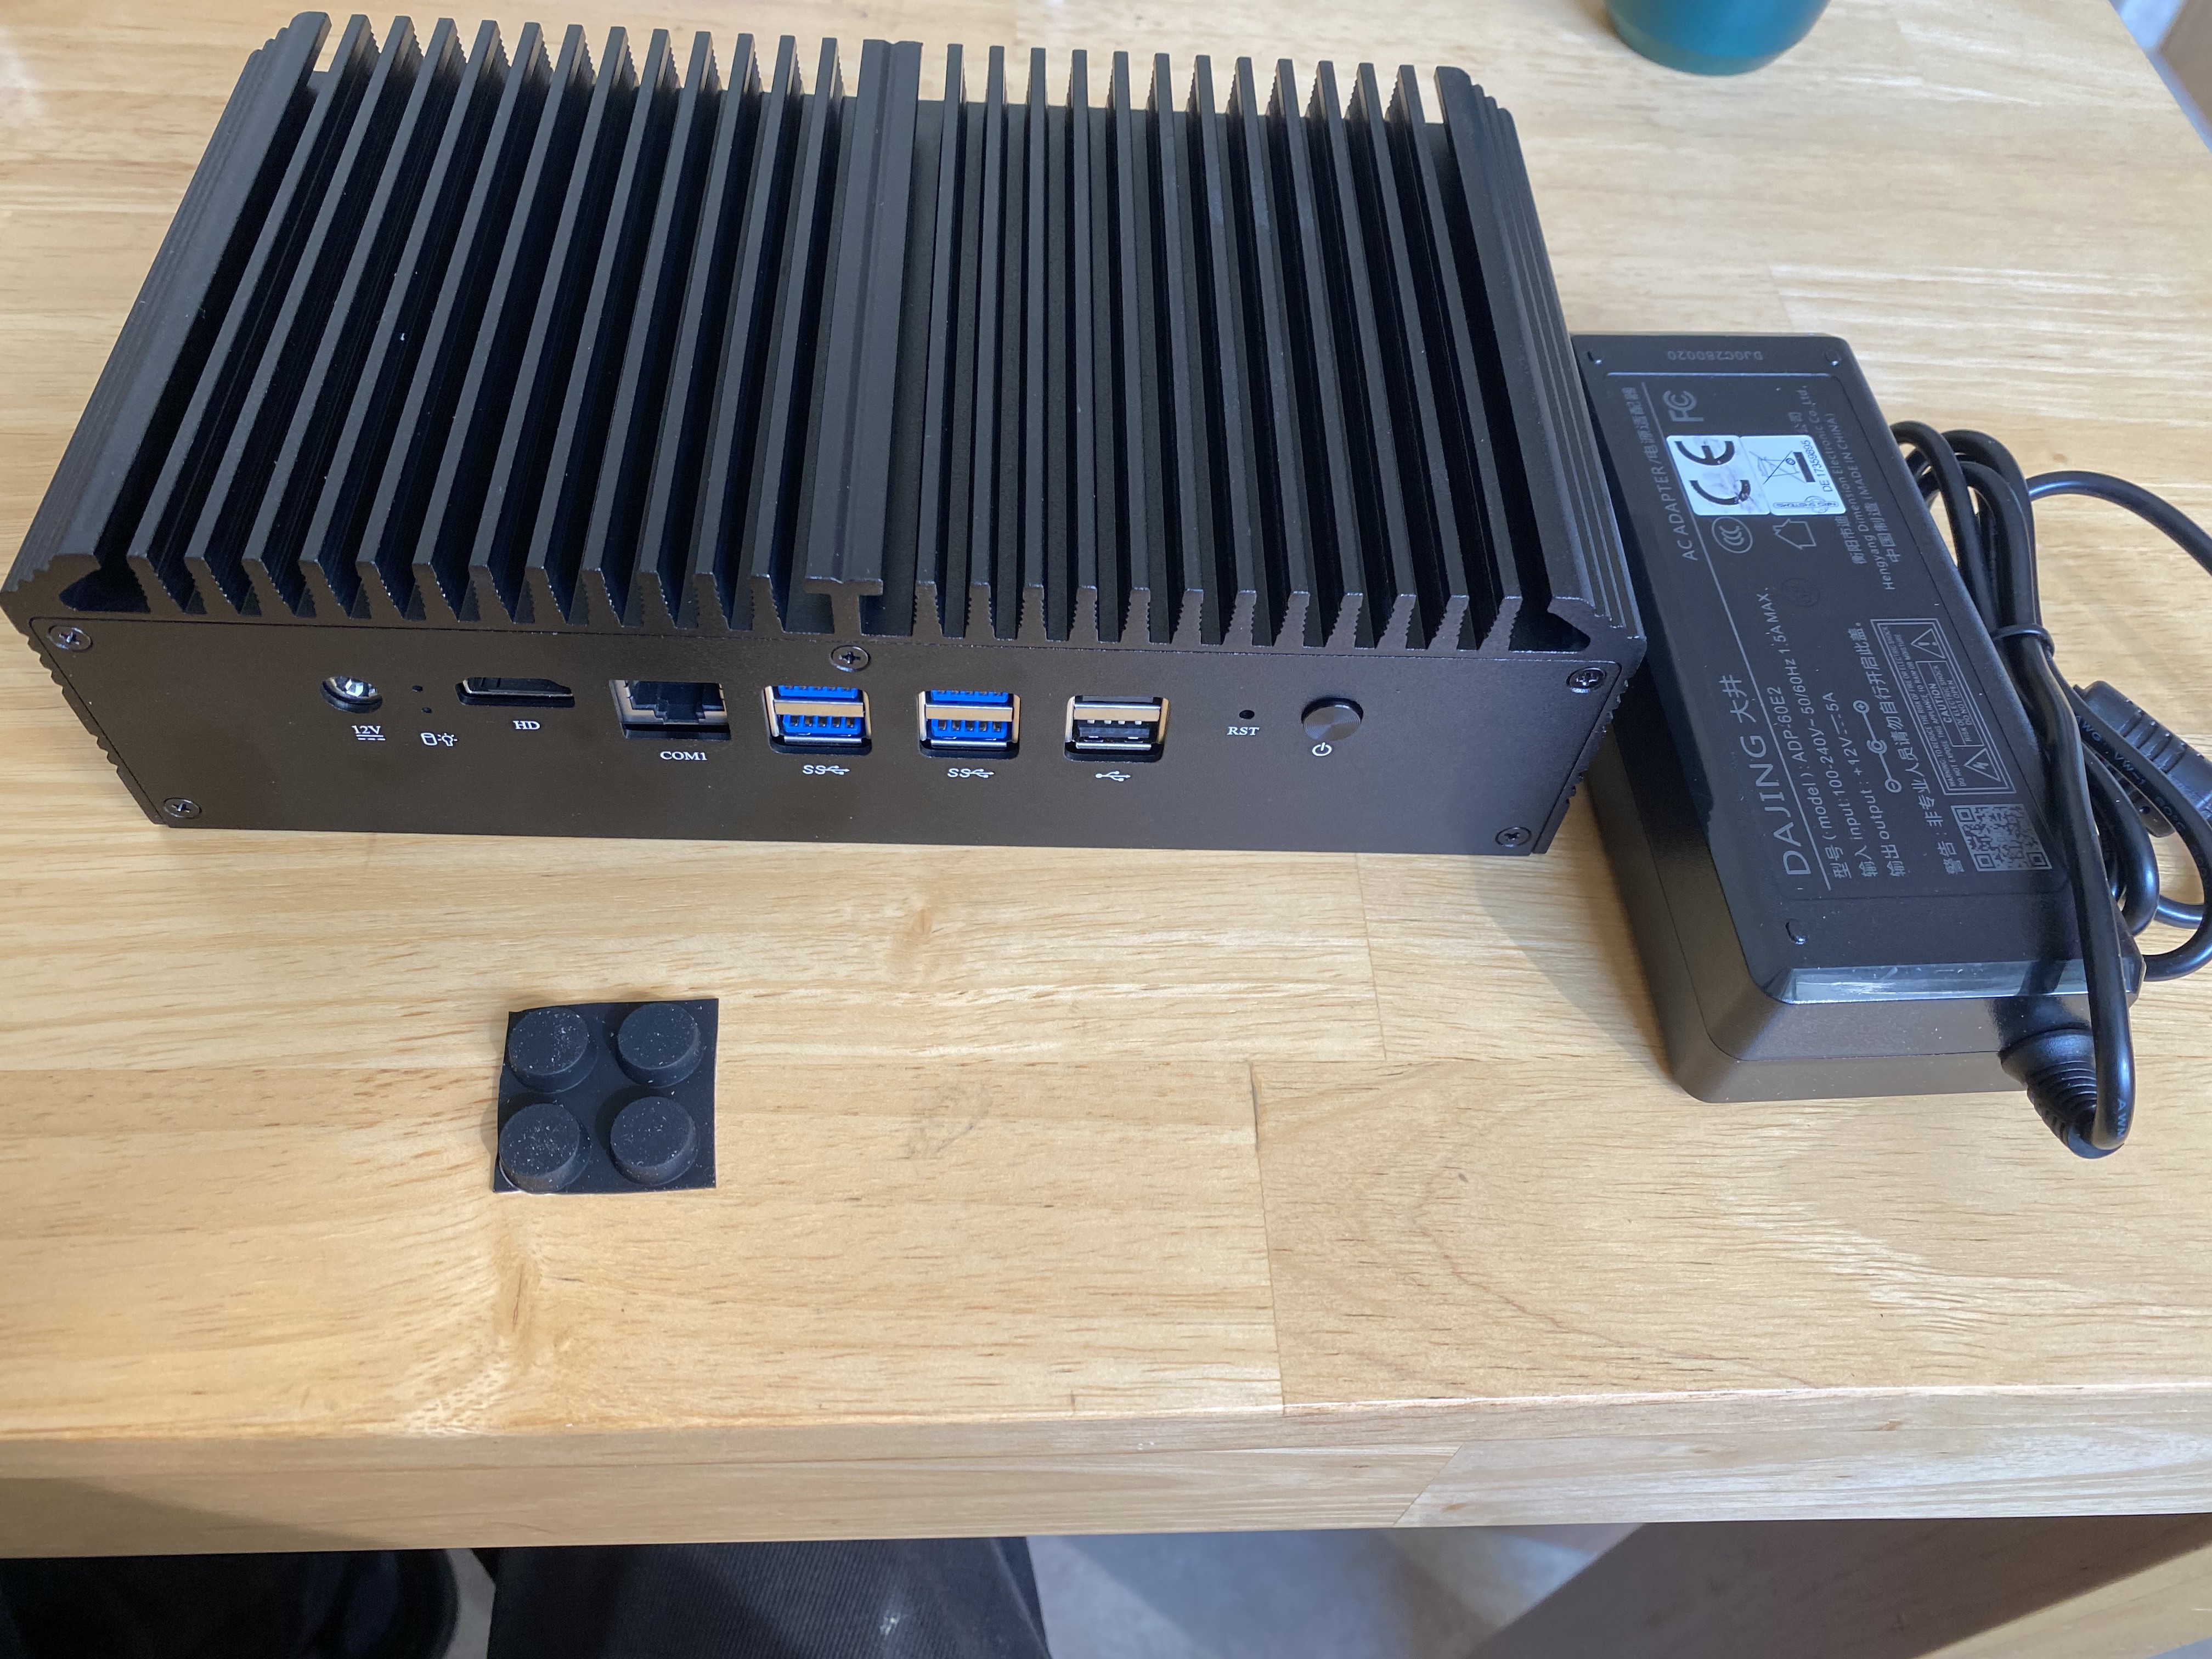
Another 3 High Powered firewalls with these IPU882 boxes (from NRG, Germany)
And some new RPIs (all new ones are RPI4, I still have three RPI3B+ at home)…
I need another 8 GB RPI…
Off toppic, but he it is a chat (sorry @fausp)
Still struggling with the concepts of OPNsense (ie: it does not make sense to me);
However got OPNsense running on a NanoPI RS4 4 4G. now in the process to let it make sense to me and figuring out how to test/use this. ![]()
I can help you eg with an Anydesk session…
I actually have time now…
1 Like
Thanks ![]() , will take your generous offer soon as I have done some homework and can ask specific questions.
, will take your generous offer soon as I have done some homework and can ask specific questions.
I’m having a late dinner…
My dinner is even later (had a late lunch and not hungry yet…
Sometimes it’s easier watching one set up from the start and basics added in…
As the old proverb goes: A picture says a thousand words, so actually watching the process could save you hours of questions!
My 2 cents
Andy
1 Like