Authentik seems a nice app to configure SSO and they provide a good documentation so I’d like to just document the NS8 specific stuff.
I’m going to append more apps, providers, logins, etc. in future.
Thanks to @oneitonitram for providing that app.
Basics
In the following examples the first instance name of NS8 apps is used like goauthentik1, nextcloud1, etc. Please adapt it to the instance names of your installation.
To install Authentik on NS8, see the README.
The default Authentik admin name is akadmin.
Check out the Authentik documentation, to get a basic impression check the terminology of Authentik.
Applications and Providers
These are the Applications that are usually shown when a user logs in to Authentik.

Authentik provides OIDC (Open ID Connect) or SAML (Security Assertion Markup Language) for SSO.
Nextcloud
Nextcloud is an Open source content collaboration platform that provides OIDC and SAML.
OIDC
Create a Nextcloud profile, see Integrate with Nextcloud | authentik
Follow the Authentik manual to create the Nextcloud OIDC application and provider, see Integrate with Nextcloud | authentik
Follow the Authentik manual to register a new OpenID provider in Nextcloud, see Integrate with Nextcloud | authentik
Nextcloud provides an app to use OIDC, see OpenID Connect user backend - Apps - App Store - Nextcloud
Add the OpenID app in Nextcloud as admin. Go to Apps and search for it using the search bar.
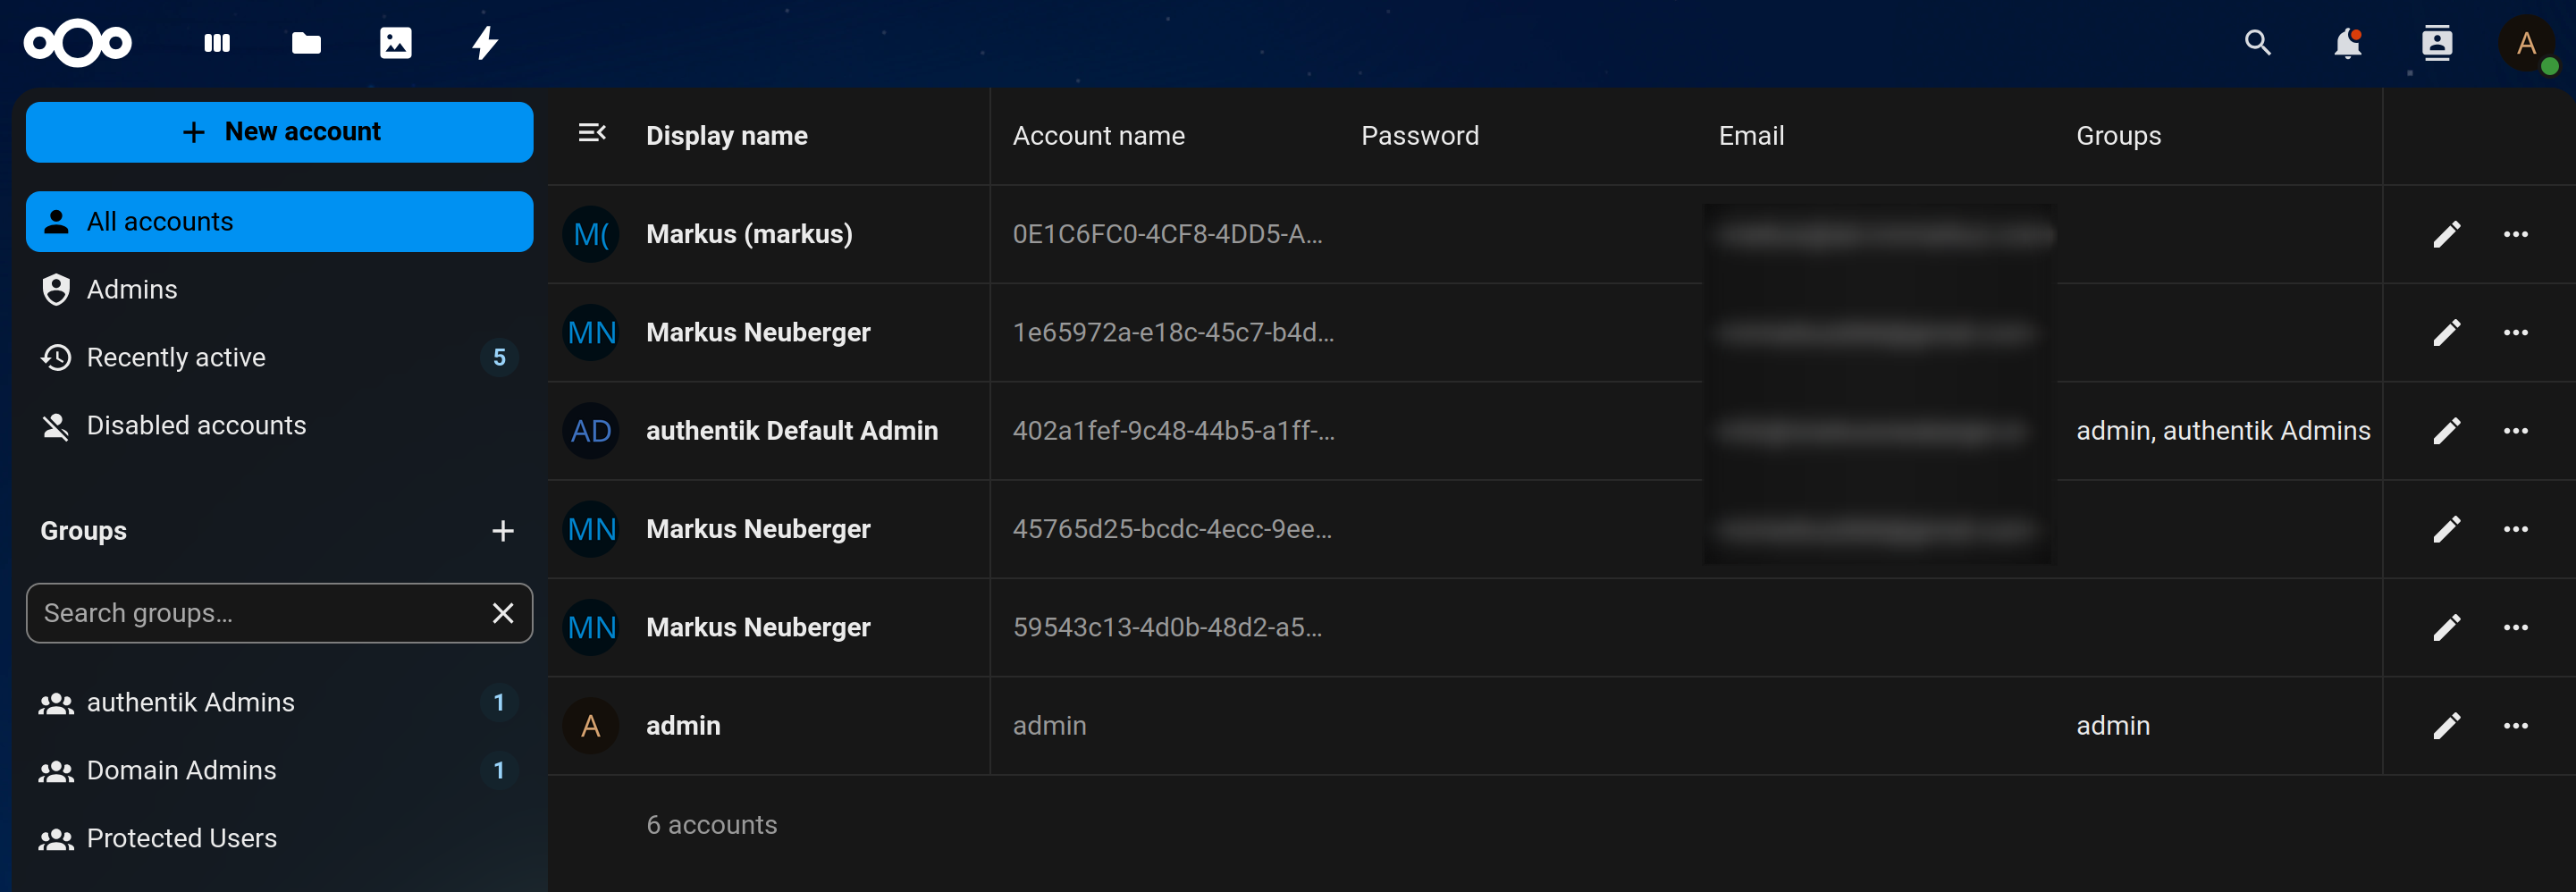
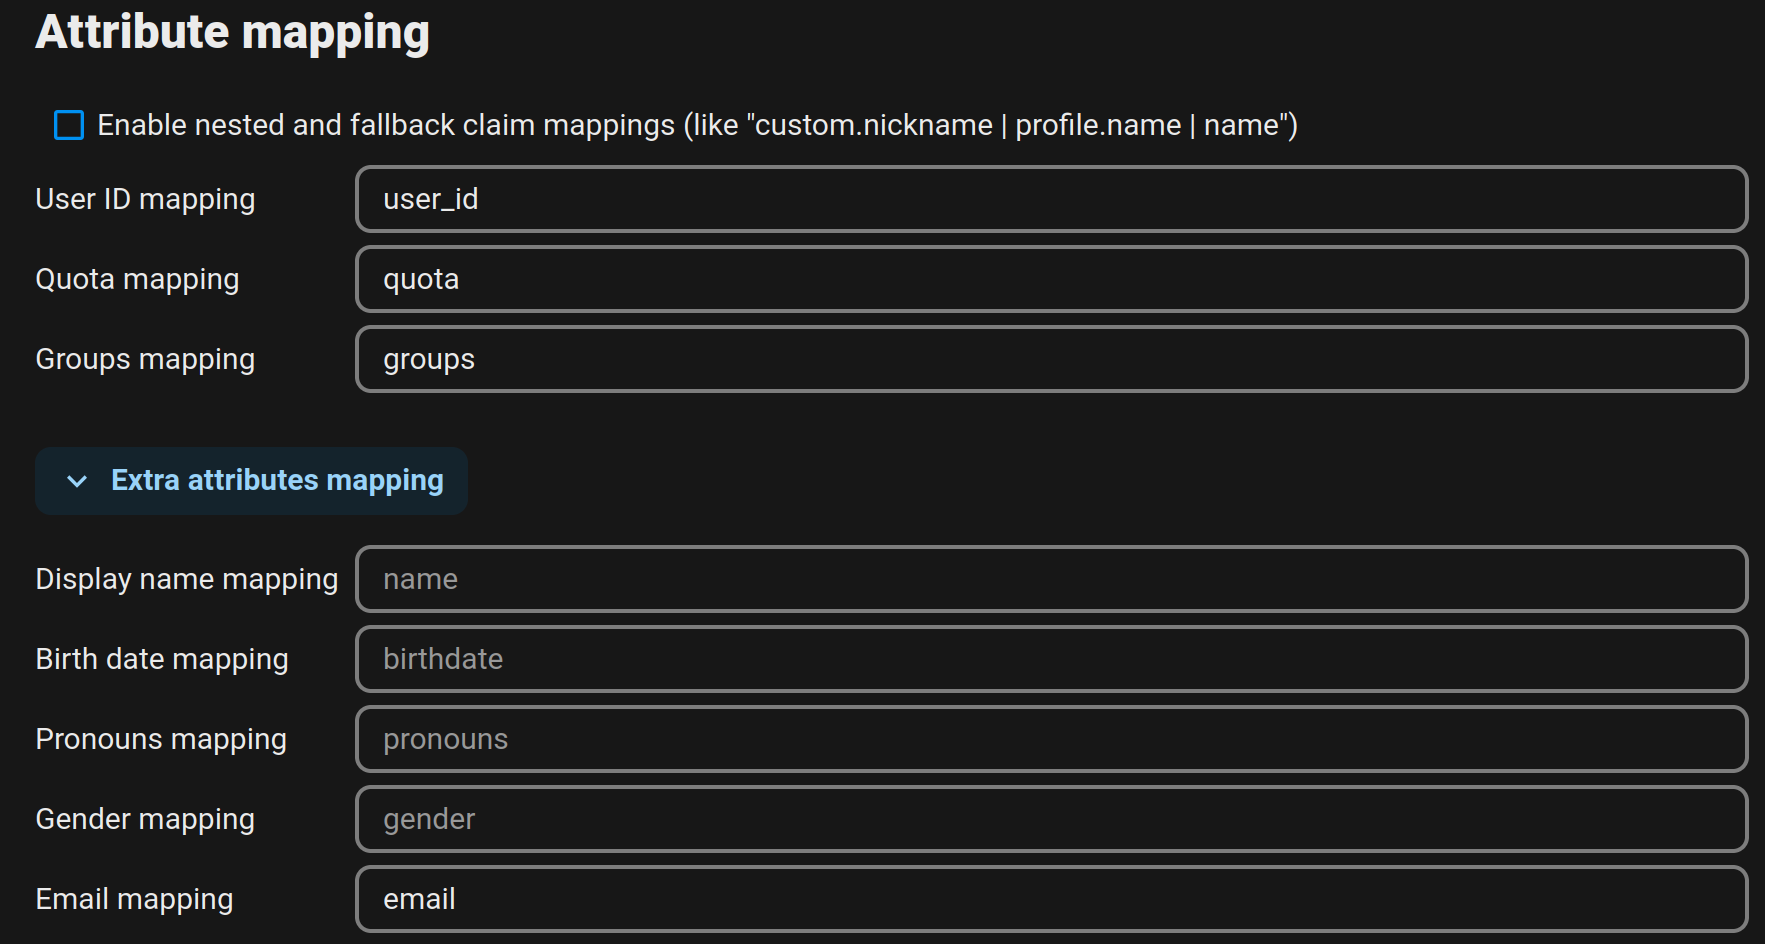
To avoid a hashed Federated Cloud ID, deselect “Use unique user ID” and use user_id for the User ID mapping.
Nextcloud OpenID app - attribute mapping:
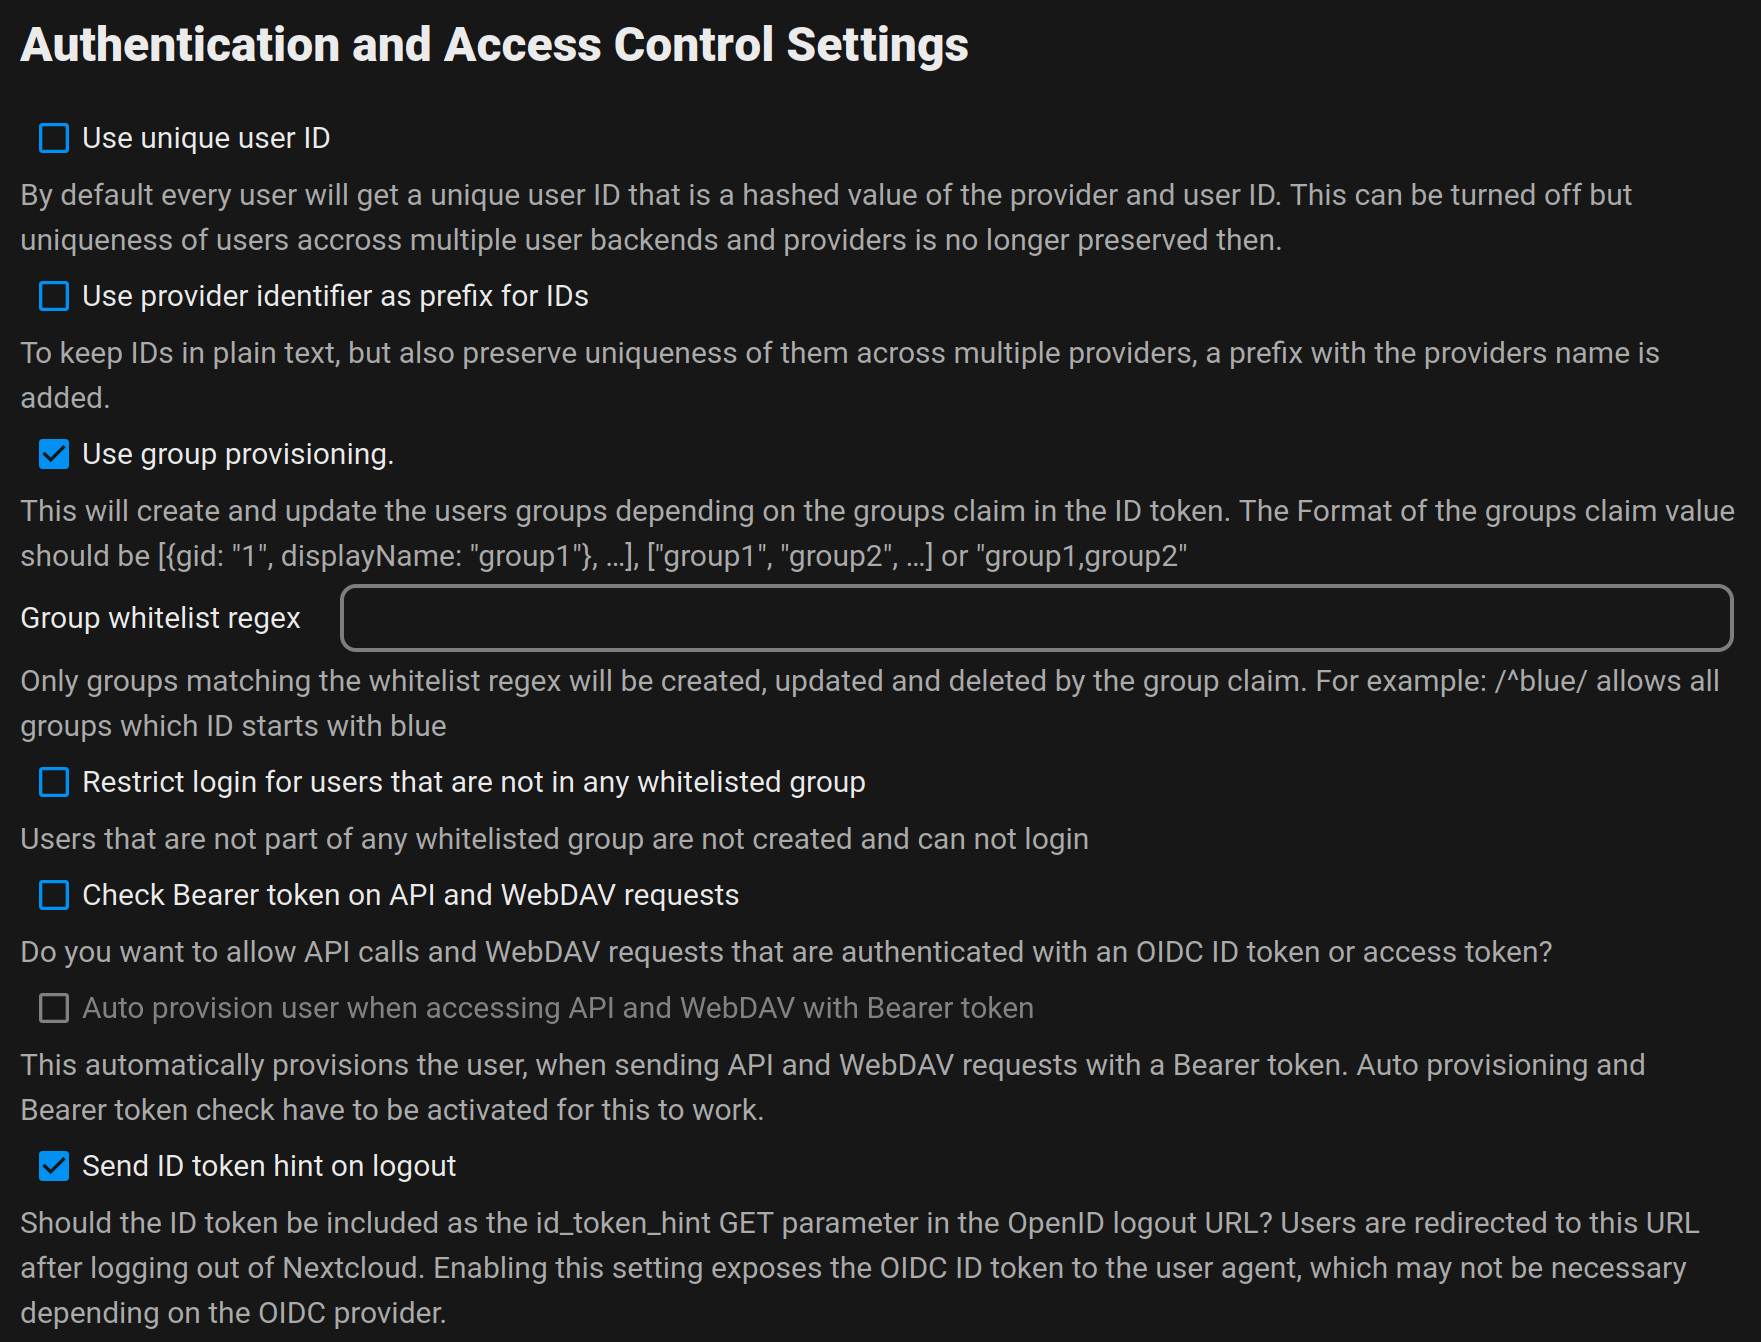
Nextcloud OpenID app - auth and access control settings:
If Nextcloud runs on the same server as Nextcloud, you need to add 'allow_local_remote_servers' => true to your nextcloud config.php file.
To edit the Nextcloud config.php file enter the Nextcloud app environment, in this example the instance name is nextcloud1:
runagent -m nextcloud1
Edit config.php:
podman unshare nano $(podman volume inspect nextcloud-app-data --format={{.Mountpoint}})/config/config.php
At the bottom add 'allow_local_remote_servers' => true so it looks like this:
  'instanceid' => 'oc42caiyw6ks',
  'mail_smtpstreamoptions' => '',
  'allow_local_remote_servers' => true,
);
To disable other login methods in Nextcloud except Authentik:
runagent -m nextcloud1 occ config:app:set --value=0 user_oidc allow_multiple_user_backends
To enable other login methods, set the value to 1.
Federation and social login
General
Sources
To add the federation and social logins to the login screen, see Sources | authentik

External users
Federation social accounts are included as external users. To be able to login, they need to be converted to internal users, see also Blocked out: Permission denied Request has been denied. Interface can only be accessed by internal users. · Issue #10791 · goauthentik/authentik · GitHub and Release 2024.8 | authentik
To change ALL external users to internal:
runagent -m goauthentik1 podman exec goauthentik-app ak change_user_type --all --type internal
To change a specific user: (in this example the user markusgoogle is set to internal)
runagent -m goauthentik1 podman exec goauthentik-app ak change_user_type markusgoogle --type internal
This command must be executed for any new federation/social account.
Github
Just follow the Authentik documentation to be able to login via Github, see Github | authentik
To login via Goolge, follow the Authentik documentation, see Google Cloud (with OAuth) | authentik
Microsoft
To use an Entra ID user for login, follow the documentation, see Entra ID OAuth authentication | authentik
The slug must match so for the Entra redirect URI https://auth.domain.tld/source/oauth/callback/entra-id/ the slug must be entra-id
With a licensed Authentik it’s possible to add a complete Entra tenant, see Microsoft Entra ID provider | authentik
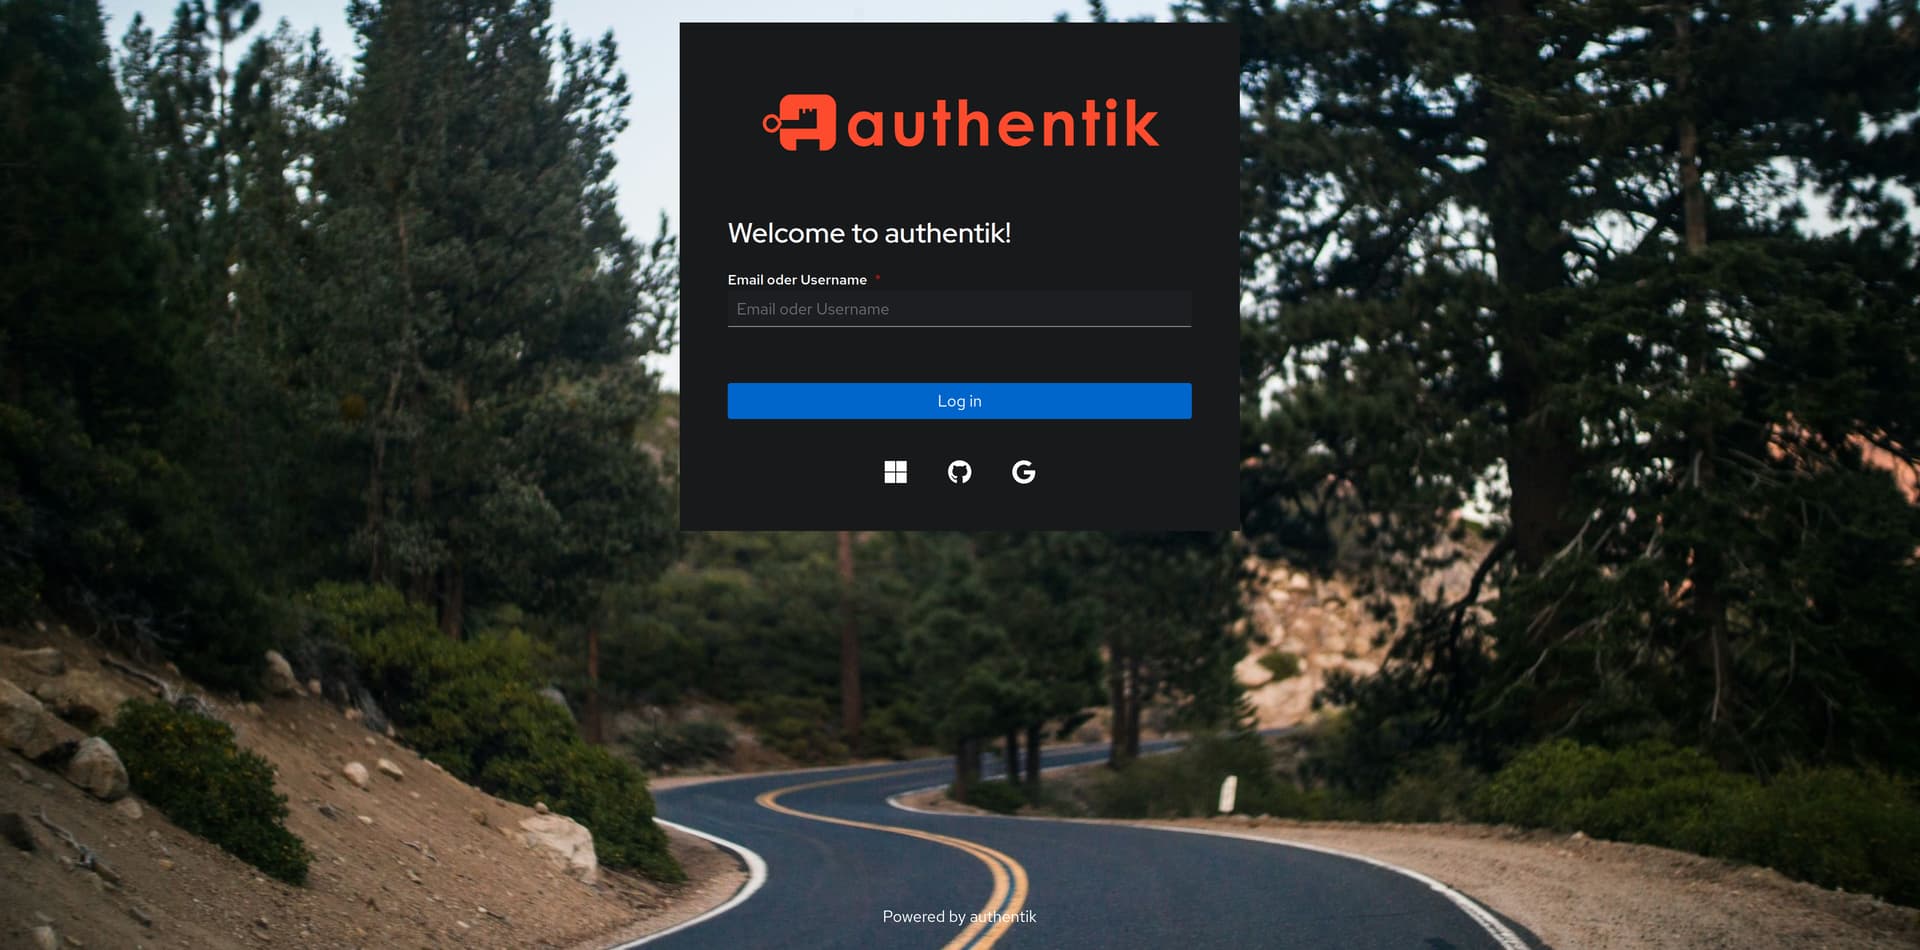
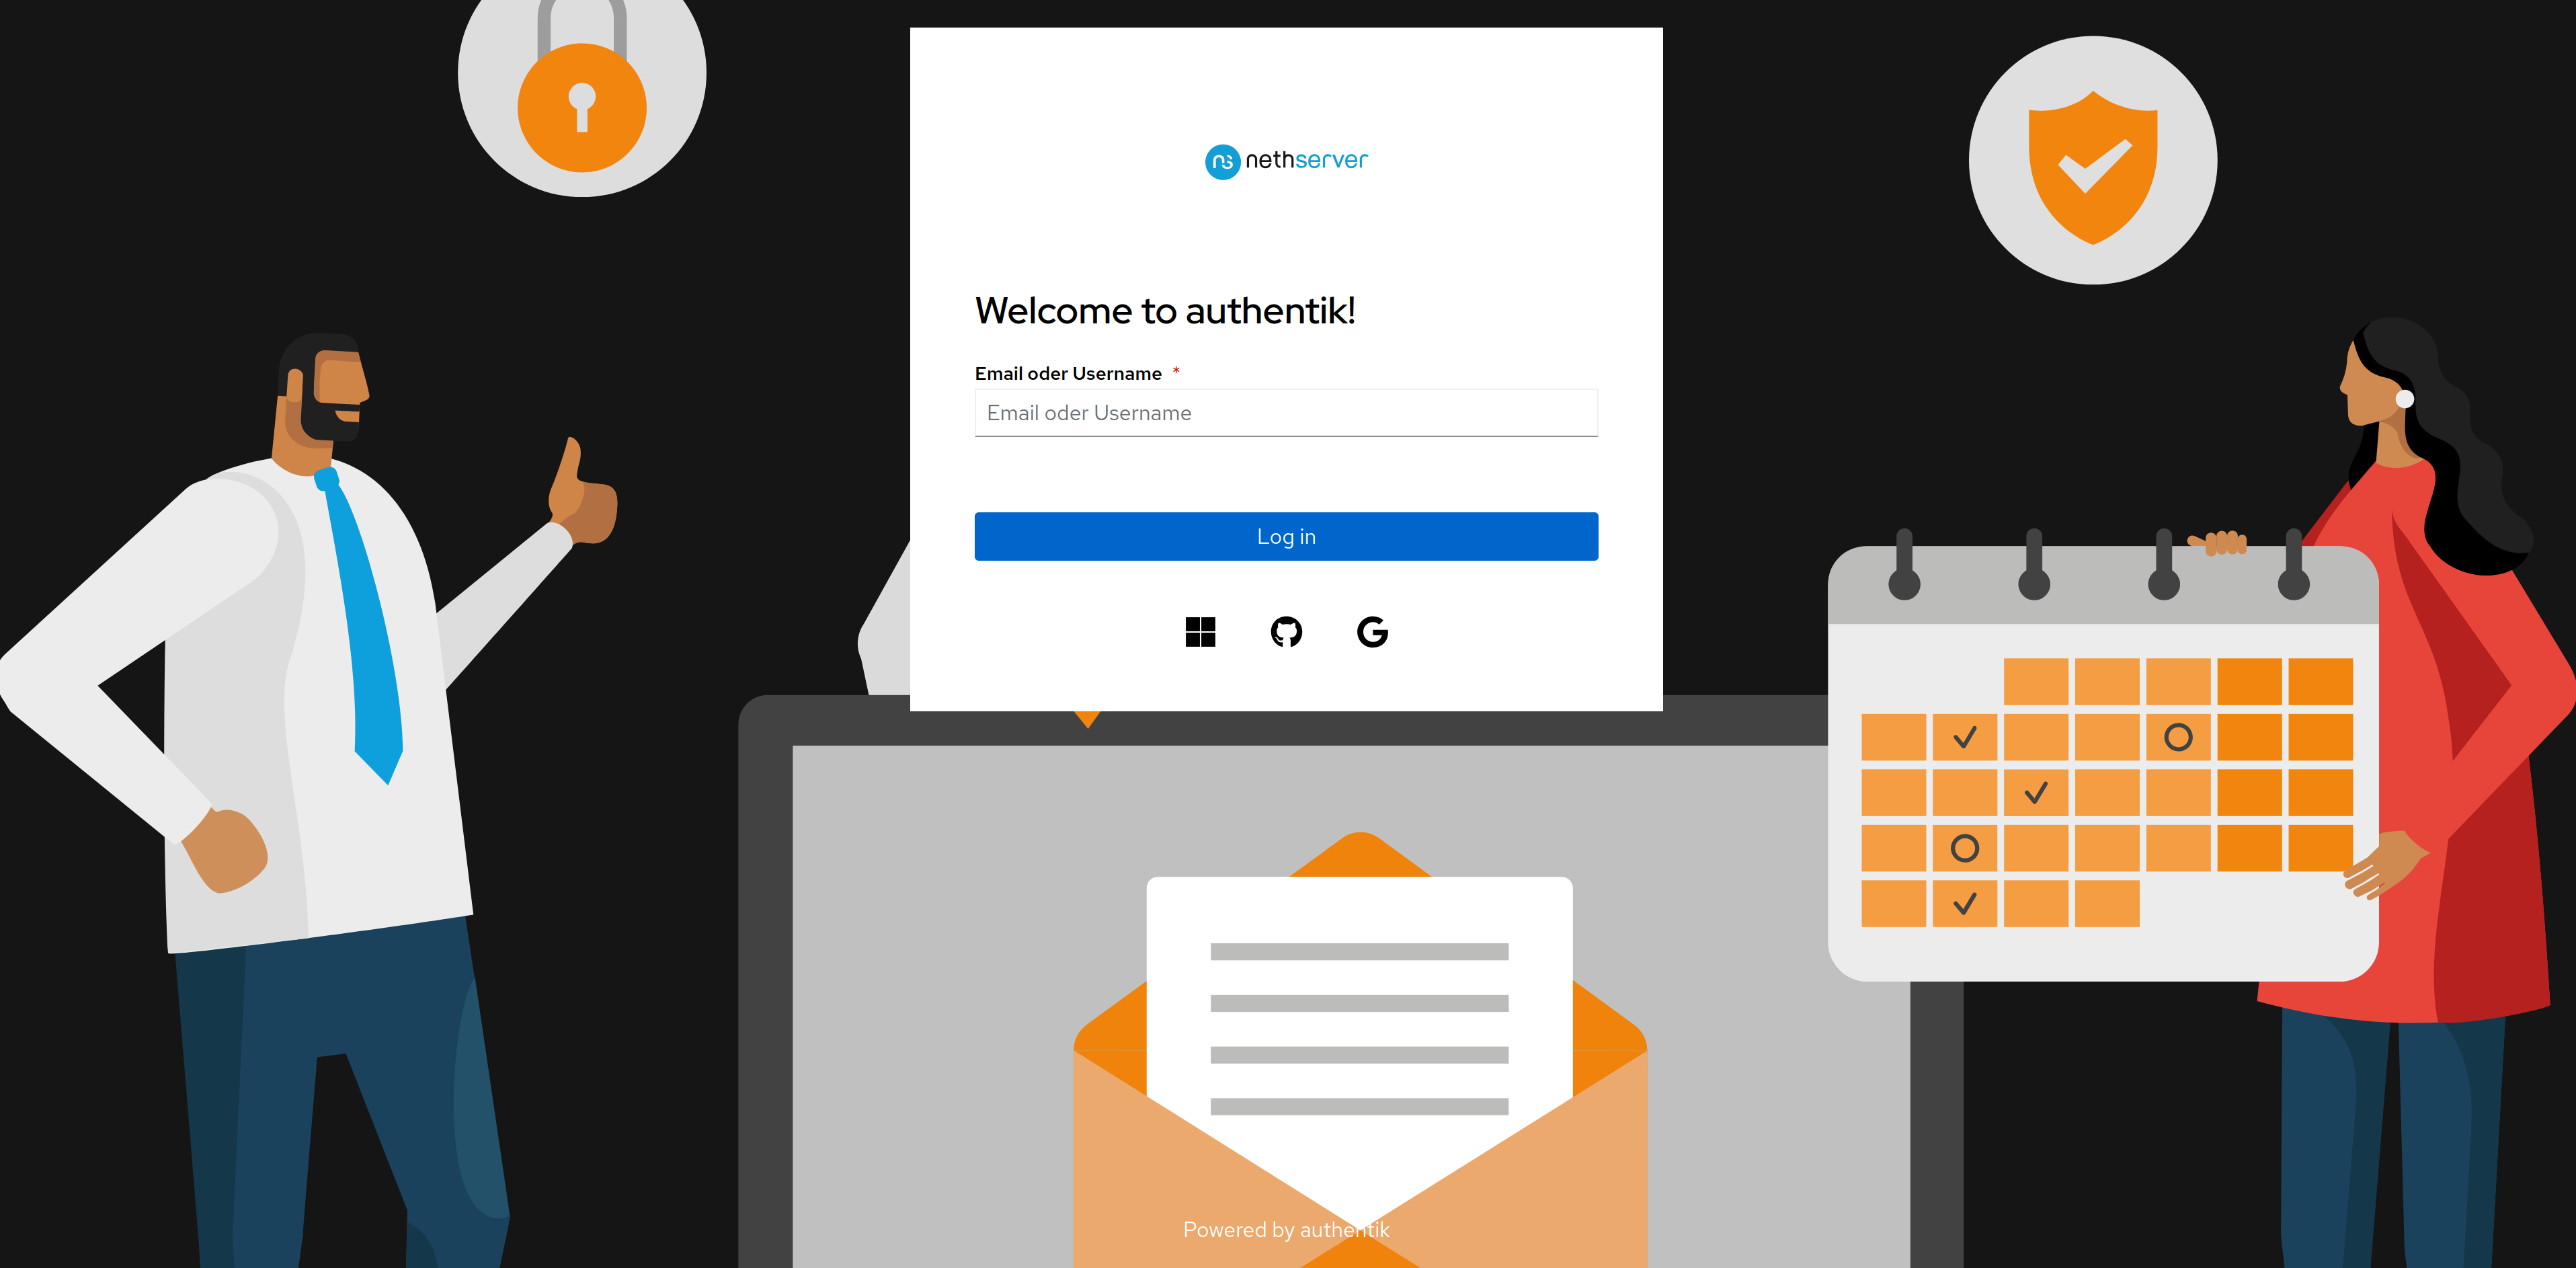
Branding
Authentik can be customized, see Brands | authentik and Customize the User interface | authentik
Default:
Customized:
Upload files
Get a nice logo, for example this one.
Upload the logo to your server:
scp /home/markus/Downloads/nethserver-logo.svg root@mynethserver.domain.tld:
On the NS8, copy the logo to the Authentik media volume, in the public folder:
cp nethserver-logo.svg /home/goauthentik1/.local/share/containers/storage/volumes/goauthentik-media/_data/public/
Set the right owner for the whole media/public content:
chown -R goauthentik1: /home/goauthentik1/.local/share/containers/storage/volumes/goauthentik-media/_data/public/nethserver-logo.svg
The internal path is /media/public, so the Branding settings should look like this:
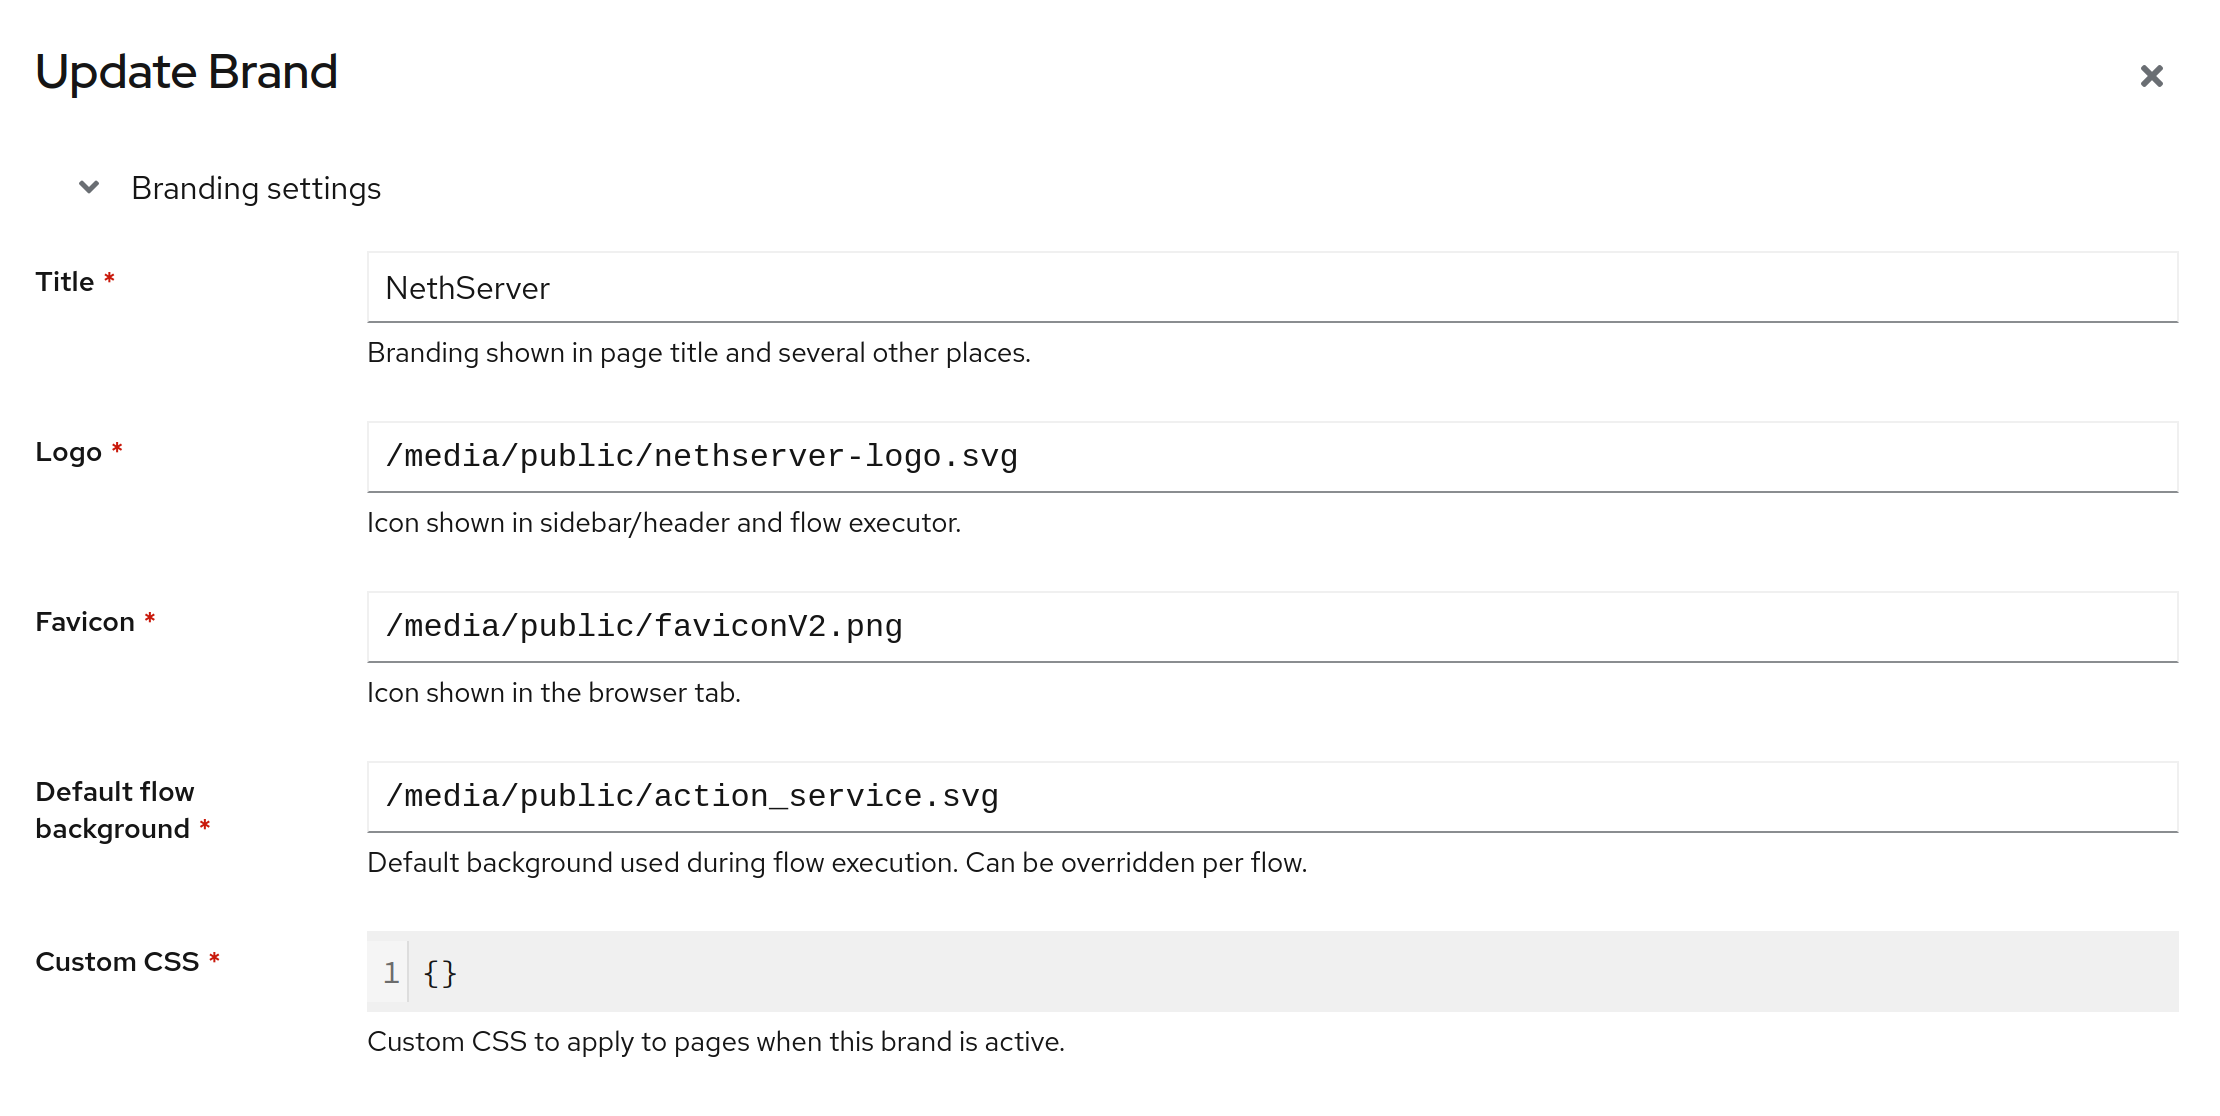
The media volume is included in the backup so changes are preserved.