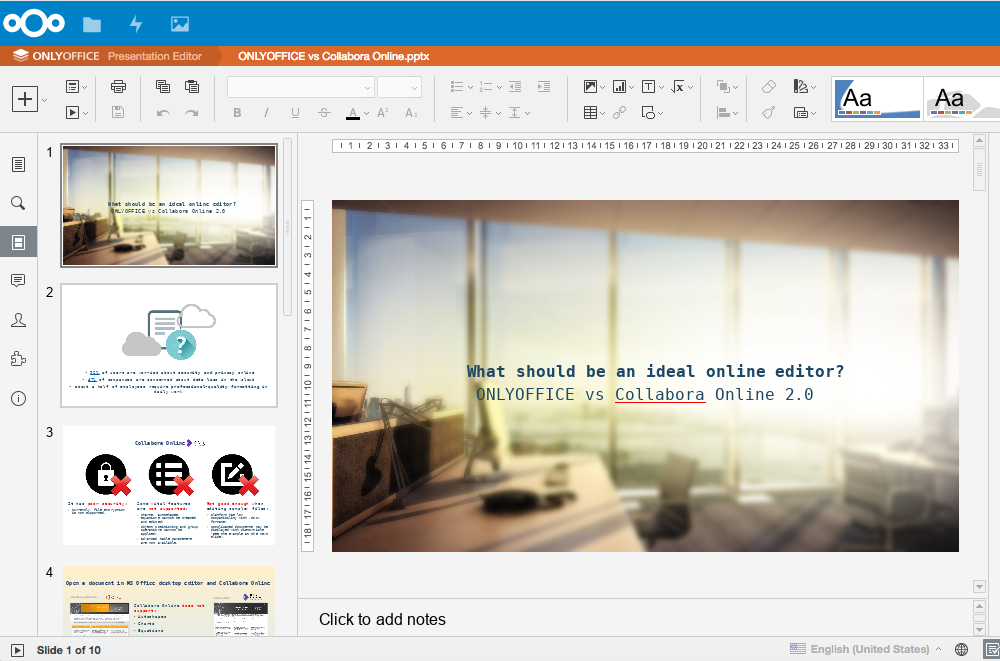
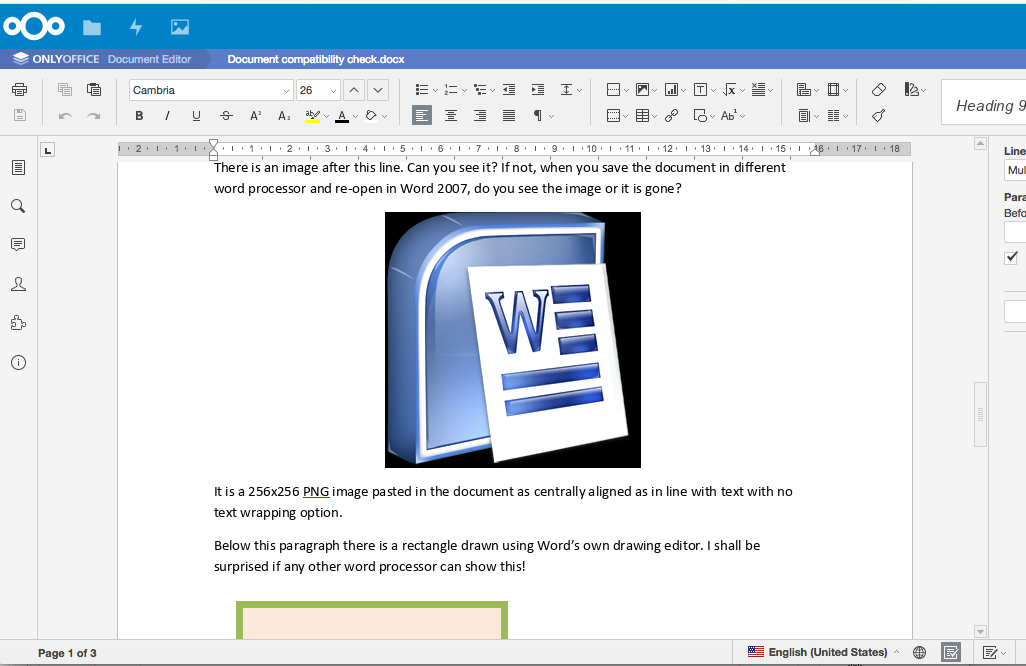
Presentations too (that’s their file, but downloaded from their site and copied to mine):
Oh yeah! Let’s test it some time, collect some inputs and then I’ll give it a try. Would be great to have document editing in NethServer!
Congrats Dan ! 
Nice work, please write us your steps in more detail that we also can test it…
1 Like
Of course–I wouldn’t be remotely comfortable deploying this in production at this point, and there’s no immediate rush on getting it packaged. But I think that’s a good goal.
1 Like
As @fausp recommended, next step would be a howto to make it easy to test it. And then I can imagine a kind of community package…
1 Like
I’d rather see a redirect to ssl version on port 8082 and no connection on 8081 at all.
OK, here goes. The starting condition is a clean Neth 7.4 installation, with all current updates. I installed a local domain controller, but I doubt that matters. Web server, Nextcloud, and MySQL need to be installed from the Software Center. In all cases below, “neth_fqdn” refers to the FQDN of your neth server. Then (running all the commands below as root):
yum install nethserver-postgresqlmkdir -p /etc/e-smith/templates-custom/var/lib/pgsql/data/pg_hba.confcp /etc/e-smith/templates/var/lib/pgsql/data/pg_hba.conf/20auth /etc/e-smith/templates-custom/var/lib/pgsql/data/pg_hba.conf/nano -w /etc/e-smith/templates-custom/var/lib/pgsql/data/pg_hba.conf/20auth- On the line that has
host all all 127.0.0.1/32andhost all all ::1/128, changemd5at the end totrust. expand-template /var/lib/pgsql/data/pg_hba.confservice postgresql restartcurl -sL https://rpm.nodesource.com/setup_6.x | bash -cd /tmpsudo -u postgres psql -c "CREATE DATABASE onlyoffice;"sudo -u postgres psql -c "CREATE USER onlyoffice WITH password 'onlyoffice';"sudo -u postgres psql -c "GRANT ALL privileges ON DATABASE onlyoffice TO onlyoffice;"service redis startsystemctl enable redisyum install rabbitmq-serverservice rabbitmq-server startsystemctl enable rabbitmq-serveryum install https://downloads.sourceforge.net/project/mscorefonts2/rpms/msttcore-fonts-installer-2.6-1.noarch.rpmyum install http://download.onlyoffice.com/repo/centos/main/noarch/onlyoffice-repo.noarch.rpmyum install onlyoffice-documentserverservice httpd stopservice supervisord startsystemctl enable supervisordservice nginx startsystemctl enable nginxexport DS_PORT=8081bash documentserver-configure.sh- Accept the defaults here. The password for Postgres will be
onlyoffice; the password for RabbitMQ will beguest. service nginx stopnano -w /etc/nginx/nginx.conf- Comment out the server block here. It begins on line 38, and ends on line 57. Just put a # in front of each line. This is necessary to prevent nginx from trying to listen on port 80, which will conflict with Apache.
cp -f /etc/nginx/conf.d/onlyoffice-documentserver-ssl.conf.template /etc/nginx/conf.d/onlyoffice-documentserver.confnano -w /etc/nginx/conf.d/onlyoffice-documentserver.conf- You’ll need to make a few changes here. First, there are two lines (lines 28 and 29) that tell it to listen on port 443; you’ll need to change that to port 8082. Second, change ssl_certificate and ssl_certificate_key to match the values of SSLCertificateFile and SSLCertificateKeyFile, respectively, in
/etc/httpd/conf.d/ssl.conf. Keep the semicolons at the ends of the lines. config set fw_nginx service status enabled TCPPort 8082 access greensignal-event firewall-adjustservice nginx start- At this point, you should be able to browse to https://neth_fqdn:8082 and see that the OnlyOffice Document Server is running.
service httpd start- You should now be able to load Nextcloud and/or any other web pages.
- Log in to Nextcloud as the Nextcloud admin user (by default, that’s username admin, password Nethesis,1234).
- Go to the Apps page. Under Office & text, enable the Onlyoffice app.
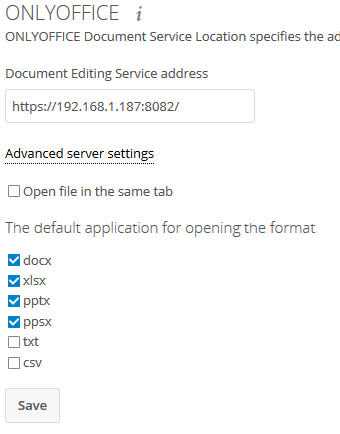
- Then go to the Admin page. Under the ONLYOFFICE heading, in the field for “Document Editing Service address”, fill in https://neth_fqdn:8082. Leave the other settings at default, or change to your preference. Click Save.
At this point, you should be done. Let me know how it works. I can’t promise any help in troubleshooting, as I know very little beyond what the onlyoffice doc pages say, but I’ll do what I can.
5 Likes
Many thanks Dan ! I will test it tomorrow. Have a nice evening…
I’m not sure how feasible it would be to configure nginx to only listen on https, and not on http at all. But if outside access is only via https (which I’m thinking would be the case), this might not be much of an issue. A next testing step would probably be to change TCPPort in my config db entry to just 8082, and see if that still works. Quick testing suggests it does. I’ve edited the steps above to reflect that change.
Edit: But the question remains whether 8082 is a good port to choose–I don’t know if it’s going to conflict with anything else. Changing it to anything else would be trivial, but determining what to change it to might not be.
I couldn’t wait and tested it and it just worked! I really appreciate your awesome work! 
I just did some cosmetics and eased copy/paste:
- Please don’t copy template to template-custom if possible as it may override potential updates. pg_hba.conf works like first record counts so we put our template between 10 and 20 -> 15onlyoffice.
- nano starts with no-wrap per default so no -w needed
- changed expand-template and service restart to signal-event nethserver-*-update
- combined service start and enable to systemctl enable service --now
- install nethserver-redis (thanks to @stephdl)
- removed supervisor and nginx because they’re installed as requirement of onlyoffice (thanks to @dan)
- changed to download onlyoffice RPM directly instead via repo (not working for me anymore)
- added nethserver-nextcloud and IP instead of FQDN possibility (thanks to @fausp)
- certs and FQDN recommended and documentserver check (thanks to @dan)
Copy/paste:
yum -y install nethserver-nextcloud nethserver-postgresql nethserver-redis rabbitmq-server nano
mkdir -p /etc/e-smith/templates-custom/var/lib/pgsql/data/pg_hba.conf
echo -e "host all all 127.0.0.1/32 trust\nhost all all ::1/128 trust" > /etc/e-smith/templates-custom/var/lib/pgsql/data/pg_hba.conf/15onlyoffice
signal-event nethserver-postgresql-update
cd ~
curl -sL https://rpm.nodesource.com/setup_6.x | bash -
cd /tmp
sudo -u postgres psql -c "CREATE DATABASE onlyoffice;"
sudo -u postgres psql -c "CREATE USER onlyoffice WITH password 'onlyoffice';"
sudo -u postgres psql -c "GRANT ALL privileges ON DATABASE onlyoffice TO onlyoffice;"
systemctl enable redis --now
systemctl enable rabbitmq-server --now
yum -y install https://downloads.sourceforge.net/project/mscorefonts2/rpms/msttcore-fonts-installer-2.6-1.noarch.rpm http://download.onlyoffice.com/repo/centos/main/noarch/onlyoffice-repo.noarch.rpm
yum -y install onlyoffice-documentserver
systemctl stop httpd
systemctl enable supervisord --now
systemctl enable nginx --now
export DS_PORT=8081
bash documentserver-configure.sh
Accept the defaults here. The password for Postgres will be onlyoffice; the password for RabbitMQ will be guest
systemctl stop nginx
nano /etc/nginx/nginx.conf
Comment out the server block here. It begins on line 38, and ends on line 57. Just put a # in front of each line. This is necessary to prevent nginx from trying to listen on port 80, which will conflict with Apache.
/bin/cp -rf /etc/nginx/conf.d/onlyoffice-documentserver-ssl.conf.template /etc/nginx/conf.d/onlyoffice-documentserver.conf
nano /etc/nginx/conf.d/onlyoffice-documentserver.conf
You’ll need to make a few changes here. First, there are two lines (lines 28 and 29) that tell it to listen on port 443; you’ll need to change that to port 8082. Second, change ssl_certificate to and ssl_certificate_key to match the values of SSLCertificateFile and SSLCertificateKeyFile, respectively, in /etc/httpd/conf.d/ssl.conf. Keep the semicolons at the ends of the lines.
- SSLCertificateFile: /etc/pki/tls/certs/localhost.crt
- SSLCertificateKeyFile: /etc/pki/tls/private/localhost.key
Finish:
config set fw_nginx service status enabled TCPPort 8082 access green
signal-event firewall-adjust
systemctl start nginx
systemctl start httpd
Check if the document server is reachable by browsing to https://neth_fqdn_or_ip:8082. Using certs and respective FQDN is recommended to avoid problems. If you are using self signed certs or IPs you have to allow the documentserver page in your browser else you’ll get an error opening an office document.
Log in to Nextcloud as the Nextcloud admin user (by default, that’s username admin, password Nethesis,1234).
- Go to the Apps page. Under Office & text, enable the Onlyoffice app.
- Then go to the Admin page. Under the ONLYOFFICE heading, in the field for “Document Editing Service address”, fill in https://neth_fqdn_or_ip:8082.
Leave the other settings at default, or change to your preference. Click Save.
I get an error here but it works and is saved:

At this point, you should be done.
1 Like
Neither nginx nor supervisor should need to be installed separately, as they’re both pulled in as dependencies by onlyoffice-documentserver. Redis was already installed for me, but that was because I’d selected all the optional packages when I installed Web Server from the software center.
Thanks, I edited the post. I kept redis so everything works from command line.
Got some selinux errors after “bash documentserver-configure.sh”
[root@neth7 tmp]# bash documentserver-configure.sh
Configuring PostgreSQL access…
Host: localhost
Database name: onlyoffice
User: onlyoffice
Password:
Trying to establish PostgreSQL connection… OK
Installing PostgreSQL database… OK
Configuring redis access…
Host: localhost
Trying to establish redis connection… OK
Configuring RabbitMQ access…
Host: localhost:5672
User: guest
Password:
Trying to establish RabbitMQ connection… OK
json: updated “/etc/onlyoffice/documentserver/default.json” in-place
json: updated “/etc/onlyoffice/documentserver/default.json” in-place
json: updated “/etc/onlyoffice/documentserver/default.json” in-place
json: updated “/etc/onlyoffice/documentserver/default.json” in-place
json: updated “/etc/onlyoffice/documentserver/default.json” in-place
json: updated “/etc/onlyoffice/documentserver/default.json” in-place
json: updated “/etc/onlyoffice/documentserver/default.json” in-place
json: updated “/etc/onlyoffice/documentserver/default.json” in-place
ValueError: Port tcp/8081 already defined
SELinux: Could not downgrade policy file /etc/selinux/targeted/policy/policy.30, searching for an older versi on.
SELinux: Could not open policy file <= /etc/selinux/targeted/policy/policy.30: No such file or directory
/sbin/load_policy: Can’t load policy: No such file or directory
libsemanage.semanage_reload_policy: load_policy returned error code 2. (No such file or directory).
OSError: No such file or directory
Restarting services… OK
You have mail in /var/spool/mail/root
The original howto says:
Disable SELinux deprecated since v.5.0
Open the /etc/selinux/config file using any text editor, replace the SELINUX=enforcing or SELINUX=permissive string with the SELINUX=disabled one and save the changes.
Reboot your server for the changes to take effect.
Did these steps:
yum -y install nethserver-nextcloud nethserver-postgresql

mkdir -p /etc/e-smith/templates-custom/var/lib/pgsql/data/pg_hba.conf

echo -e "host all all 127.0.0.1/32 trust\nhost all all ::1/128 trust" > \
/etc/e-smith/templates-custom/var/lib/pgsql/data/pg_hba.conf/15onlyoffice

signal-event nethserver-postgresql-update

curl -sL https://rpm.nodesource.com/setup_6.x | bash -

cd /tmp

sudo -u postgres psql -c "CREATE DATABASE onlyoffice;"
sudo -u postgres psql -c "CREATE USER onlyoffice WITH password 'onlyoffice';"
sudo -u postgres psql -c "GRANT ALL privileges ON DATABASE onlyoffice TO onlyoffice;"

yum -y install rabbitmq-server redis
systemctl enable redis --now
systemctl enable rabbitmq-server --now

yum -y install https://downloads.sourceforge.net/project/mscorefonts2/rpms/msttcore-fonts-installer-2.6-1.noarch.rpm
yum -y install http://download.onlyoffice.com/repo/centos/main/noarch/onlyoffice-repo.noarch.rpm
yum -y install onlyoffice-documentserver

systemctl stop httpd
systemctl enable supervisord --now
systemctl enable nginx --now
export DS_PORT=8081

bash documentserver-configure.sh

systemctl stop nginx

# comment out the server block
nano /etc/nginx/nginx.conf

#    server {
#        listen       80 default_server;
#        listen       [::]:80 default_server;
#        server_name  _;
#        root         /usr/share/nginx/html;
#
#        # Load configuration files for the default server block.
#        include /etc/nginx/default.d/*.conf;
#
#        location / {
#        }
#
#        error_page 404 /404.html;
#            location = /40x.html {
#        }
#
#
#        error_page 500 502 503 504 /50x.html;
#            location = /50x.html {
#        }
#    }

/bin/cp -rf /etc/nginx/conf.d/onlyoffice-documentserver-ssl.conf.template /etc/nginx/conf.d/onlyoffice-documentserver.conf


# Make a few changes in onlyoffice-documentserver.conf
# First (lines 28 and 29) change port 443 to 8082
# Second change ssl_certificate
nano /etc/nginx/conf.d/onlyoffice-documentserver.conf

listen 0.0.0.0:8082 ssl;
listen [::]:8082 ssl default_server;

ssl_certificate /etc/pki/tls/certs/localhost.crt;
ssl_certificate_key /etc/pki/tls/private/localhost.key;


# Finish
config set fw_nginx service status enabled TCPPort 8082 access green
signal-event firewall-adjust
systemctl start nginx
systemctl start httpd


# Log in to Nextcloud as the Nextcloud admin user
# (by default, that's username admin, password Nethesis,1234).

# Go to the Apps page. Under Office & text, enable the Onlyoffice app.
# Then go to the Admin page. Under the ONLYOFFICE heading, in the field
# for "Document Editing Service address", fill in https://neth7.example.org:8082
# Leave the other settings at default, or change to your preference.
# Click Save.

# At this point, you should be done.
In your howto:
export DS_PORT=8081
Isn’t it port 8082 ?
there is a rpm nethserver-redis
I tried it again and updated my post: Collaborative Document Editing? - #30 by mrmarkuz
I got similar errors but it works.
You may try setting the URL to onlyoffice in nextcloud to ip instead of fqdn, this worked for me.
It think 8081 is the HTTP port that is not needed…
Thanks, I included it.
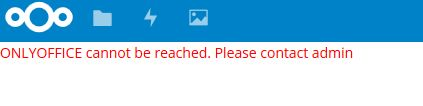
Still the same problem:
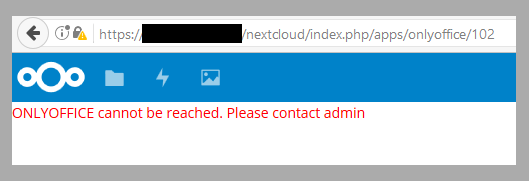
I am able to create files, but not watch them…
Be aware that if you do this, you’ll probably run into SSL errors because your certificate covers your FQDN, not your IP address. At least, that’s the case for the Let’s Encrypt cert I’m using.
Interesting, what was happening when trying with the repo? I’d be concerned that this would make the whole thing less maintainable–the system wouldn’t find updated onlyoffice packages without the repo.
![]()
I didn’t see this error with mine–strange.
Is the client computer (the one you’re using to access Nextcloud) on the same LAN as your Neth server? What operating system is it running?