Here is a simple screenshot documentation to get Nethserver installed AND access the servermanager:
After booting you will be greeted with this screen:
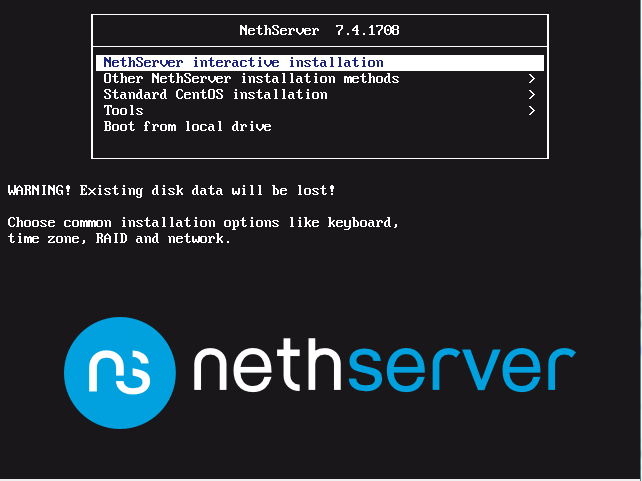
You opt for the first choice, the interactive installation. This will bring you to the next screen:

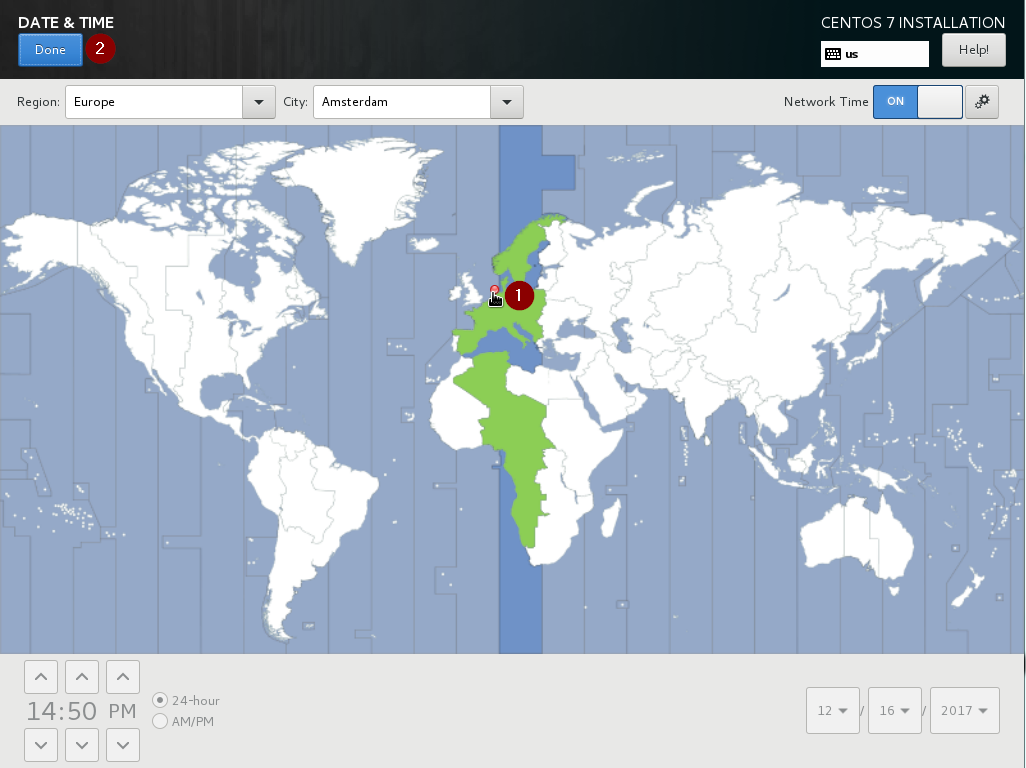
Work through these items in the order of the red dots with numbers. 1 will open this screen, select a region and click Done.
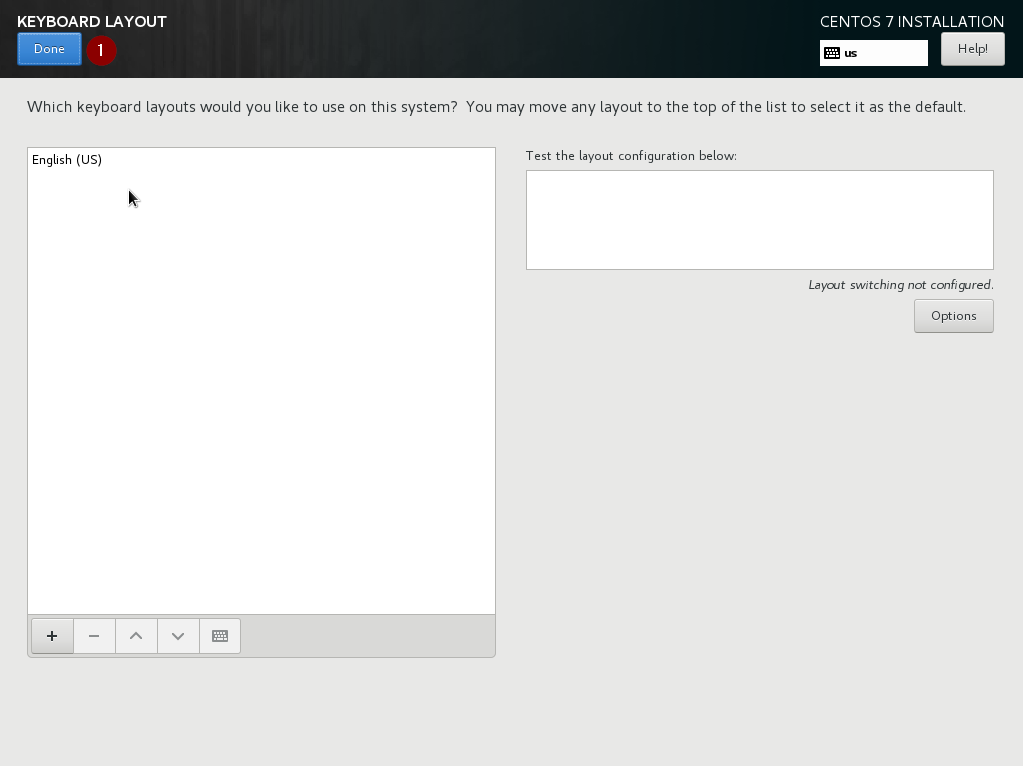
Next was the keyboard layout. I always accept defaults, they suit me:
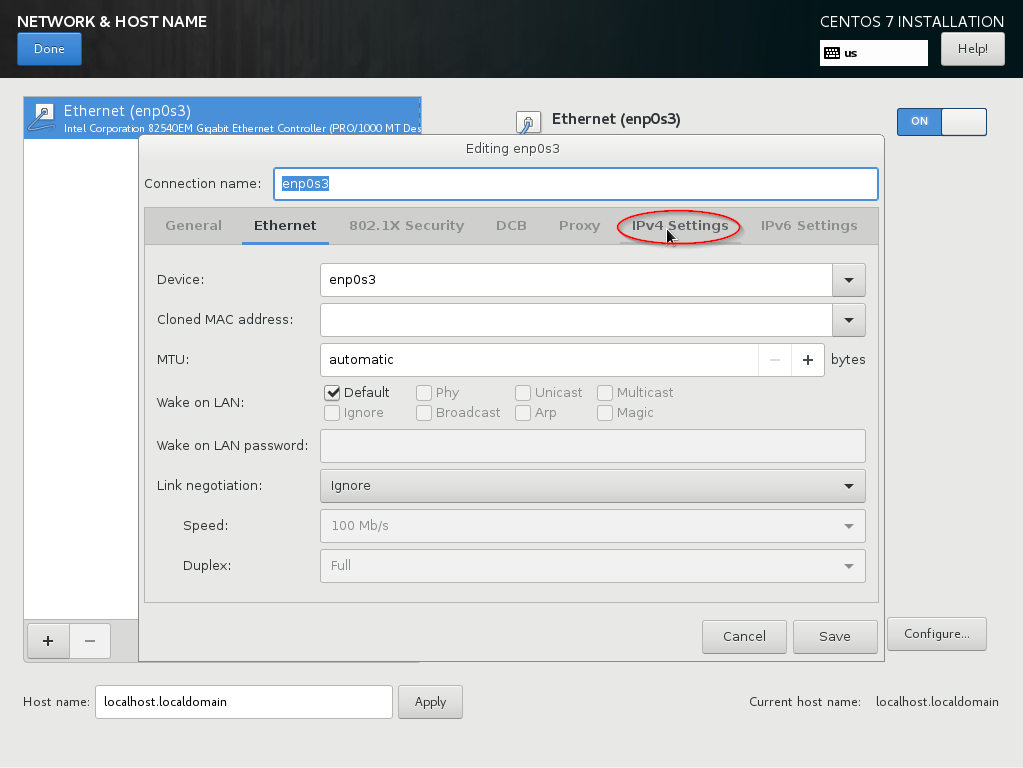
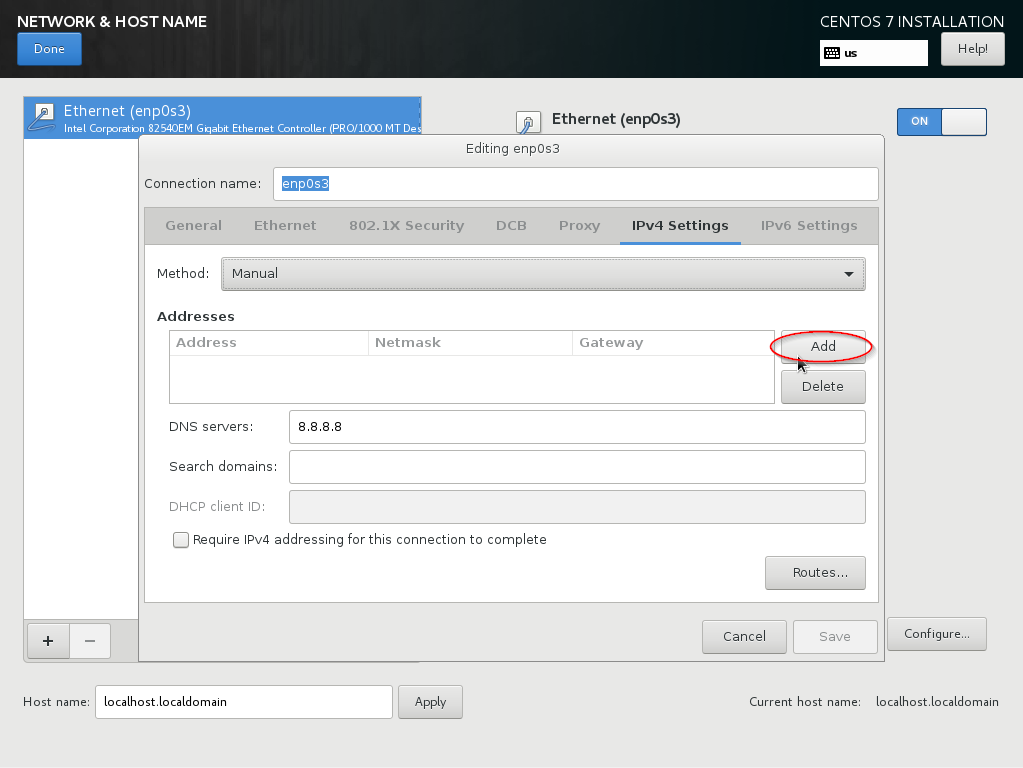
Lastly, the network settings will need to be set:

We need to change the IPv4 settings, so we click on that tab:
We then change the method to manual:

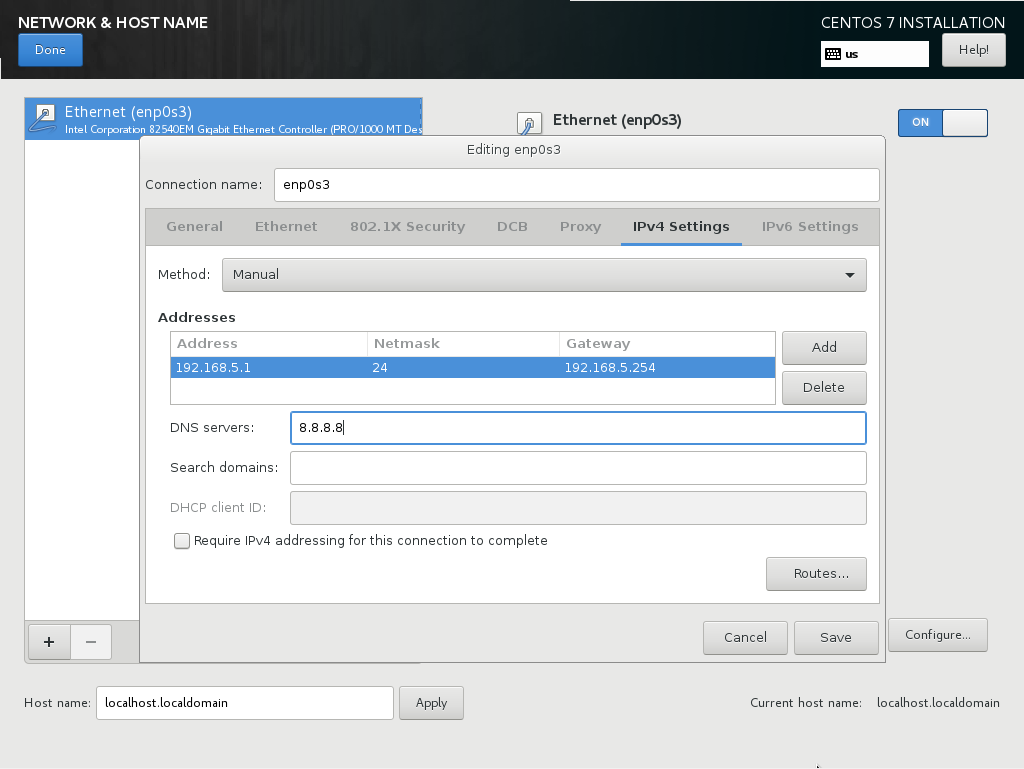
…and enter the desired IP configuration and hit save:
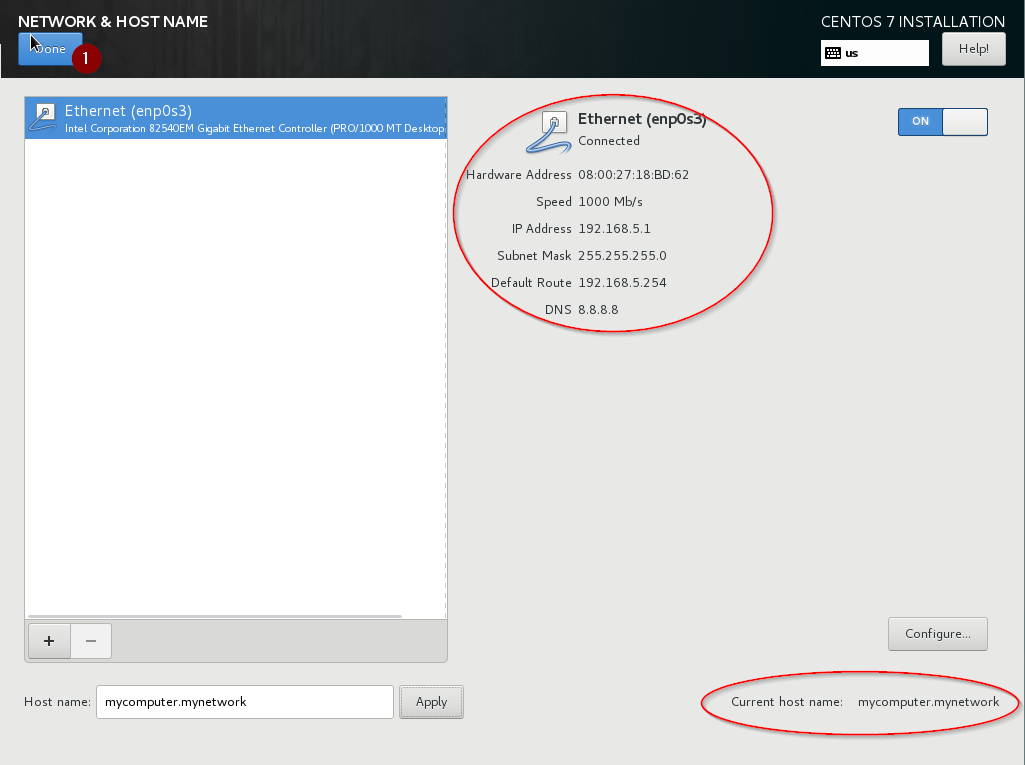
You probably also want to change your hostname:

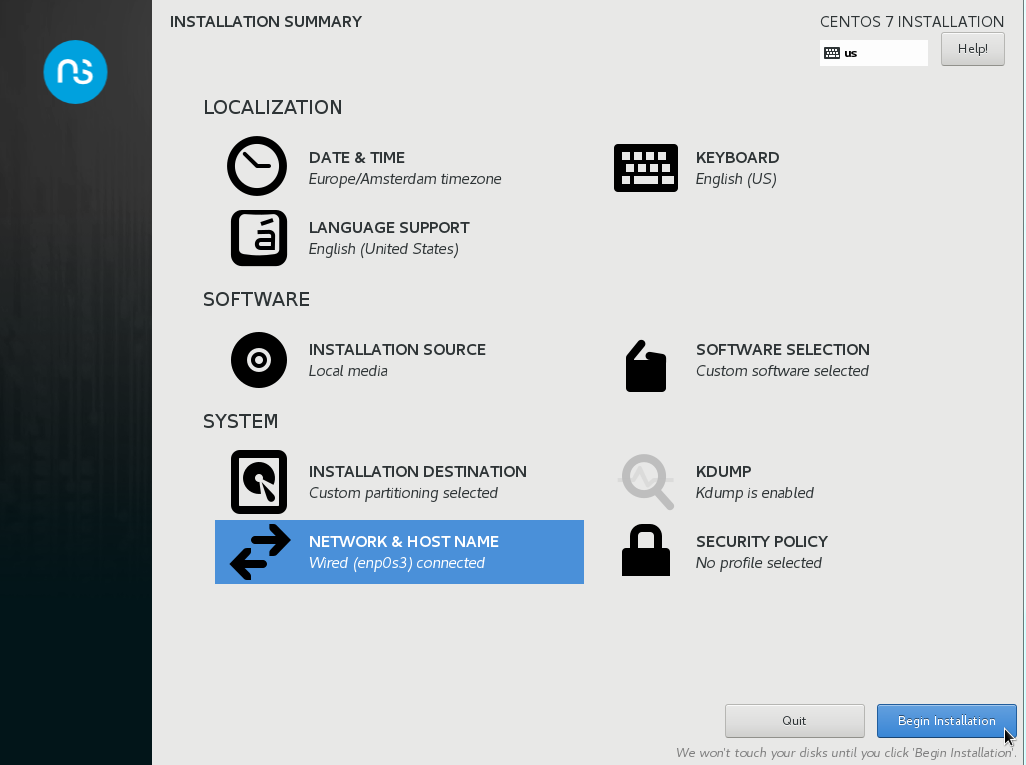
Finaly, confirm your settings and press done:
And we can now start the install:
Click ‘Set root password’ and enter a password, click done when ready:

and wait till ready.

Ready:

When it shows a logon prompt, goto the IPv4 address you entered on https and add port 980. Our example would be:
https://192.168.5.1:980 (as per your examples, dunno if I got the default gateway right) Confirm the security exception and you should end up with this:
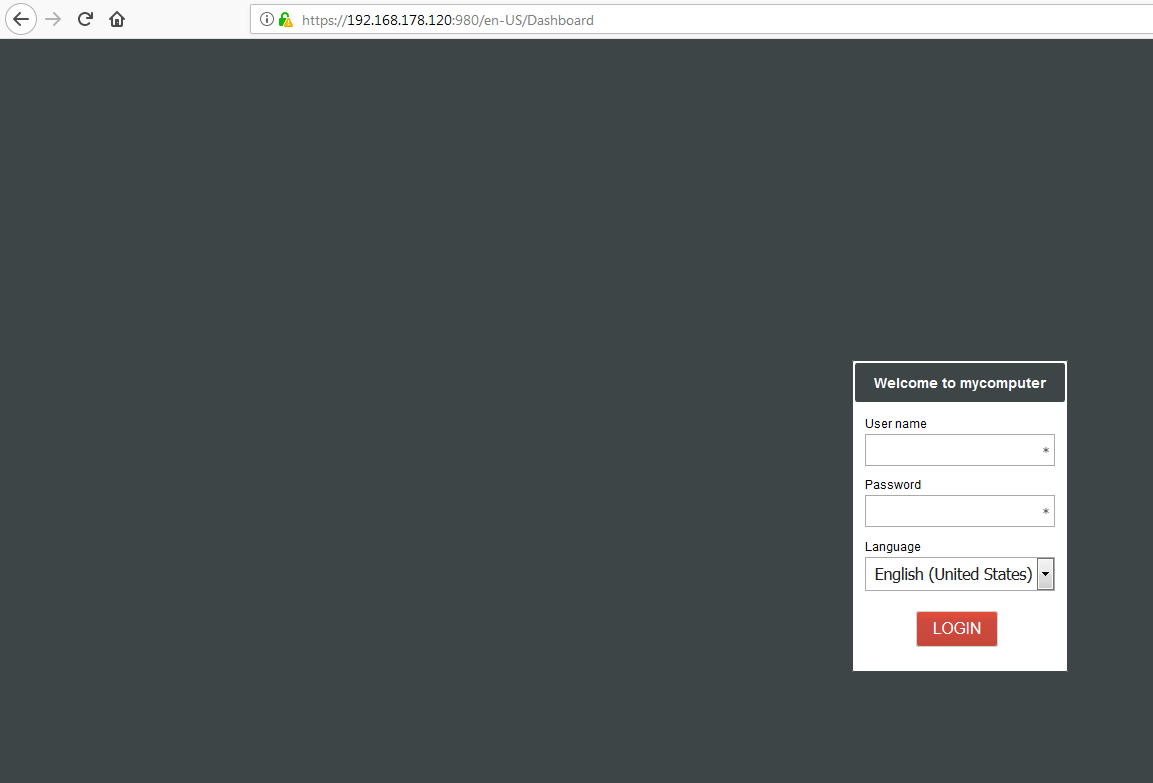
Yes, the IP here differs, I had to change the IP to my local settings 
Now logon with the root account and the password you just set and work through the final setup steps, and continue to configure your server:
(next next, nethad.pljnet.local, next next next)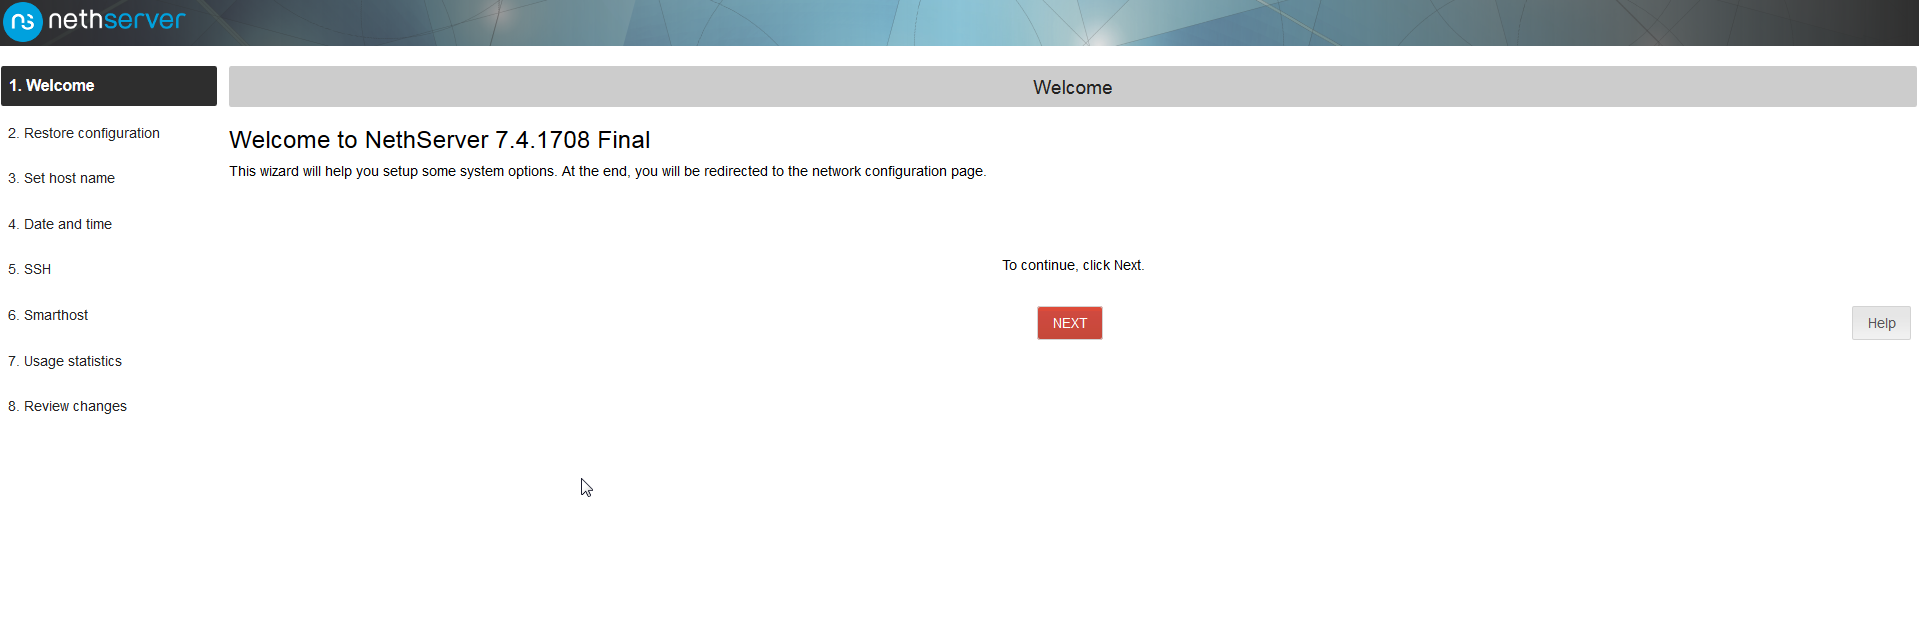
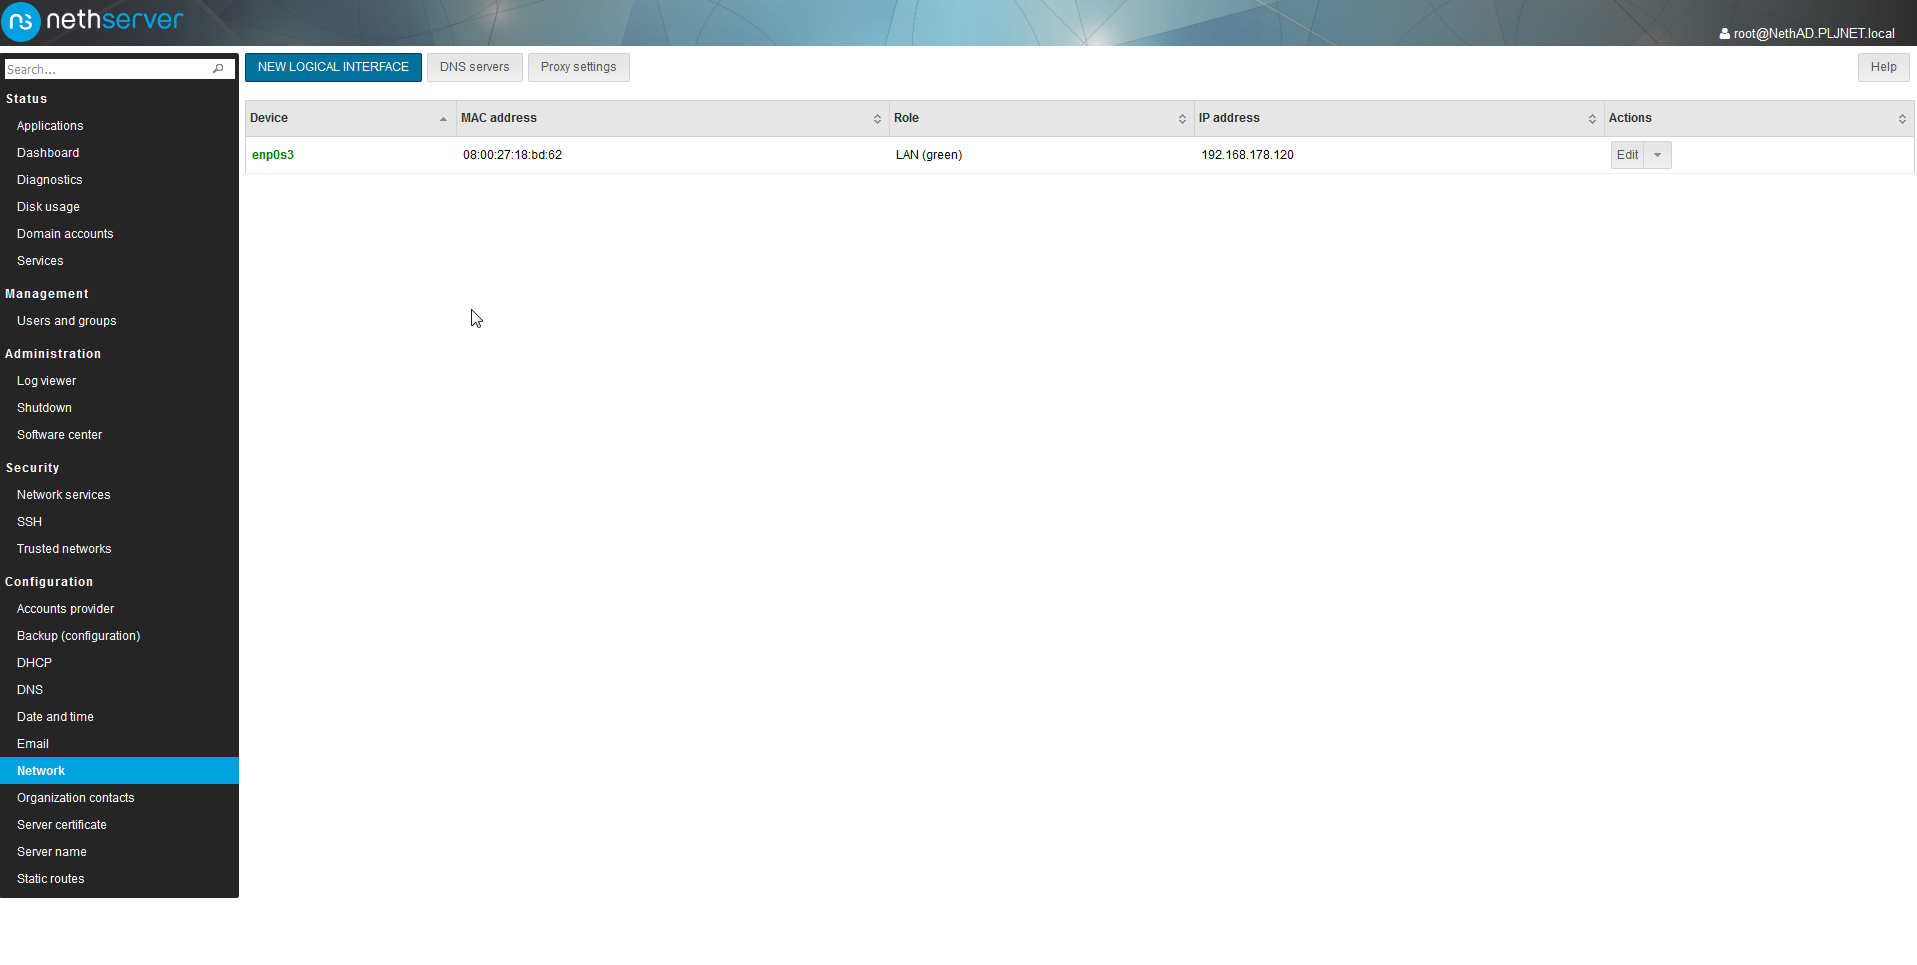
…profit