Speaking of static network interfaces, the symptom matches our expectations. At first boot NethServer (during system-init event) initializes the e-smith DB “networks” with the output from ip addr. It detects any running dhclient instance to see if DHCP is required. This is the script:
Under everything I mean everything. There was no ifcfg-eth1 and ifcfg-eth2 and there were no settings available for these two cards. Only eth0 was present with DHCP settings but since there was no DHCP server at the time (cause it became the DHCP server later on) it did not recieve eny IP address.
The only thing to do in that case is set “Automatically connect to this network when it is available”, otherwise the settings from Anaconda are lost after system-init.
BTW, this is the kind of things that happen when we don’t follow CentOS. On a clean CentOS installation there are NetworkManager and firewalld running. We use the legacy network script and Shorewall, instead. We’ve seen here the reasons to keep the things the way they are, but - yes - there are some inconsistencies.
The only thing to do in that case is set “Automatically connect to this network when it is available”, otherwise the settings from Anaconda are lost after system-init.
I usually configure only one ethernet card during install, enough to reach nethserver with the browser after the install has completed. Then, I use the Network page to setup the rest of the interfaces.
Can’t wait for that final release! Today I implemented the 2nd physical server with NS7RC installed. The first one is my home server (an HP N40L Gen7 microserver) This second one is an HP N54L Gen7 microserver.
My homeserver is equipped with 4GB ram, 1 60GB SSD for / and /boot and swap, 1 250GB HDD for /var and 2 2TB HHDs in Raid1 for /var/lib/nethserver
The other server is equipped with 2GB ram, 1 250GB HDD for /, swap and /boot, and 2 1TB HDDs in Raid1 for /var/lib/nethserver
Again ran into the ‘not setting a 2nd interface problem’ (even though that both interfaces were connected). This last server was installed using NS7RC4.1 image.
For now they both run stable. Will report back when I find any issues.
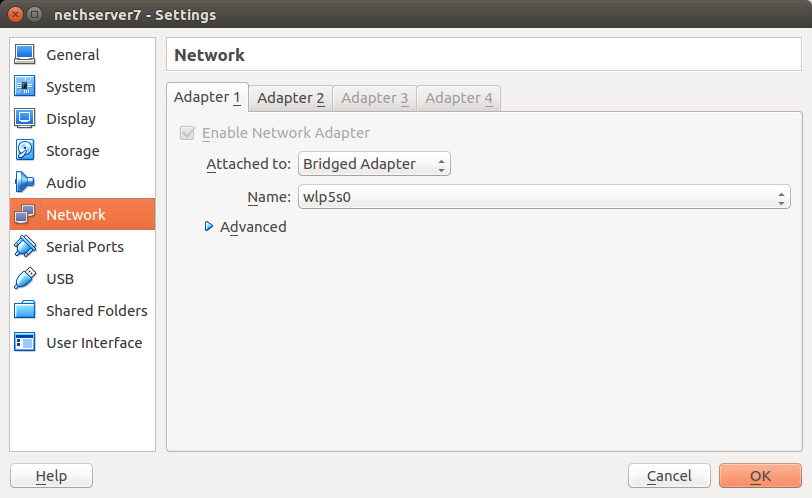
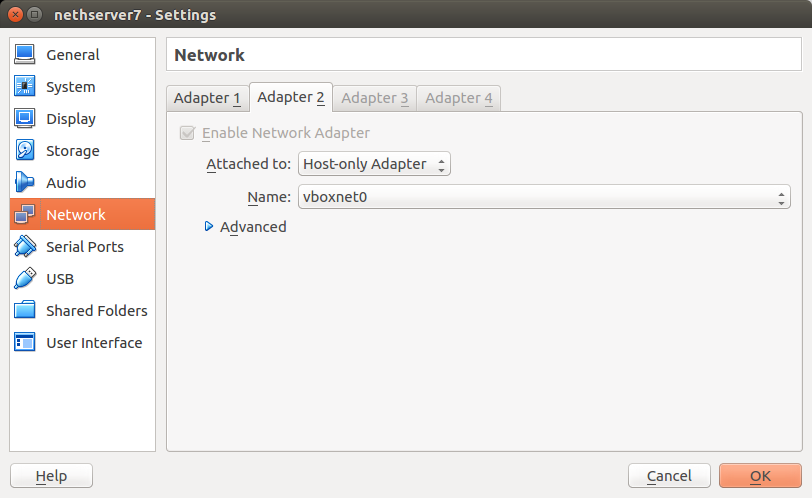
I tried to install a new machine from scratch with rc4.1, but had no luck. The installer only configures the red nic. My settings in vbox are as usual. No difference to the rc3-machine. The internal nic is not configured. After 4-times (!!) tinstalling rc4.1, I loaded the rc3-iso in the same machine and installed without any problem. Sorry but I think there is still a problem with rc4.1.
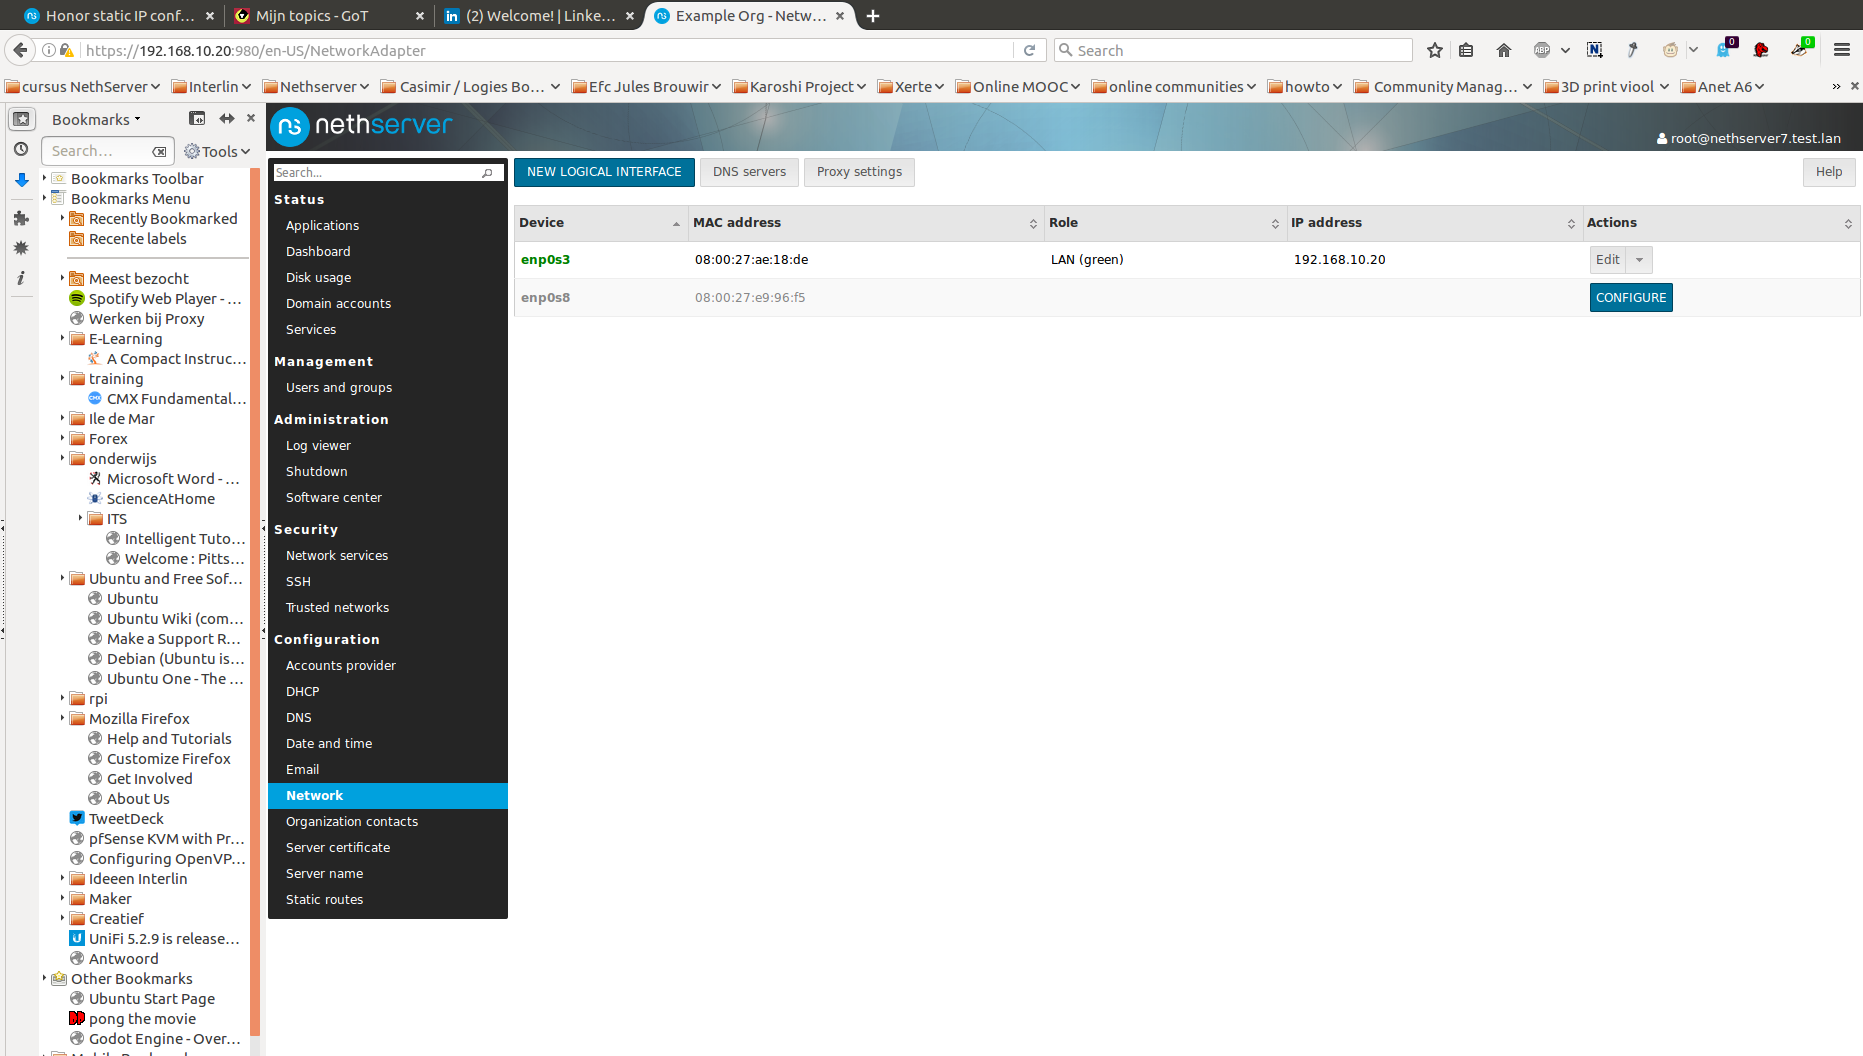
EDIT: The only way ti get it run was to install rc4.1 with 1 nic, configure it with static IP, configure NS, power down, add a 2nd nic and start again. Now I have a machine installed from rc4.1-iso with 1 green and 1 red nic. working. But I don’t think this is the way it should be.
Is it attached to a network with DHCP? Did you provide static IP settings? Did you check the Automatically connect to this network when it is available?
Method was interactive. I gave both nic static IP. 1rst nic private address, 2nd nic public address. There is a DHCP, but I didn’t wanted it to give a IP to this machine. The “automatically connect…”-setting I don’t realized during setup, so it’s possible that this was my fault.
Content of anaconda-ks.cfg:
#platform=86, AMD64, or Intel EM64T

#version=DEVEL
# Install OS instead of upgrade
install
# Use CDROM installation media
cdrom
# Use graphical install
graphical
# Firewall configuration
firewall --disabled
firstboot --disable
ignoredisk --only-use=sda
# Keyboard layouts
keyboard --vckeymap=de-nodeadkeys --xlayouts='de (nodeadkeys)'
# System language
lang en_US.UTF-8
# Installation logging level
logging --level=debug
# Network information
network  --bootproto=static --device=enp0s17 --gateway=192.168.0.230 --ip=192.168.0.240 --nameserver=8.8.8.8 --netmask=255.255.255.0 --ipv6=auto --activate
network  --hostname=localhost.localdomain
# Reboot after installation
reboot --eject
# Root password
rootpw --iscrypted $6$6MOTB1BGCocGwFYw$rLitcJol83Ur4b7NbIKoTETXUL1hk6ZaKgiSnzAK.kxs/SFAhit34pS/39EuqFMMPj4SovYUsTQI9MK4u0/km0
# SELinux configuration
selinux --permissive
# System services
services --enabled="chronyd"
# Do not configure the X Window System
skipx
# System timezone
timezone Europe/Amsterdam
# System bootloader configuration
bootloader --append=" crashkernel=auto" --location=mbr --boot-drive=sda
reqpart --add-boot
# Clear the Master Boot Record
zerombr
# Partition clearing information
clearpart --all
# Disk partitioning information
part pv.99 --asprimary --fstype="lvmpv" --ondisk=sda --size=24575
part /boot --fstype="xfs" --size=1024
volgroup VolGroup --pesize=4096 pv.99
logvol /  --fstype="xfs" --grow --size=5000 --name=lv_root --vgname=VolGroup
logvol swap  --fstype="swap" --size=2559 --name=lv_swap --vgname=VolGroup

%pre

# eval options
set -- `cat /proc/cmdline`

for I in $*; do case "$I" in *=*) eval $I;; esac; done

# Determine how many drives we have
if [ -z "$disks" ]; then
    disks=()
    tmp=( $(list-harddrives | cut -d' ' -f 1) )
    for d in "${tmp[@]}"
    do
        if [[ $d == md* ]]; then
            # skip md raid devices
            continue
        fi
        mount | grep -q /dev/$d
        if [ $? -gt 0 ]; then
            disks+=($d)
        fi
    done

    numd=${#disks[@]}
    d1=${disks[0]}
    d2=${disks[1]}
else
    d1=`echo $disks | awk 'BEGIN { FS = "," } ; { print $1 }'`
    d2=`echo $disks | awk 'BEGIN { FS = "," } ; { print $2 }'`
    if [ -z "$d2" ]; then
       numd=1
    else
       numd=2
    fi
fi

if [ $numd -lt 2 ] || [ $raid = "none"  ] ; then
    cat <<EOF >> /tmp/part-include
    # 1 disk, no raid
    part /boot --fstype xfs --size 1024
    part pv.1 --asprimary --fstype='physical volume (LVM)' --ondisk=$d1 --size=5000 --grow
EOF
    echo "bootloader --location=mbr " > /tmp/bootloader-include
elif [ $numd -ge 2 ]; then
    cat <<EOF >> /tmp/part-include
    # 2 disks, raid 1
    part raid.00 --asprimary --fstype='raid' --ondisk=$d1 --size=1024 # boot
    part raid.01 --asprimary --fstype='raid' --ondisk=$d1 --size=5000 --grow# root

    part raid.10 --asprimary --fstype='raid' --ondisk=$d2 --size=1024 # boot
    part raid.11 --asprimary --fstype='raid' --ondisk=$d2 --size=5000 --grow# root

    raid /boot --device=md1 --fstype='xfs' --level=1 raid.00 raid.10
    raid pv.1 --device=md2 --fstype='physical volume (LVM)' --level=1 raid.01 raid.11
EOF
    echo "bootloader --location=mbr " > /tmp/bootloader-include
fi

# enable dhcp on all network interfaces
for net in `find /sys/class/net/ -mindepth 1 ! -name lo | cut -d '/' -f5`; do
    echo "network --activate --onboot=yes --bootproto=dhcp --device=$net" --nameserver=8.8.8.8 >>/tmp/network-include
done

# set encrypted fs
if [ -z $fspassword ]; then
   echo "logvol / --fstype xfs --name=lv_root --vgname=VolGroup --size=5000 --grow" > /tmp/rootfs-include
else
   echo "logvol / --fstype xfs --name=lv_root --vgname=VolGroup --size=5000 --grow --encrypted --passphrase=$fspassword" > /tmp/rootfs-include
fi


%end

%post --interpreter=/bin/bash
exec 1>/root/kickstart-post.log 2>&1

echo "Enabling first-boot..."
touch /var/spool/first-boot

echo "Importing RPM GPG keys..."
rpm --import /etc/pki/rpm-gpg/*

echo "Enable nethserver units..."
systemctl enable nethserver-system-init
systemctl enable nethserver-config-network
systemctl disable NetworkManager firewalld

echo "Disable kdump..."
systemctl disable kdump

if [ -f /etc/nethserver-release ]; then
  echo "Fix /etc/issue..."
  cp -f /etc/nethserver-release /etc/issue
  echo -e 'Kernel \\r on an \\m\n' >> /etc/issue
fi

%end

%packages
@core
@nethserver-iso
chrony
kexec-tools

%end

%addon com_redhat_kdump --enable --reserve-mb='auto'

%end
O.k. did it and you’re right. When checked the “automatically connect…” all went fine. Sorry I missed that. My fault. I should have read this thread more carefully. I found you’re statement about it in #22 .
I did an interactive installation with 2 static IP, one private and the other public. Both were correctly configured and the machine was reachable through webinterface immediatly. Only the role of the public nic had to be changed to red right after installation. It was as easy as it was everytime before.

 Sorry but I think there is still a problem with rc4.1.