How to install osTicket v1.9.12 on NS7a3
This how to was realized in the following conditions:
- NS7a3 installed as VM (Oracle VM VirtualBox).
- Logged to NS7a3 through WebUI (https://192.168.0.17:980/en-US/Dashboard).
- NS7a3 up to date.
- No modules/packages installed on NS7a3 Administration -> Software center -> Installed.
- Logged to NS7a3 through PuTTY SSH Client (192.168.0.17:2244).
- Below are shown only the relevant commands.
I. Prepare NS7a3 for installing osTicket v1.9.12:
- From NS7a3 Web UI, go to Administration -> Software center -> Available -> Base system:
a. select “MariaDB (MySQL) server” module
b. select “Web server” module
c. Press “ADD” -> “APLLY CHANGES” and wait for finishing modules installation: “Operation completed successfully”
2 Install “Unzip”:
a. # yum install unzip
II. Prepare MariaDB (MySQL):
- Reset MariaDB (MySQL) root password:
a. # systemctl stop mysqld
b. # mysqld_safe --skip-grant-tables &
c. # mysql -u root
d. > use mysql;
e. > update user SET PASSWORD=PASSWORD(“your_new_password”) WHERE USER=‘root’;
f. > flush privileges;
g. > exit
h. # reboot
(should be “systemctl start mysqld” but after a few seconds, the “mysqld (MySQL database)” service goes to “Stopped”; the reboot was the only way that I knew, to move forward).
2 Secure MariaDB (MySQL) installation:
a. # mysql_secure_installation
Change the root password? [Y/n] n
Remove anonymous users? [Y/n] y
Disallow root login remotely? [Y/n] y
Remove test database and access to it? [Y/n] y
Reload privilege tables now? [Y/n] y
3 Create osTicket database (for security reasons, replace the database name, user and password):
a. # mysql -u root -p
b. > create database osticket_db;
c. > create user ‘osticket’@‘localhost’ identified by ‘Pas$w0rd’;
d. > grant all privileges on osticket_db.* to ‘osticket’@‘localhost’;
e. > flush privileges;
f. > exit
III. Prepare PHP:
yum install php-mysql php-fpm php-gd php-imap php-mbstring
systemctl restart httpd
IV. Prepare osTicket Setup:
-
mkdir /var/www/html/support
-
cd /tmp
-
wget http://osticket.com/sites/default/files/download/osTicket-v1.9.12.zip
-
unzip osTicket-v1.9.12.zip
-
ln -s /upload /var/www/html/support
-
cp -rvf /tmp/upload/* /var/www/html/support/
-
chown apache: -R /var/www/html/support
-
systemctl restart httpd
-
cd /var/www/html/support/include
-
cp ost-sampleconfig.php ost-config.php
-
chmod 0666 ost-config.php
V. Setup osTicket
- From browser, go to https://192.168.0.17/support/setup/
- Follow the instructions to setup osTicket
-
chmod 0644 ost-config.php
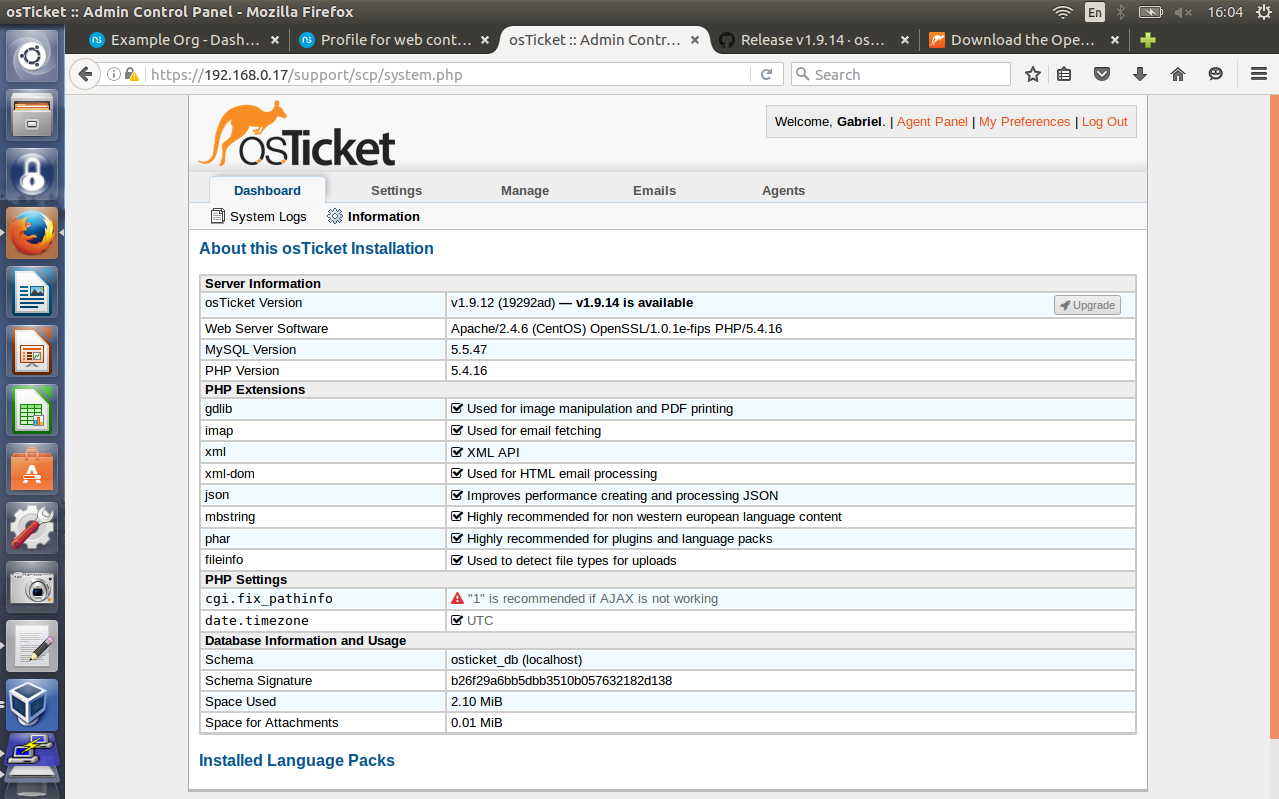
- From browser, go to https://192.168.0.17/support/scp
VI. Delete osTicket “setup” directory after the osTicket setup has finished:
-
cd /var/www/html/support
-
rm -rf setup
- Reload https://192.168.0.17/support/scp
That’s it!
Anyone who wants to improve this tutorial is encouraged to do so!
PS
I just finished this how-to and when I entered on site (https://192.168.0.17/support/scp) I saw that is an update available to version 1.9.14.
So, on step IV.3, you can replace “/osTicket-v1.9.12.zip” with “/osTicket-v1.9.14.zip” to install the last stable version.
I will try to find how to make upgrade and I will make another how-to regarding “Upgrade”.